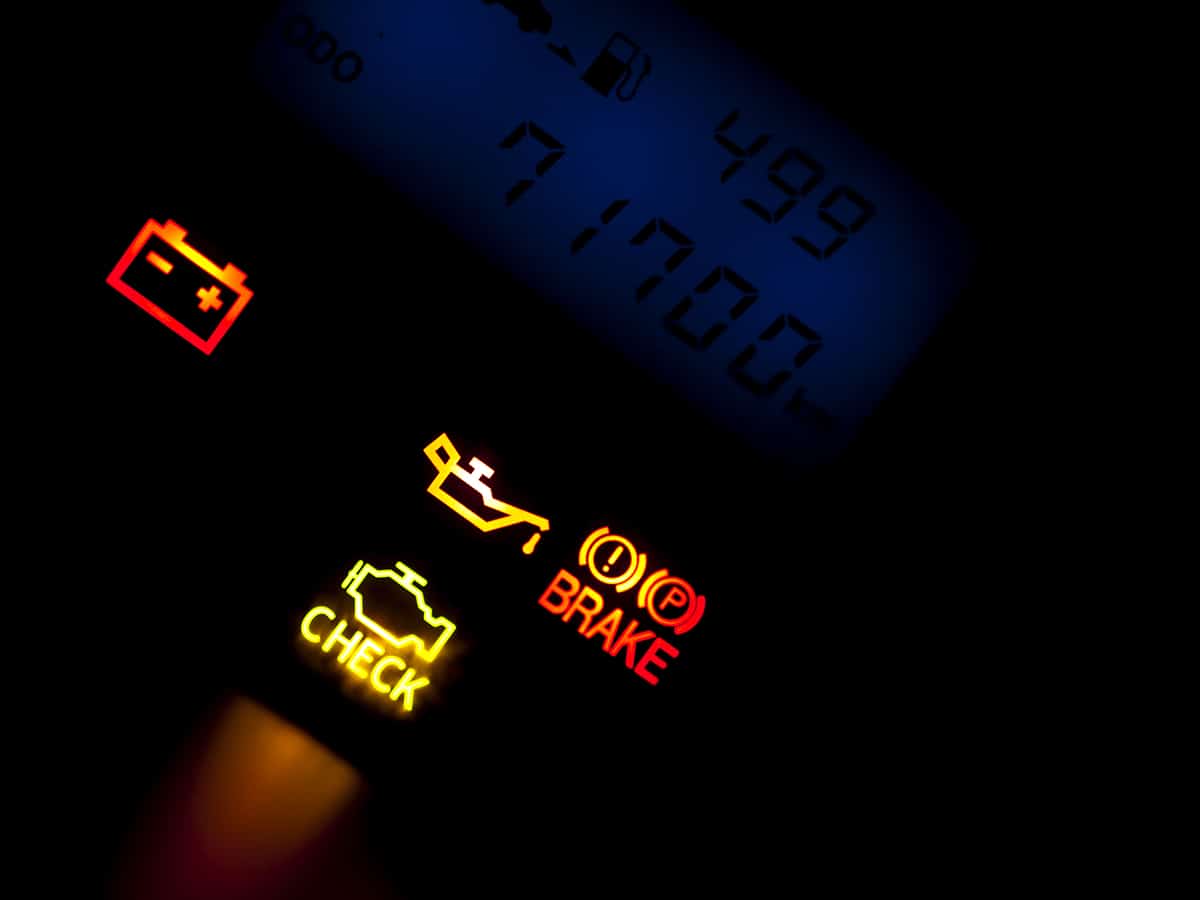
Among the many indicators on your dashboard, the brake and battery lights play a crucial role in alerting you to potential issues with your vehicle’s braking and electrical systems. When these lights turn on, it’s important to know the meaning behind them and how to address the underlying problems.
When both the brake light and battery light are on, it indicates that there might be simultaneous issues with your braking system and your vehicle’s electrical charging system. This situation requires immediate attention to avoid further complications.
In this guide, we’ll discuss the meaning, causes, and appropriate actions to take when you encounter the brake and battery lights turning on simultaneously. We will also provide a step-by-step guide for diagnosing the problem.
Brake Light Basics
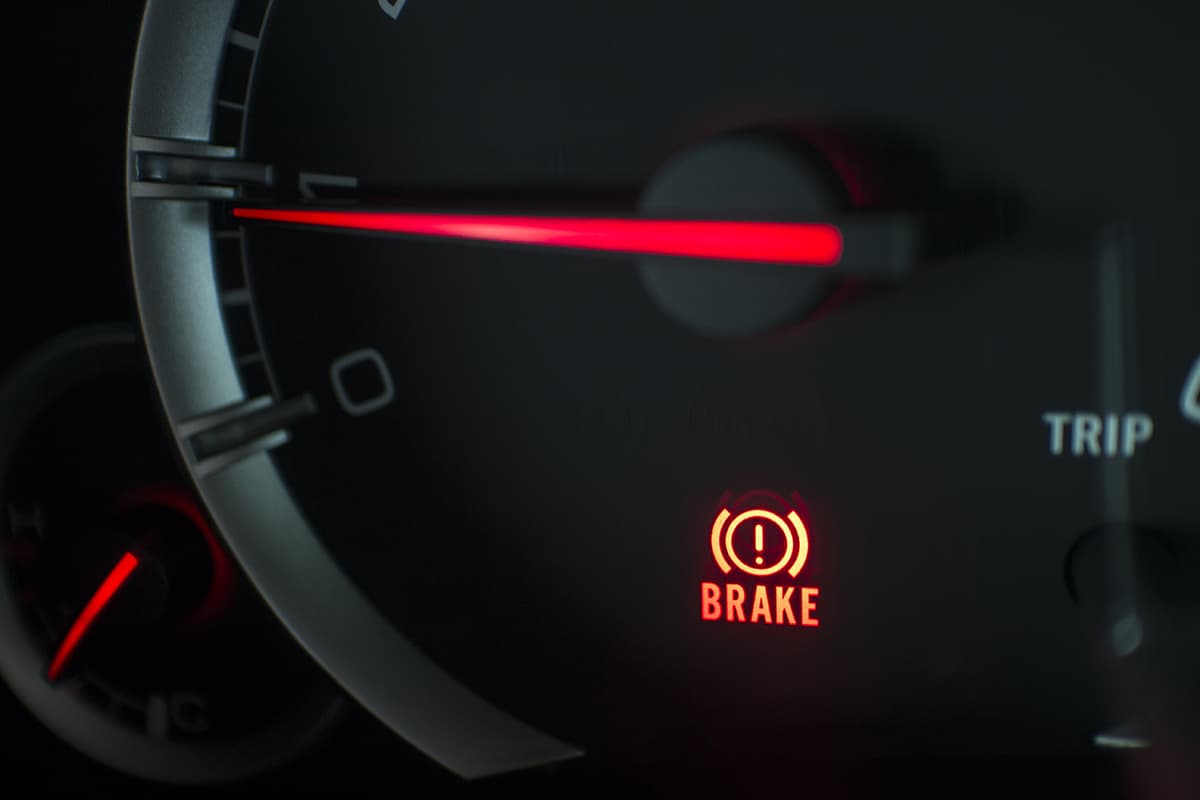
The brake light serves as an important safety feature on your car. Its main purpose is to alert other drivers when you are slowing down or stopping. There are two types of brake lights—the ones mounted inside your car, also known as the dashboard brake warning light, and the ones at the rear of your car, called the tail light brake lights.
The dashboard brake warning light is a small red icon that looks like an exclamation mark inside a circle. It turns on when you apply the brakes or if there’s a problem with your brake system. The tail light brake lights are the red lights at the back of your car that turn brighter when you press the brake pedal.
Common Reasons for Brake Light Activation
- Low brake fluid levels—The brake fluid reservoir supplies fluid to the brake system. If it’s running low, the brake light may turn on to warn you. Low brake fluid levels can be caused by leaks in the brake lines, master cylinder, or calipers.
- Worn brake pads—The brake pads are essential components of the braking system. They press against the brake rotors to slow down or stop your car. Over time, the brake pads wear down and need to be replaced.
- Faulty brake light switch—The brake light switch is a small device that connects to your brake pedal. When you press the brake pedal, the switch activates the brake lights. If the switch is faulty, it might cause the dashboard brake warning light to turn on, even if there’s no problem with your brakes.
- Damaged wiring or fuses—The brake light circuit includes wires and fuses that transmit power to the brake lights. If there’s a problem with the wiring or a blown fuse, the dashboard brake warning light might come on.
Battery Light Fundamentals
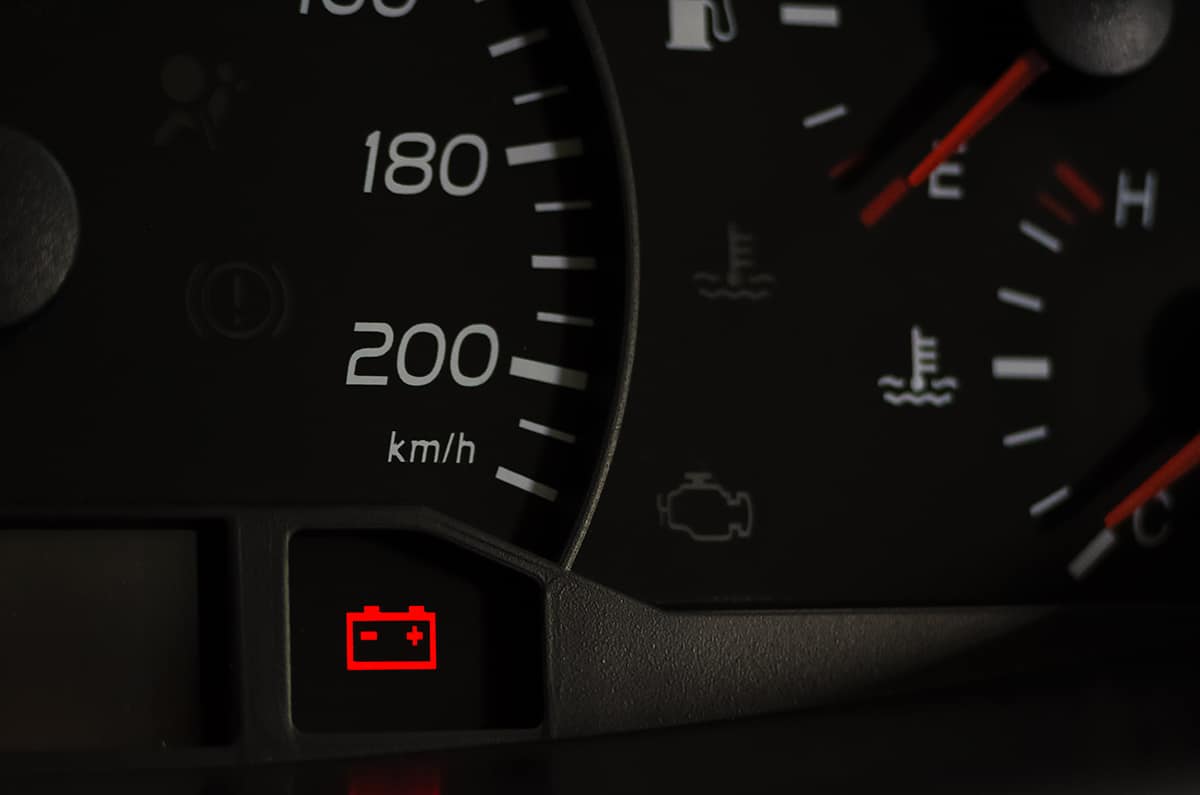
The battery light on your car’s dashboard plays a crucial role in monitoring the health of your vehicle’s electrical system. It’s a small icon that looks like a battery, and it informs you if there’s an issue with your car’s charging system.
Your car’s charging system includes the battery, alternator, and voltage regulator. The alternator charges the battery and provides power to your vehicle’s electrical components when the engine is running. The voltage regulator ensures that the battery receives the correct voltage.
Typical Causes for Battery Light Illumination
- Malfunctioning alternator—The alternator is responsible for charging your battery and providing power to your car’s electrical system. If it’s not working properly, the battery light might turn on. Signs of a bad alternator include dimming headlights, a weak battery, or a stalled engine.
- Broken or loose serpentine belt—The serpentine belt is a long rubber belt that connects the alternator, power steering pump, air conditioning compressor, and other components to the engine. If it’s loose or broken, the alternator won’t work correctly, and the battery light may come on.
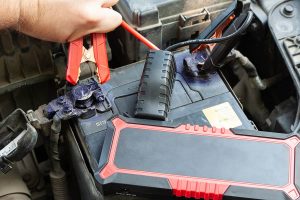
- Dying or defective battery—Car batteries have a limited lifespan, typically lasting between 3 to 5 years. If your battery is dying or defective, it might not hold a charge, causing the battery light to stay on. To diagnose a battery problem, you can use a multimeter to measure its voltage.
- Damaged voltage regulator—The voltage regulator ensures that your battery receives the right voltage for charging. If it’s not working properly, the battery might become overcharged or undercharged, triggering the battery light. Voltage regulator issues are often related to the alternator, as many modern vehicles have the regulator built into the alternator.
When Both Lights Are On—The Plot Thickens
If both the brake light and battery light come on at the same time, it can be puzzling. There are a few reasons why this might happen:
- Coincidental simultaneous failure—Sometimes, both lights may turn on simply because two separate issues have occurred at the same time. In this case, you’ll need to diagnose and address each problem independently.
- Shared underlying issues—In some instances, a single problem could cause both lights to turn on. For example, a damaged electrical system could affect both the brake and charging systems. In this case, fixing the shared issue will resolve both warning lights.
- Electrical system complications—If both lights are on, it could indicate a problem with your vehicle’s electrical system. Issues such as a bad ground connection, a malfunctioning sensor, or a short circuit might trigger multiple warning lights, including the brake and battery lights. To resolve this issue, you’ll need to inspect the electrical system and repair any faulty components.
Diagnosing the Problem—Step-by-Step Guide
When facing brake light or battery light issues, it’s important to diagnose the problem accurately. Follow these steps to identify the cause and take appropriate action:
Inspecting Brake System Components
Step1. Check the brake fluid
Start by examining the brake fluid reservoir. If the fluid level is low, add more fluid and monitor the brake light. If the light stays on, there could be a leak that needs fixing.
Step 2. Inspect brake pads
Look for signs of wear on the brake pads. If you hear a squeaking or grinding noise when braking, it’s time to replace the pads.
Step 3. Test the brake light switch
Locate the brake light switch near the brake pedal. Disconnect the switch, then use a multimeter to test it for continuity. If the switch is faulty, replace it.
Step 4. Examine wiring and fuses
Check the brake light circuit for damaged wires or blown fuses. Replace any damaged components to restore the proper function of your brake lights.
Evaluating the Battery and Charging System
Step 1. Test the battery
Use a multimeter to measure the voltage of your battery. If it’s below 12.4 volts, you might need to replace it.
Step 2. Inspect the serpentine belt
Look for signs of wear, damage, or looseness on the serpentine belt. If the belt is in poor condition, replace it.
Step 3. Look for signs of wear, damage, or looseness on the serpentine belt
If the belt is in poor condition, replace it.
Step 4. Examine the alternator
Check for loose connections or signs of wear on the alternator. If you suspect a problem, have a professional mechanic test the alternator for proper output.
Step 5. Assess the voltage regulator
Measure the voltage output from the alternator with a multimeter while the engine is running. If the voltage is too high or too low, the regulator may be faulty and require replacement.
Identifying Electrical System Faults
Step 1. Inspect ground connections
Check the ground connections between the battery, engine, and chassis. Clean and tighten any loose connections to ensure proper electrical flow.
Step 2. Test sensors
If your car has an electronic brake control module or other sensors related to the brake system, use an OBD-II scanner to check for error codes. Replace any faulty sensors as needed.
Step 3. Look for short circuits
Examine the wiring harness for signs of damage or exposed wires that could cause short circuits. Repair or replace damaged wiring to prevent further electrical issues.