A leaking car battery can pose risks to both your car’s performance and your safety. Leaks can lead to corrosion, electrical issues, and even hazardous chemical exposure. Addressing a leaking car battery promptly can help prevent these problems and ensure the longevity of your battery.
The various ways to fix a leaking car battery include:
- Repairing cracked battery cases
- Replacing damaged battery terminals
- Fixing leaky battery posts
- Sealing vent cap leaks
- Repairing battery tray leaks
In today’s guide, we’ll go through the process of identifying and fixing a leaking car battery. We’ll also cover important safety precautions, essential tools and materials, and step-by-step instructions for addressing common battery leak issues.
Identifying a Leaking Car Battery
Knowing the signs of a leaking battery helps you take action before it causes serious issues. Keep an eye out for these indicators:
Signs of a leaking battery
- Swollen battery case—A battery may swell due to overheating or overcharging. This can lead to leaks.
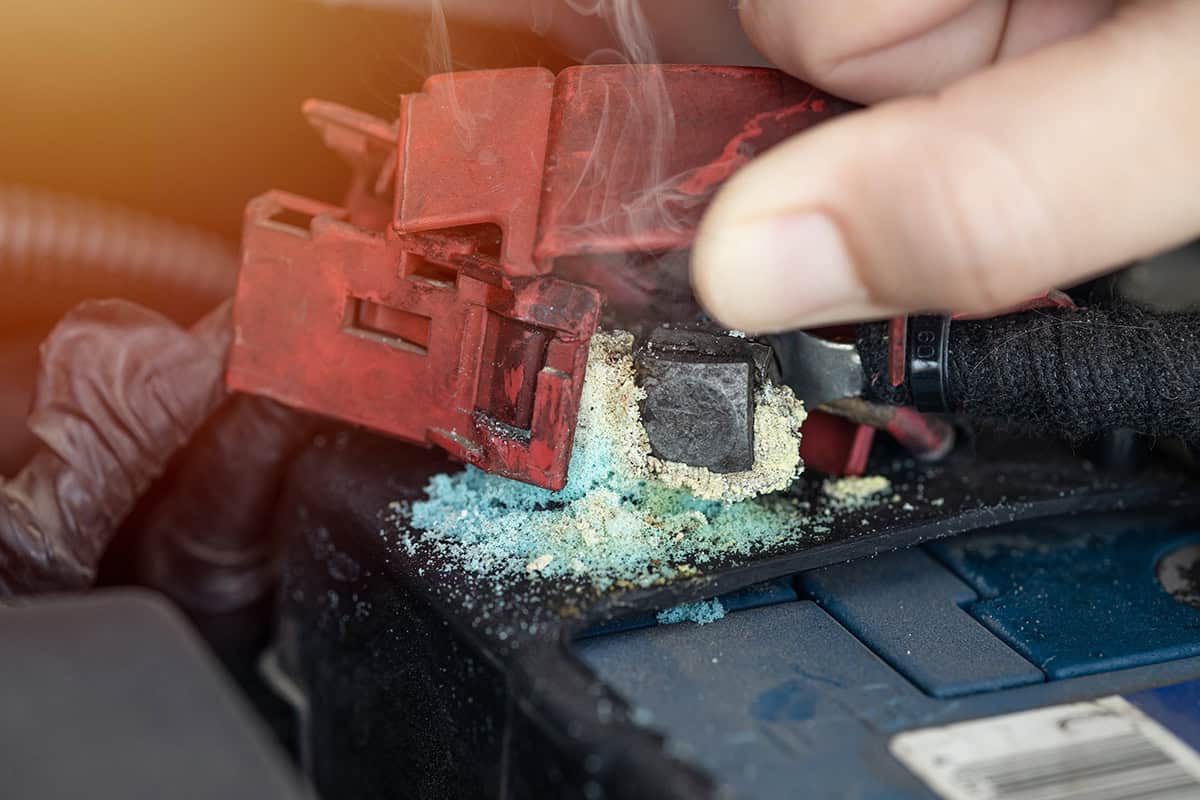
- Corrosion on terminals—When battery acid leaks, it can cause corrosion on the battery terminals. Look for a white, powdery substance around the battery posts.
- Acid stains or residue—If you notice any stains or wet spots near the battery or on the battery tray, it could be a sign of a leak.
- Weak engine performance—A leaking battery may not provide enough power for your vehicle to start or run properly.
Common causes of leaks
- Overcharging—An overcharged battery can release gas, which may cause the battery case to crack or the vent caps to leak.
- Aging battery—Batteries wear out over time (usually 3-5 years), which can lead to leaks or other issues.
- Physical damage—Cracks or punctures in the battery case may cause leaks.
- Loose or damaged vent caps—If vent caps are loose or damaged, battery acid can escape.
Safety Precautions When Working with a Leaking Car Battery
Before attempting any repairs on a leaking car battery, you should take proper safety precautions.
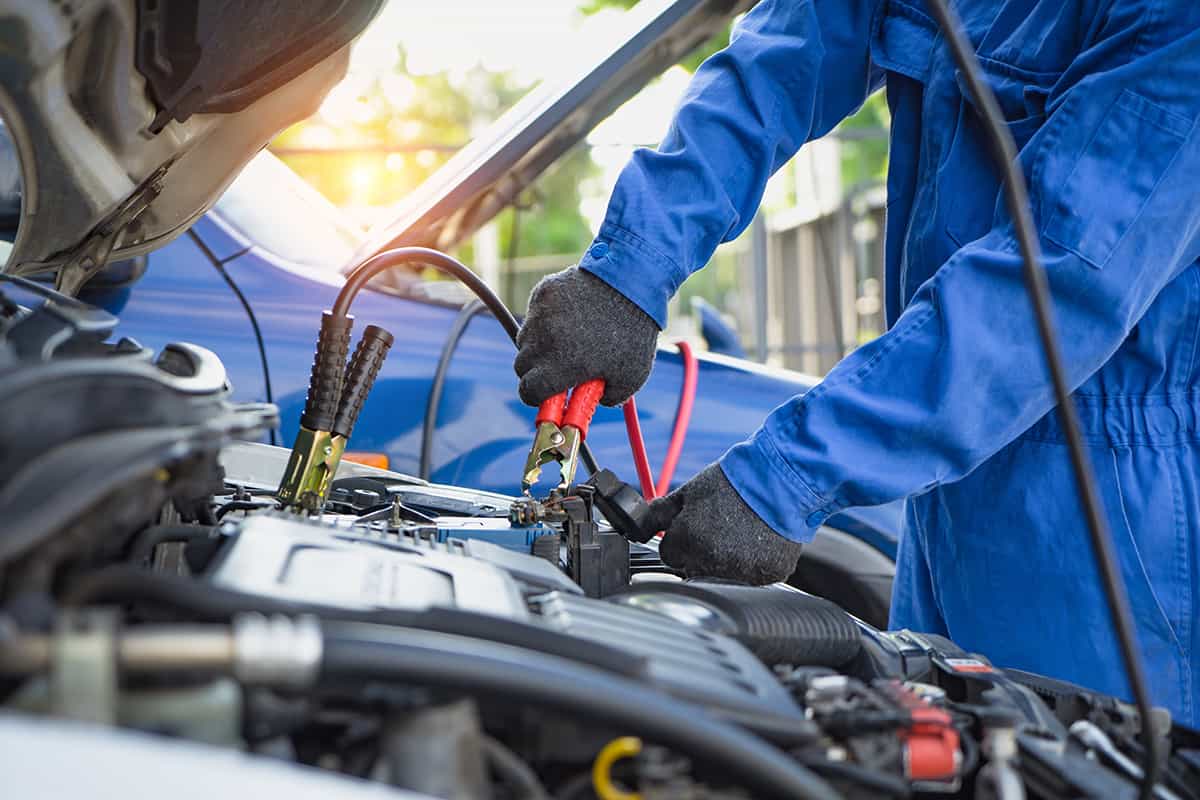
Protective gear and equipment
- Wear gloves—Battery acid is highly corrosive, so it’s crucial to wear gloves to protect your hands.
- Use eye protection—Safety goggles shield your eyes from splashes and debris.
- Clothing—Wear long sleeves and pants to protect your skin from contact with battery acid.
Proper handling of a leaking battery
- Avoid direct contact with battery acid—If battery acid gets on your skin or clothes, rinse the area with water immediately.
- Keep sparks and flames away—Battery acid can produce flammable hydrogen gas. Keep away from open flames and avoid creating sparks.
- Work in a well-ventilated area—Ventilation helps disperse harmful gases and reduces the risk of inhalation.
Environmental considerations
- Dispose of battery acid responsibly—Don’t pour battery acid down drains or on the ground. Follow local regulations for proper disposal.
- Recycle used batteries—Many auto parts stores and recycling centers accept used batteries for recycling. Check with your local facilities for details.
Tools and Materials Needed
Gather the right tools and materials before fixing a leaking car battery. Here’s a list to help you prepare:
Basic toolkit essentials
- Wrench
- Pliers
- Screwdriver
Specialized equipment for battery repair
- Battery terminal brush
- Battery post cleaner
- Epoxy or sealant
Replacement parts and accessories
- New battery terminals
- Vent caps
- Battery tray
- Battery bolts (optional)
Now that you know what sort of materials and supplies you’ll need, we can now go over the various methods of fixing a leaking car battery.
Battery Removal and Inspection
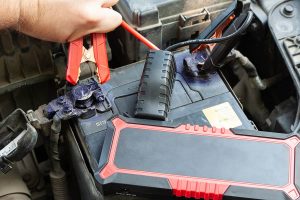
1. Disconnecting the battery
Turn off the engine and open the hood. Locate the battery and use a wrench to remove the negative (-) cable first, then the positive (+) cable. This prevents short circuits.
2. Evaluating the severity of the leak
Examine the battery for cracks, swollen areas, and corrosion. Look for acid stains or residue on the battery tray or surrounding areas.
3. Deciding whether to repair or replace
If the leak is minor, you may be able to repair the battery. However, if the damage is severe, consider replacing the battery to ensure proper vehicle performance.
Cleaning the Battery
1. Removing corrosion and residue
Use a battery terminal brush to clean corrosion from the terminals and clamps. A battery post cleaner can remove corrosion on the battery posts.
2. Neutralizing battery acid
Mix a solution of baking soda and water to neutralize any battery acid on the battery case or surrounding areas. Apply the solution with a brush and rinse with water.
3. Drying the battery
Wipe the battery dry with a clean cloth, ensuring no moisture remains before proceeding with repairs.
Repairing Cracked Battery Cases
1. Identifying the crack
Look for visible cracks in the battery case. These can be the source of leaks.
2. Sealing the crack with epoxy
Clean the area around the crack, then apply epoxy or another suitable sealant to the damaged area. Follow the manufacturer’s instructions for drying time.
3. Reinforcing the repair
For added protection, you can apply a fiberglass patch over the sealed crack to reinforce the repair.
Replacing Damaged Battery Terminals
1. Removing the old terminals
Use pliers to loosen the terminal clamps and remove the damaged terminals.
2. Installing new terminals
Place the new terminals onto the battery posts, ensuring a snug fit. Tighten the clamps with pliers.
3. Ensuring a proper connection
Make sure the terminals are securely connected to the battery posts to prevent future leaks.
Fixing Leaky Battery Posts
1. Diagnosing the issue
Check for loose connections or damage to the battery posts.
2. Tightening loose connections
If connections are loose, use a wrench to tighten them.
3. Applying sealant to stop the leak
If the battery post is damaged, apply a sealant around the leak to stop it from worsening.
Sealing Vent Cap Leaks
1. Identifying the source
Check the vent caps for signs of damage or looseness.
2. Replacing damaged vent caps
Remove the damaged vent cap and replace it with a new one.
3. Ensuring a secure fit
Make sure the new vent cap is tightly secured to prevent future leaks.
Repairing Battery Tray Leaks
1. Assessing the damage
Inspect the battery tray for signs of acid damage or corrosion.
2. Cleaning and sealing the tray
Clean the tray with a baking soda solution and rinse with water. Apply a sealant to any damaged areas to prevent further leaks.
3. Replacing the battery tray if necessary
If the tray is severely damaged, replace it with a new one to ensure a stable and secure base for the battery.
Addressing Leaks in Sealed Lead-Acid Batteries
Sealed lead-acid batteries require special handling and expertise. If you suspect a leak, it’s best to consult a professional mechanic to assess and repair the issue.
Attempting to fix a sealed lead-acid battery yourself can be dangerous and may void the warranty. Improper repairs can also cause further damage or leaks.
Alternatives to Repairing a Leaking Battery
If you don’t feel like dealing with leaking car batteries, you can try replacing the battery altogether.
Weighing the benefits of replacement
In some cases, replacing a leaking battery may be more cost-effective and safer than attempting a repair. Consider factors such as the battery’s age, the severity of the leak, and potential repair costs.
Recycling old batteries responsibly
When you replace a battery, recycle the old one at a local auto parts store or recycling center. This helps protect the environment and conserves resources.
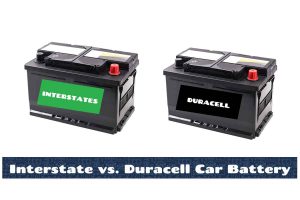
Choosing the right battery for your vehicle
Select a new battery that’s compatible with your vehicle and meets your driving needs. Check the owner’s manual or consult a professional for guidance on finding the best battery for your car.