A voltage regulator is like a traffic cop for electricity. Just like traffic cops ensure cars flow smoothly without crashing, voltage regulators keep the electric current flowing safely and consistently through our gadgets, like phones, computers, and even cars. If it goes bad, it can cause lots of problems.
The most notable symptoms of a bad voltage regulator are:
- Lights flickering or dimming
- Overheating devices
- Dead battery
- Frequent power failures
This article is going to dive into all things related to bad voltage regulators, including how to identify and fix them.
What is a Voltage Regulator?
A voltage regulator is a crucial component found in electronic devices and automobiles. Its primary function is to regulate and control the voltage flowing through different parts of the system.
By acting as the driving force behind electrical energy in a circuit, it prevents excessive or insufficient voltage from causing damage and malfunction to these devices. Without a voltage regulator, these electronic systems would be vulnerable to potential harm and unreliable performance.
Indications of a Bad Voltage Regulator
Voltage regulators can go bad, and when they do, it can lead to a variety of issues. In general, a bad voltage regulator can cause fluctuations in voltage, leading to a series of issues. Here are some of the most common signs you should look out for:
1. Unstable Voltage Levels
The most direct indication of a bad voltage regulator is an unstable voltage level. Voltage regulators are designed to maintain a constant voltage level. If the voltage level is not constant but instead fluctuates or experiences spikes, it can mean that the voltage regulator is not performing its job properly.
2. Electrical Component Failures
Another sign of a bad voltage regulator is the failure of electrical components. Since the voltage regulator ensures that the right amount of voltage is supplied to the electrical components, any issue with it can affect these components.
In a car, a faulty voltage regulator can lead to issues like dimming or flickering lights, a dead battery, or an infotainment system that keeps rebooting. These are all electrical components that rely on the right voltage to function properly. If they aren’t functioning as they should, it could indicate an issue with the voltage regulator.
Diagnosing a Bad Voltage Regulator
In a vehicle, the voltage regulator plays a crucial role in ensuring that the battery is charged properly and that the electrical systems function correctly.
Here are some symptoms that can occur in vehicles when the voltage regulator goes bad:
- Dimming or Flickering Lights: The car’s headlights and dashboard lights may dim or flicker. This is because these lights are not getting the consistent voltage they need to shine brightly.
- Dead Battery: If the battery in your car is frequently dying or not holding a charge, it could be due to a faulty voltage regulator. The regulator might not be allowing the alternator to charge the battery properly.
- Check Engine Light: Sometimes, the check engine light on your dashboard may come on if there’s a problem with the voltage regulator.
Testing a Voltage Regulator
Once you’ve observed some of the symptoms mentioned earlier, the next step is to test your voltage regulator to confirm if it’s faulty. This section will cover the tools you need and the steps to follow when testing a voltage regulator.
Tools Needed for Voltage Regulator Testing
Before you can test a voltage regulator, you need the right tools. The primary tool used for this purpose is a multimeter. A multimeter is an instrument that can measure voltage, current, and resistance. It’s versatile and easy to use, making it perfect for testing a voltage regulator.
Other tools you may need depending on the device or vehicle you’re testing include a screwdriver to open the device or vehicle and safety gloves and goggles for protection. If you’re testing a voltage regulator in a car, you might also need a car manual for reference.
Step-by-Step Guide to Testing a Voltage Regulator
Once you have your tools, you can begin the testing process. Here’s a step-by-step guide to help you:
- Locate the Voltage Regulator: The voltage regulator is usually found inside the alternator in most modern cars. Refer to your car manual if you’re having trouble locating it.
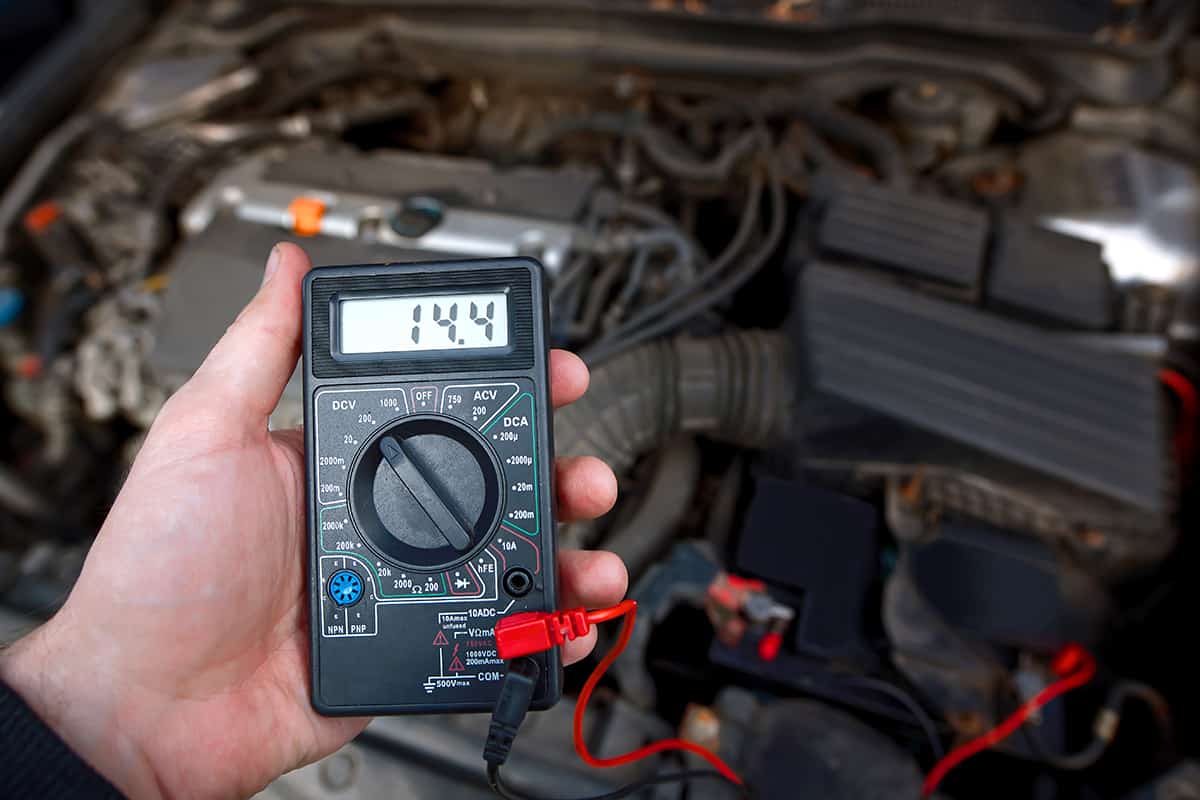
- Measure the Battery Voltage: Use the multimeter to measure the voltage across the car battery. It should read around 12.6 volts when the car is off.
- Start the Car and Measure Again: Start the car and measure the voltage again. With the car running, the voltage should increase to around 13.7 to 14.7 volts. This increase shows that the alternator and voltage regulator are working correctly to charge the battery. If the voltage doesn’t increase as expected or if it exceeds 15 volts, there may be a problem with the voltage regulator.
Troubleshooting and Replacing a Bad Voltage Regulator
When your car’s voltage regulator goes bad, it’s important to address the issue as soon as possible. Below is a guide on how to troubleshoot and repair a bad voltage regulator in a car.
Checking the Alternator
The voltage regulator is typically part of the alternator in modern cars. Therefore, problems with the voltage regulator may indicate a larger issue with the alternator. If testing shows a problem with the voltage regulator, it’s a good idea to have the entire alternator inspected. This inspection can help determine whether the issue is isolated to the voltage regulator or if the entire alternator needs replacing.
Removing and Replacing the Voltage Regulator
If the issue is isolated to the voltage regulator, you can choose to replace it. Keep in mind that this is a technical process that requires knowledge of car mechanics.
If you’re not comfortable doing this yourself, you should consider taking your car to a professional mechanic. But if you are comfortable, here are the general steps to follow:
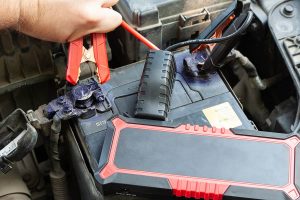
- Disconnect the Battery: Before beginning, disconnect the battery to ensure safety. This prevents any electrical shocks while you’re working on the car.
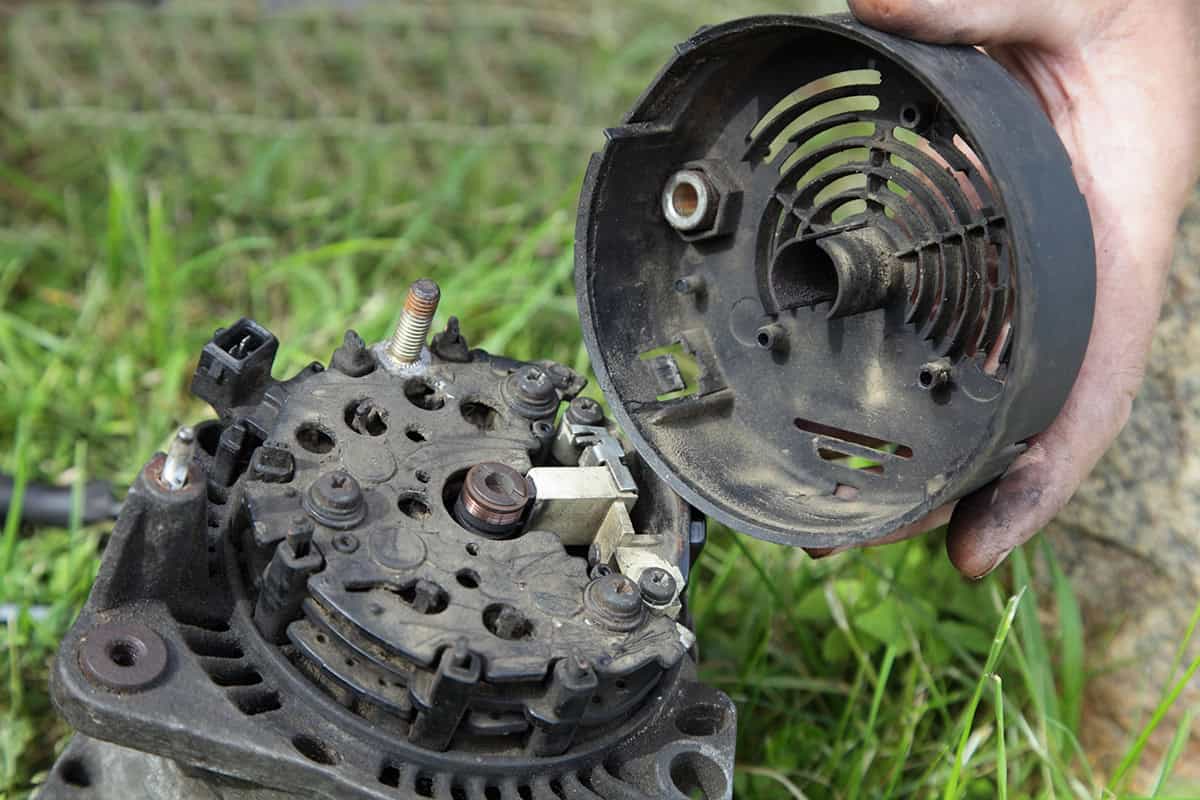
- Remove the Alternator: To get to the voltage regulator, you’ll usually have to remove the alternator. This process varies from car to car, so refer to your car’s manual for specific instructions.
- Locate the Alternator: The alternator is usually located at the front of the engine. It’s typically an aluminum part with a large pulley.
- Remove the Alternator Belt: Loosen the bolt that holds the alternator in place, then remove the belt from the alternator pulley.
- Remove the Alternator: Remove any bolts or screws holding the alternator in place, then carefully remove the alternator. You may also need to disconnect any wiring attached to it.
- Access the Voltage Regulator: Once you have removed the alternator, you should be able to see the voltage regulator. It’s typically on the back side of the alternator. You may need to remove a few screws to access it.
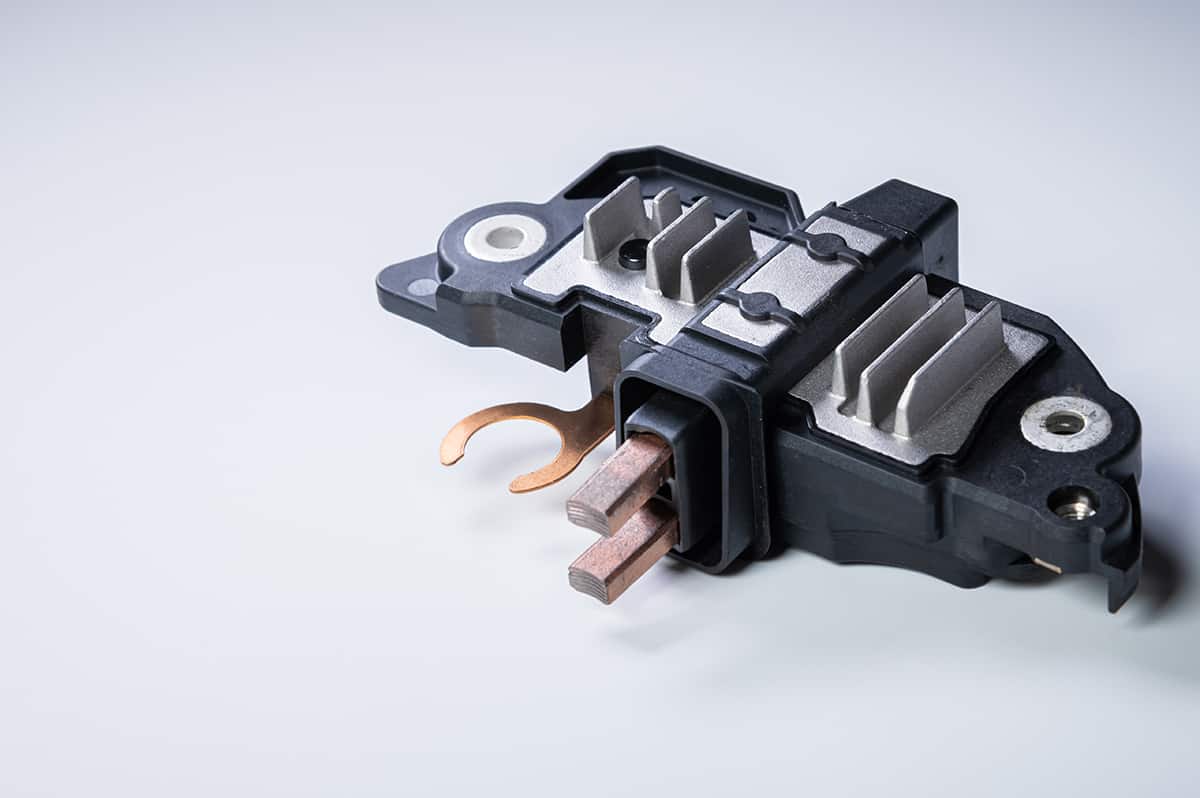
- Remove the Voltage Regulator: Once you have access, remove any screws holding the voltage regulator in place. Then, carefully remove the voltage regulator from the alternator.
- Replace the Voltage Regulator: Once the alternator is removed, you can access the voltage regulator. Remove the old voltage regulator and replace it with the new one. Make sure the new one is the correct model for your specific car.
- Reinstall the Alternator and Reconnect the Battery: After replacing the voltage regulator, reinstall the alternator and reconnect the battery.
- Test the System: Finally, start your car and check the voltage levels again to ensure everything is working properly.