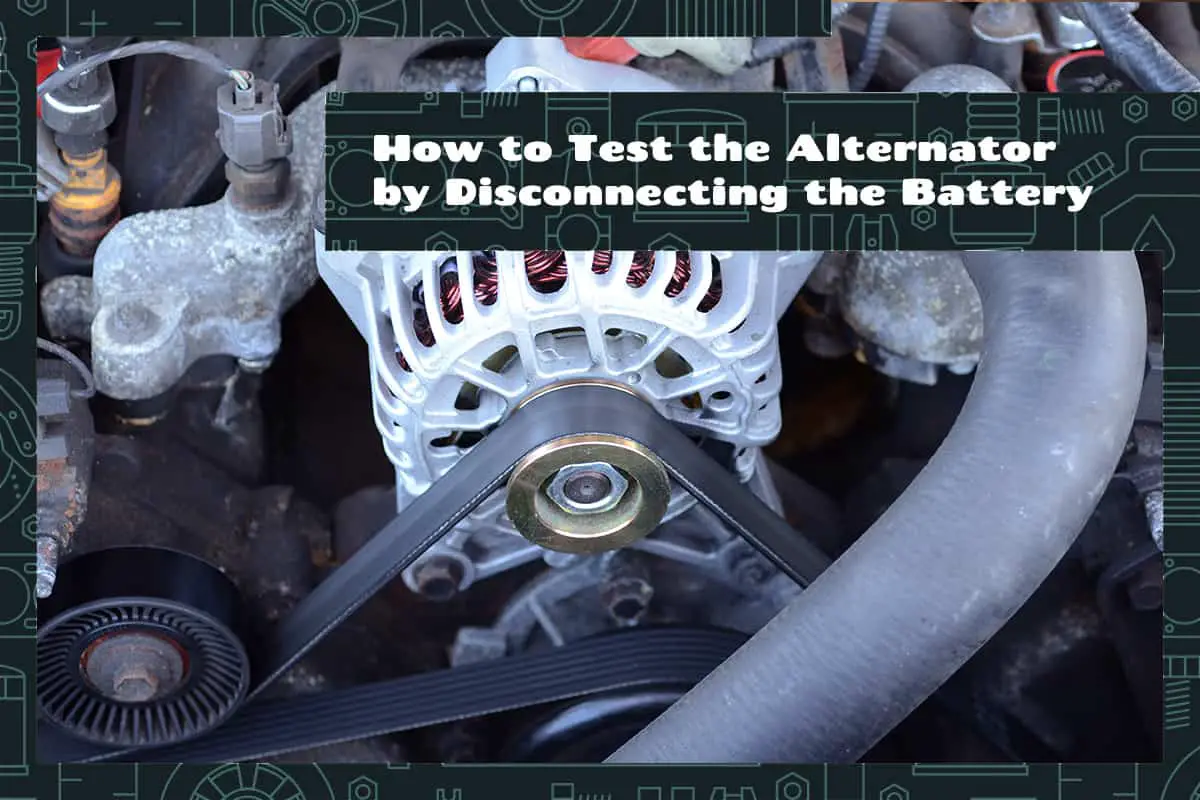
Your car’s alternator is an essential component that keeps your vehicle running smoothly. It generates electricity to power all the electrical systems while charging the battery to ensure it’s always ready to start the engine. A simple and effective way to test your alternator at home is by disconnecting the battery.
To test the alternator by disconnecting the battery, follow these steps:
- Park your car and turn off the engine
- Disconnect the battery’s negative and positive terminals
- Start the engine and observe the performance
- Evaluate the indicators of a healthy or failing alternator
- Reconnect the battery
In this comprehensive guide, we will cover the step-by-step process of testing your alternator by disconnecting the battery, the precautions to take, and what to do in case you find that your alternator needs replacement or repair.
Basics of the Alternator
The alternator is an essential part of your car. It generates electricity to keep your car running and charges the battery. Let’s explore the basics of the alternator and its function in a car.
Purpose of the alternator
The alternator’s main job is to produce electricity for your car’s electrical system. It powers things like the headlights, radio, and air conditioning. It also keeps your car’s battery charged so it has enough power to start the engine and run other electronic devices.
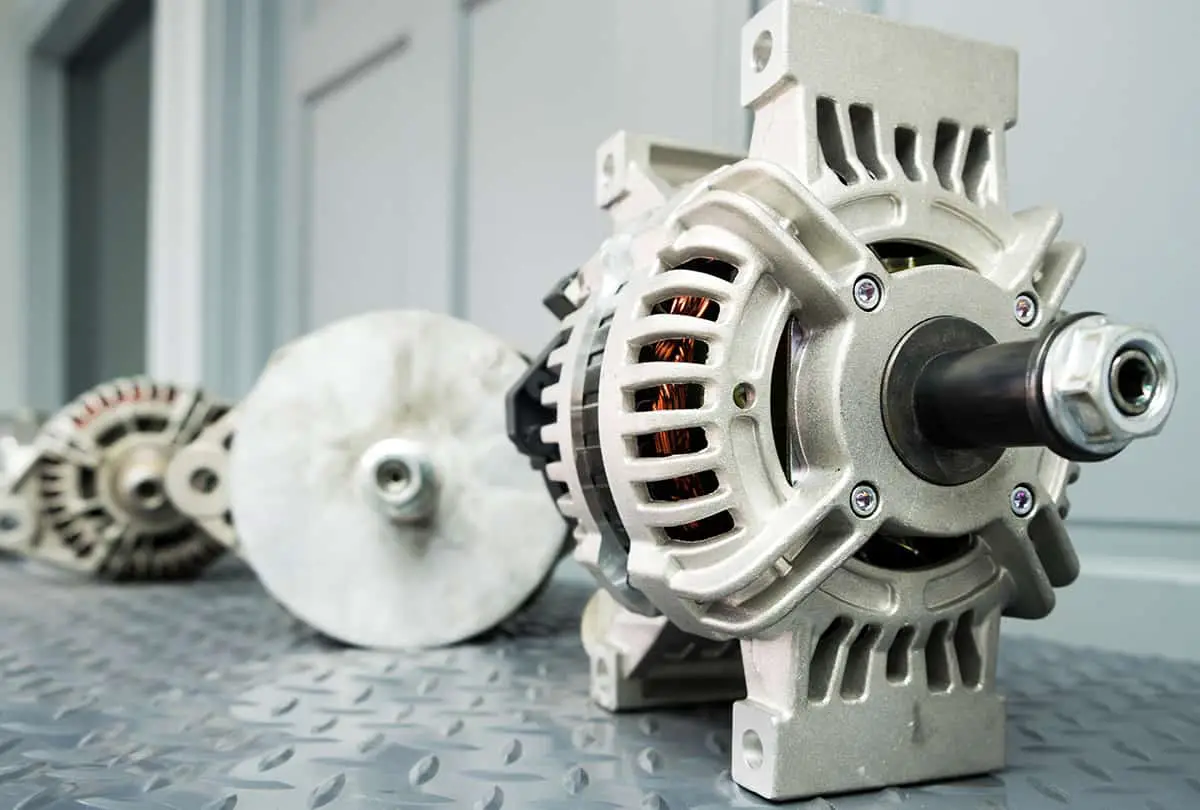
How an alternator works
An alternator generates electricity by using the engine’s spinning motion. When the engine is running, a belt connected to the engine turns a part called the rotor inside the alternator. The spinning rotor creates a magnetic field, which generates electricity. This electricity is then sent to your car’s electrical system and battery.
Common signs of alternator failure
If your alternator isn’t working well, your car might show some warning signs. These can include:
- Dimming or flickering headlights
- Warning light on the dashboard
- Electrical issues
- Strange noises
- Dead battery
- The smell of burning rubber
Testing the Alternator—The Battery Disconnect Method

Before testing your alternator, it’s important to follow some safety steps. This helps keep you and your car safe during the process.
Necessary tools and equipment
You’ll need some basic tools like a wrench or pliers, gloves, and safety goggles. Make sure you have all the tools before starting to avoid any problems.
Preparing your workspace
Choose a flat, dry area to work on your car. Make sure there’s enough space to move around your car safely. Also, turn off your car’s engine and let it cool down.
Safety measures during testing
Wear gloves and goggles to protect your hands and eyes. Don’t touch any hot or moving parts in the engine. Always follow the instructions in this guide carefully.
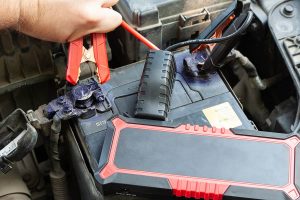
1. Disconnect the Battery
Locate the battery—Find your car’s battery, usually under the hood or in the trunk.
Identify the terminals—There are two terminals on the battery—one positive (+) and one negative (-). The positive terminal is usually red, and the negative terminal is usually black.
Remove the negative terminal—Use a wrench or pliers to loosen the nut on the negative terminal. Carefully lift the cable off the terminal and move it away from the battery.
Remove the positive terminal—Repeat the same process for the positive terminal. Make sure the cables do not touch each other or any metal parts.
Check the disconnection—Ensure that the battery is completely disconnected and the cables are safely away from the terminals. Now you can test your alternator.
2. Starting the Engine
Now that you’ve disconnected the battery, it’s time to start the engine. Make sure you’re in a safe area with good ventilation, as car engines produce exhaust fumes. Follow these steps:
- Get into your car and put the key in the ignition.
- Turn the key to start the engine. It might take a few tries since the battery is disconnected.
- Once the engine starts, let it run for a few minutes.
3. Evaluating the Alternator’s Performance
While the engine is running, watch and listen carefully for any signs that your alternator might not be working well:
- Check the dashboard—Look for any warning lights, like the battery light, which could indicate a problem with the alternator.
- Listen for strange noises—A failing alternator might make unusual sounds, like whining or grinding noises.
- Check the headlights—If your car’s headlights flicker or dim when turned on, the alternator might not be providing enough power.
4. Reconnecting the Battery
Once you’ve finished evaluating the alternator’s performance, turn off the engine and reconnect the battery. Follow these steps:
- Reattach the positive terminal—Place the positive cable back onto the positive terminal. Tighten the nut using a wrench or pliers, but be careful not to overtighten it.
- Reattach the negative terminal—Repeat the same process for the negative terminal. Make sure both cables are securely connected to their respective terminals.
- Check the connections—Ensure the cables are tight and properly connected to the battery terminals. Start the engine again to make sure everything is working correctly.
Alternator Replacement Process
In many cases, the alternator should last the entire lifespan of the car, but the typical lifespan of an alternator is 6 to 10 years or up to 150,000 miles. If you’ve discovered that your alternator is not working well, it might be time to replace it.
This process might seem a bit challenging, but with the right tools and some patience, you can do it yourself.
- Gather your tools—To replace your alternator, you’ll need a wrench or socket set, a screwdriver, and gloves for safety. Make sure you have all the necessary tools before starting.
- Disconnect the battery—Before working on the alternator, always disconnect the battery as explained in the previous section to avoid any electrical hazards.
- Locate the alternator—Find the alternator in your car’s engine compartment. It’s usually close to the engine and connected to a belt.
- Loosen the belt—To remove the alternator, you’ll need to loosen the belt that connects it to the engine. Locate the tensioner, a pulley that holds the belt tight, and use a wrench to loosen it. Once the tension is released, carefully slide the belt off the alternator’s pulley.
- Disconnect the wiring—The alternator has a few wires connected to it. Carefully disconnect these wires, making sure to remember where each one goes. You might want to take a picture or make a note to help you reconnect them later.
- Remove the mounting bolts—The alternator is held in place by a few mounting bolts. Use a wrench or socket set to remove these bolts, and then carefully lift the alternator out of the engine compartment.
- Install the new alternator—Place the new alternator in the same position as the old one. Reinstall the mounting bolts and tighten them securely. Reconnect the wiring to the new alternator, making sure each wire goes to the correct place.
- Reinstall the belt—Place the belt back onto the alternator’s pulley and use the tensioner to tighten it. Make sure the belt is properly seated on all the pulleys and is tight enough to prevent slipping.
- Reconnect the battery—Once the new alternator is installed, reconnect the battery following the steps from the previous section.
Alternative Alternator Testing Methods
While disconnecting the battery is one way to test your alternator, there are other methods that can also help you determine if your alternator is working well.
- Using a voltmeter—A voltmeter is a tool that measures electrical voltage. To test your alternator, connect the voltmeter to your car’s battery while the engine is running. A healthy alternator should show a reading between 13.7 and 14.7 volts. If the reading is lower or higher, your alternator may need attention.
- Seeking professional diagnostics—If you’re unsure about testing your alternator yourself, you can always visit a professional mechanic. They have specialized equipment and experience to accurately detect error codes with your alternator and recommend the best course of action for your car.