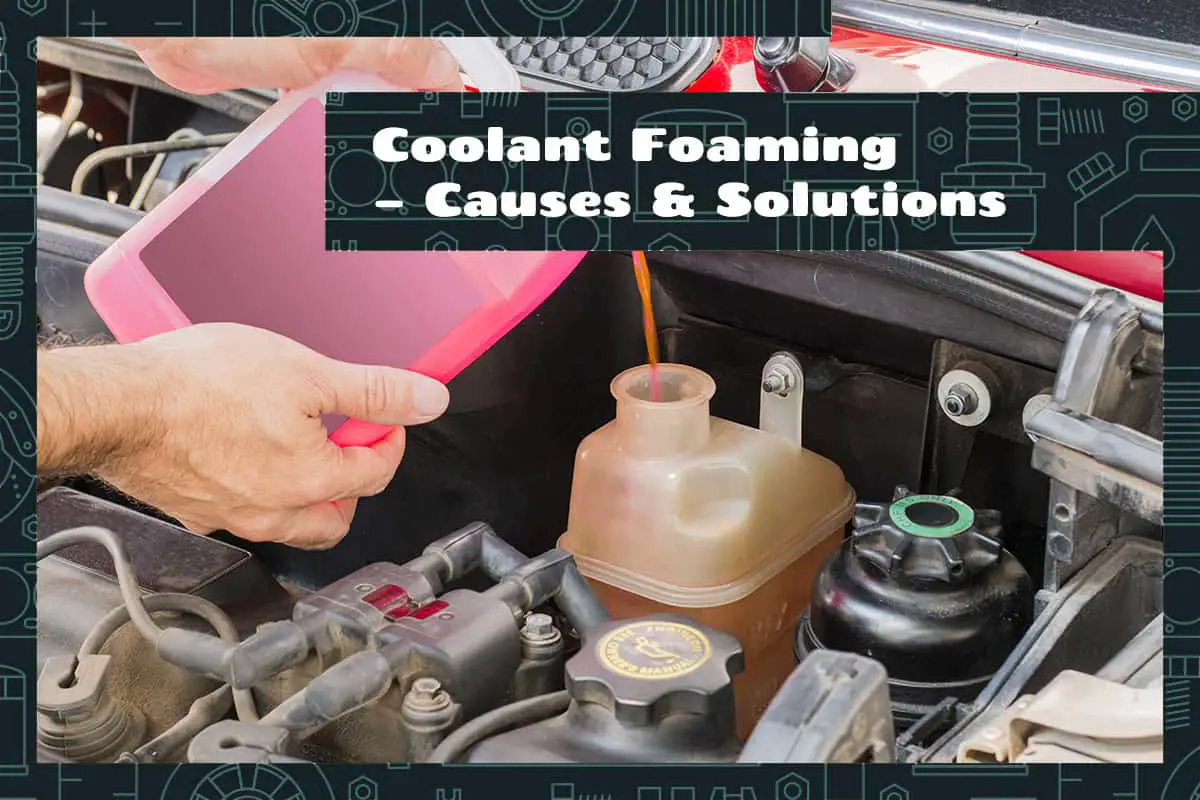
Coolant maintains the optimal engine temperature of cars. This fluid circulates through the engine, absorbing excess heat and preventing overheating. It works best at a consistent texture, but issues like foaming can disrupt this flow, potentially leading to engine complications.
Coolant foaming occurs when air bubbles mix with the coolant, usually due to contaminants, incorrect coolant mixture, or mechanical failures. Resolving it involves flushing the system, using the right coolant, and replacing damaged parts.
Today, we will dive deep into the causes of coolant foaming and effective solutions to prevent and tackle the issue.
What Is Coolant Foaming and Why Should You Be Concerned
Every car has a cooling system that ensures the engine doesn’t overheat, and at the heart of this system is the coolant. The coolant’s primary job is to absorb engine heat and disperse it through the radiator. For this process to be efficient, the coolant should flow smoothly and consistently. However, there are instances where the coolant starts to foam, which means it has air bubbles.
Coolant foaming, in simple terms, is the introduction of air into the cooling system. When air mixes with the coolant, it results in a frothy, bubbly substance that disrupts the fluid’s flow. Air is not as effective as coolant in absorbing and dispersing heat. As such, when there’s a significant amount of air due to foaming, the cooling system becomes less efficient.
Immediate Effects of Coolant Foaming
Symptoms associated with coolant foaming are as follows:
- Overheating Engine: Since foamed coolant is less effective in heat absorption, one of the first signs of foaming is an engine that tends to overheat frequently.
- Erratic Temperature Gauge: The car’s temperature gauge may show sudden spikes and drops instead of maintaining a consistent reading.
- Coolant Spillage: Foaming can build pressure in the cooling system, leading to coolant overflow or spillage from the reservoir.
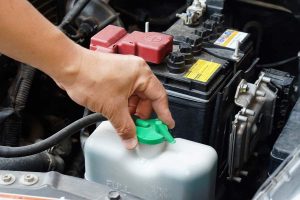
- Visible Bubbles: On checking the coolant reservoir or radiator (when the engine is cool), you might see bubbles or froth, indicating the presence of air in the system.
Long-Term Effects of Coolant Foaming
Foamed coolant doesn’t just make your engine run hot. Its effects can be far-reaching:
- Engine Wear: Overheated engines cause parts to wear out faster. Metals can warp, seals can degrade, and the overall lifespan of your engine can decrease.
- Reduced Fuel Efficiency: An inefficient cooling system makes your engine work harder, which in turn burns more fuel. Thus, foaming can also negatively impact your vehicle’s fuel economy.
- Potential Breakdowns: Ignoring foaming can lead to sudden vehicle breakdowns, as crucial parts might fail due to overheating.
Main Causes of Coolant Foaming
Coolant foaming can be the result of all sorts of issues. Let’s explore the main root causes in more detail.
1. Contaminants Within the Cooling System
A clean cooling system is a happy system. Over time, though, foreign substances can make their way into it. Whether it’s dirt from the environment, rust forming inside older components or residues from a repair job, such contaminants are detrimental.
- Dirt and Debris: Dust and particles can sometimes find their way into the coolant. These particles disrupt the smooth flow of the coolant, leading to foam formation.
- Rust and Corrosion: Older vehicles, or those that haven’t had a coolant change in a long time, can develop rust in the cooling system. The rust particles, when suspended in the coolant, promote foaming.
2. Incorrect Coolant Mixture
The coolant in most cars is a mixture of water and antifreeze. This mix ensures the fluid remains liquid in freezing temperatures and doesn’t boil easily when it’s hot.
- Wrong Coolant Type: Different vehicles require different coolant types. Using an incompatible coolant can cause chemical reactions that result in foaming.
- Improper Water-to-Coolant Ratio: Typically, the mixture involves equal parts water and antifreeze. However, this ratio can vary based on the vehicle and the climate. An incorrect ratio can either lower the boiling point or allow the coolant to freeze, both leading to foaming.
3. Mechanical Failures Leading to Foaming
Mechanical parts can wear out or malfunction, and when they do, they might introduce air into the cooling system.
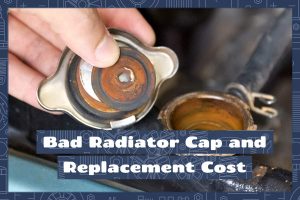
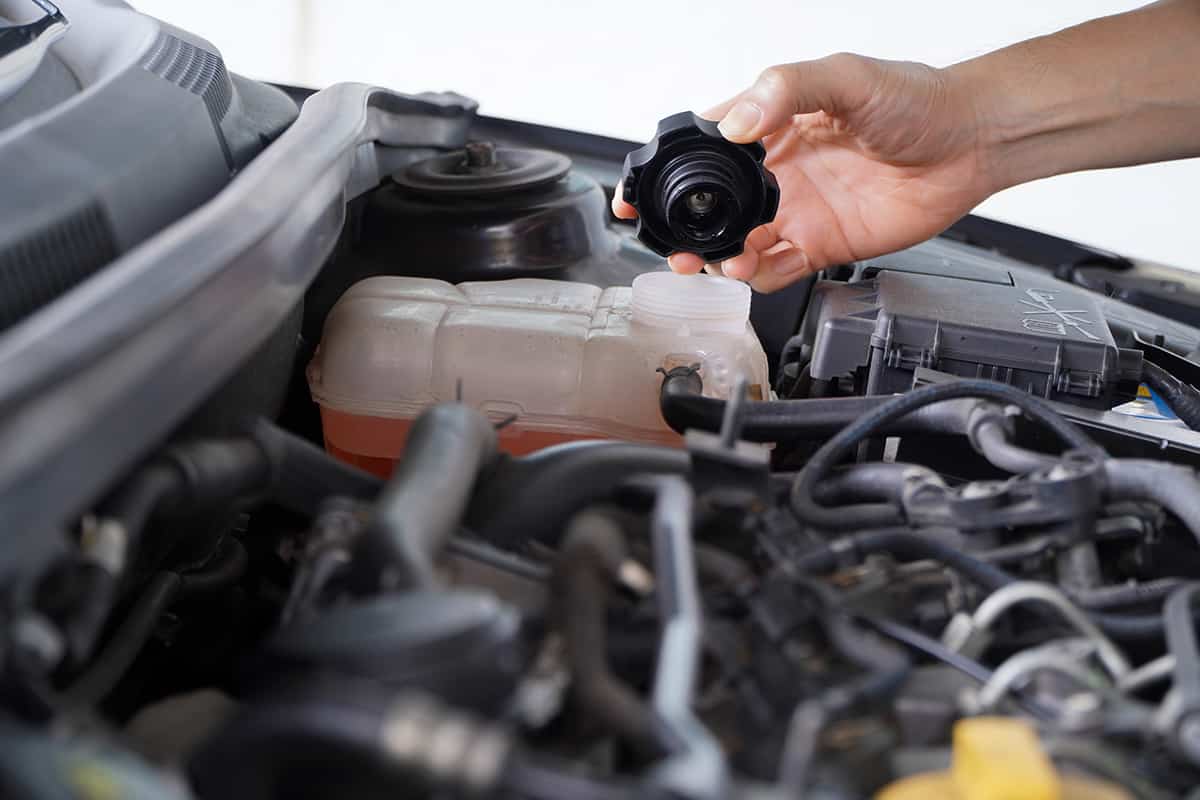
- Faulty Radiator Cap: The radiator cap maintains a specific pressure inside the cooling system. If it’s damaged or doesn’t fit properly, air can seep in, leading to foaming.
- Damaged Head Gasket: The head gasket ensures there’s no leakage between the engine block and the head. A damaged gasket might allow exhaust gases or oil to mix with the coolant, causing foaming.
- Air Pockets from Repairs: Sometimes, after a repair job or when filling the coolant, air gets trapped in the system. This trapped air can lead to foaming unless it’s bled out properly.
4. Overheating Due to External Factors
Sometimes, factors external to the coolant itself can lead to overheating, which indirectly promotes foaming.
- Blocked Radiator: The radiator dissipates heat from the coolant. If it’s blocked or clogged, it can’t do its job, causing the coolant to overheat and foam.
- Broken Water Pump: The water pump circulates the coolant. If it’s broken or malfunctioning, the coolant doesn’t move as it should, leading to hot spots and subsequent foaming.
Solutions to Combat Coolant Foaming
Addressing the root causes of foaming and implementing preventive measures can save you from costly repairs in the long run. Here are a few suggestions you can try to correct the problem.
Regular System Cleanups
- Coolant Flush: Over time, contaminants accumulate in the cooling system. A regular coolant flush, typically every 30,000 miles or as recommended by the manufacturer, can help remove these contaminants. This process replaces the old coolant with a fresh mix, ensuring smooth flow and efficient heat absorption.
- Radiator Cleaning: Cleaning the radiator helps remove external blockages, such as leaves or dirt, and internal ones like sediment build-up. This ensures efficient heat dissipation, reducing the chances of foaming due to overheating.
Correct Coolant Mixture
- Refer to Manufacturer Guidelines: Always choose the coolant type recommended by your vehicle’s manufacturer. This ensures compatibility and prevents adverse chemical reactions that can lead to foaming.
- Maintain Proper Ratios: Stick to the recommended water-to-antifreeze ratio. If you’re unsure, professional mechanics or automotive centers can assist in achieving the correct mixture.
Address Mechanical Failures
- Inspect Radiator Cap: Regularly inspect the radiator cap for wear and tear. A malfunctioning cap can introduce air into the system. If the seal looks worn out or if the cap doesn’t fit snugly, it’s time for a replacement.
- Check and Replace the Head Gasket: A damaged head gasket can let unwanted substances into the coolant. Look out for signs like milky engine oil or white exhaust smoke. If you suspect a breach, get the gasket inspected and replaced if necessary.
- Bleed the System After Repairs: Ensure that the cooling system is properly bled after any repair or coolant refill. This process takes about half an hour to complete on your own.
Monitor and Regulate Engine Temperature
- Install a Quality Thermostat: The thermostat regulates coolant flow based on the engine’s temperature. A malfunctioning thermostat can cause the engine to overheat. Ensure it’s in good working condition, and consider a replacement if your vehicle’s temperature shows frequent fluctuations.
- Ensure Efficient Water Pump Operation: The water pump circulates the coolant. If it’s malfunctioning, certain engine parts may get too hot. Listen for noises or check for leaks to determine the pump’s health. Replace if needed to ensure consistent coolant circulation.
Use Anti-Foaming Additives
While many additives are available in the market, it’s essential to select one compatible with your vehicle. Once you’ve chosen an additive, follow the manufacturer’s guidelines for its application. Use the recommended amount to get the desired results.