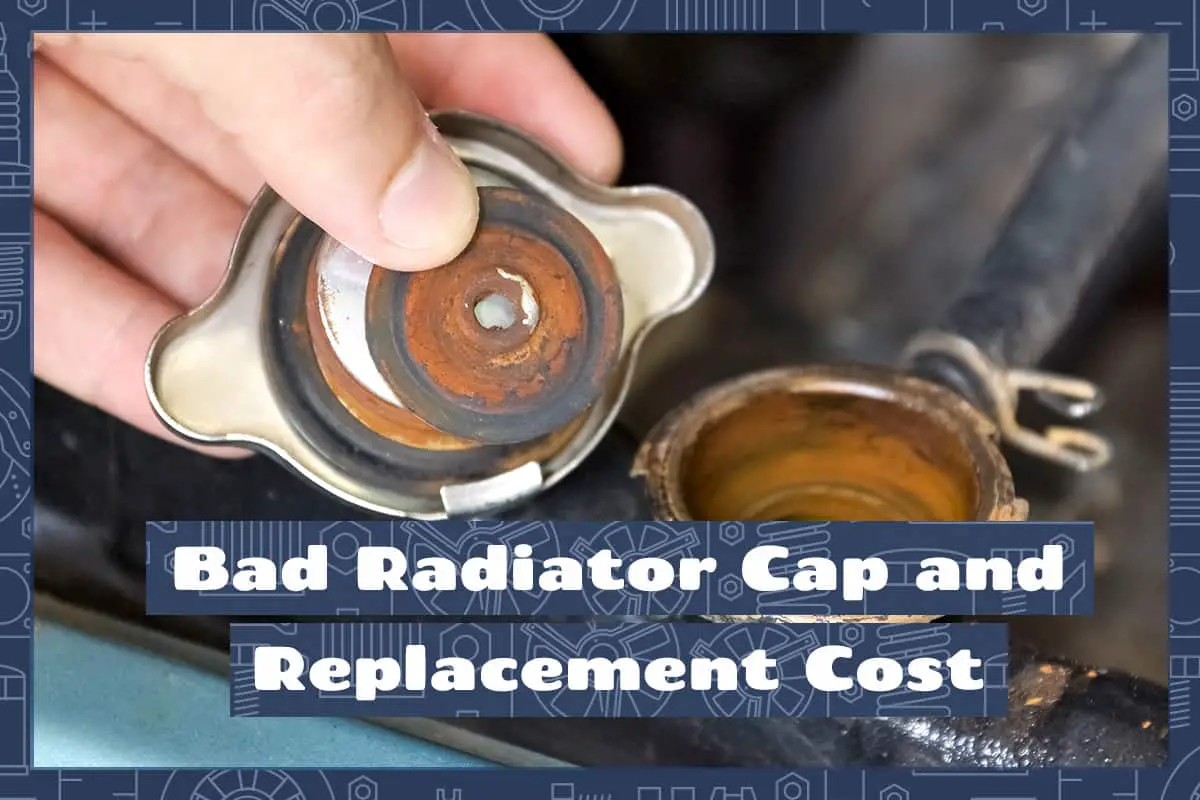
A radiator cap might seem like a small and insignificant part of your vehicle, but it serves an essential role in your car’s health and performance. This humble component, sitting atop your radiator, acts as the gatekeeper of your cooling system, helping to maintain the correct pressure and prevent coolant leaks. Ignoring a faulty radiator cap can lead to serious engine problems, including overheating.
The symptoms of a bad radiator cap include:
- Engine overheating
- Coolant leaks
- A collapsed radiator hose
- Excessive coolant system pressure
- Decreased fuel efficiency
This article will guide you through the critical aspects of radiator caps. From understanding their function, and recognizing the signs of a faulty cap, the implications, to a comprehensive discussion on replacement and associated costs. It’s a one-stop guide for all you need to know about radiator caps and their maintenance.
The Radiator Cap: An Essential Component
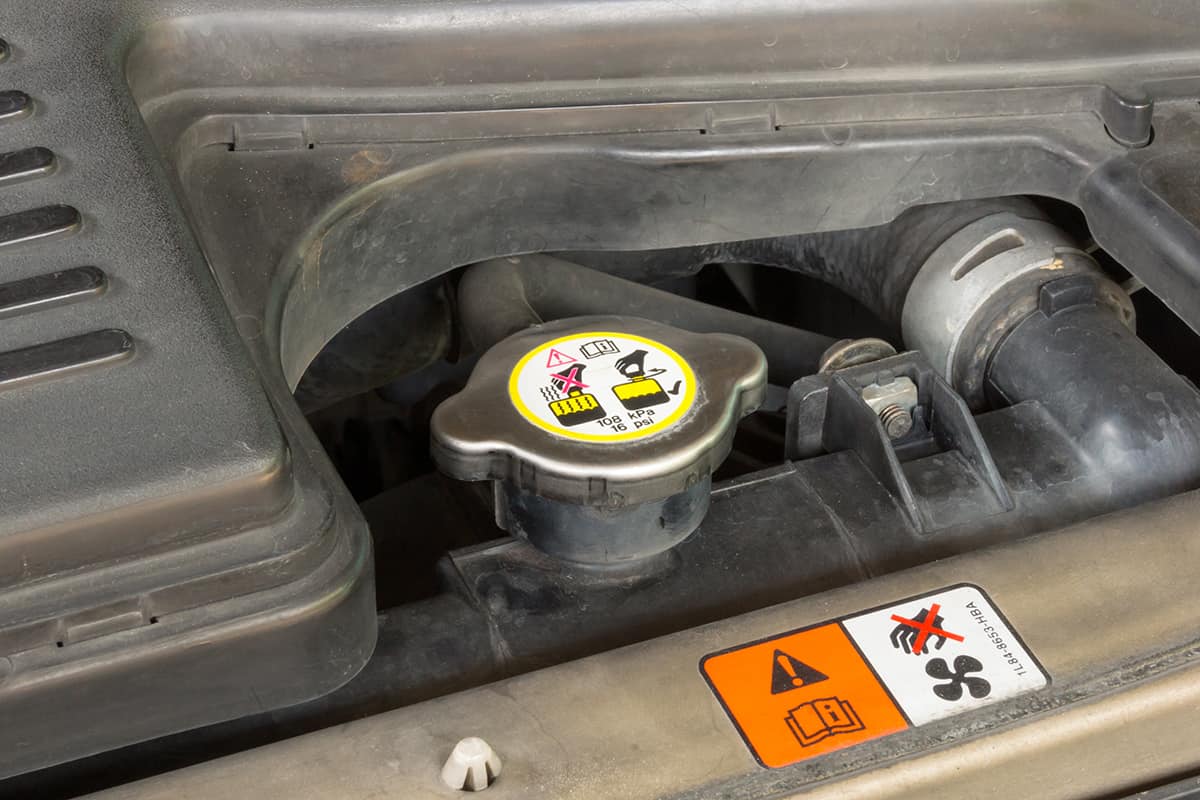
The radiator cap plays a dual role in the car’s cooling system. Firstly, it maintains an optimal pressure level inside the radiator. This enhanced pressure raises the boiling point of the coolant, allowing the engine to operate at higher temperatures without overheating. Secondly, the cap acts as a seal, preventing the coolant from escaping and ensuring efficient circulation of the coolant throughout the system.
A typical radiator cap functions using a system of valves—the main pressure valve and the vacuum valve. The main pressure valve, controlled by a spring, stays closed under normal conditions, keeping the system pressurized. When the pressure exceeds the cap’s rating, the valve opens, allowing excess coolant to escape into the overflow reservoir.
Conversely, when the engine cools down, a vacuum forms in the cooling system. The vacuum valve in the cap opens, letting coolant from the overflow reservoir back into the radiator. This intricate dance of pressure dynamics ensures your engine stays within its optimal operating temperature range.
Recognizing the Symptoms of a Bad Radiator Cap
Just like every other component in your vehicle, a radiator cap can deteriorate over time. Here, we explore the various symptoms that can indicate a bad radiator cap.
1. Overheating Engine
If the cap is unable to maintain adequate pressure within the cooling system, the coolant’s boiling point drops, leading to the formation of steam. This condition can cause your engine to overheat. Noticing your temperature gauge frequently hitting the ‘hot’ mark can be a clear indication of this problem.
2. Coolant Leakage
If the cap isn’t sealing correctly due to damage or wear and tear, coolant can leak onto the ground under your vehicle. A puddle of bright green, yellow, or pink fluid under the car can be a clear sign of a coolant leak. A consistent drop in the coolant level in your overflow tank can also signal a leaky cap.
3. Collapsed Radiator Hose
The radiator cap’s vacuum valve allows coolant to return from the overflow tank to the radiator as the engine cools down. A malfunctioning vacuum valve can create a vacuum inside the radiator, leading to a collapsed radiator hose. This situation obstructs the coolant flow, affecting the cooling efficiency and potentially causing engine overheating.
4. Excessive Coolant System Pressure
When the pressure exceeds the radiator cap’s specified limit, the cap should release the excess pressure to the overflow tank. If the cap fails to perform this function, pressure can build up, potentially damaging seals and hoses, leading to coolant leaks.
5. Decreased Fuel Efficiency
As a faulty radiator cap can lead to an inefficient cooling system and overheating engine, the vehicle might consume more fuel to compensate. If you notice a sudden decrease in miles per gallon, coupled with other symptoms, consider checking your radiator cap.
How to Replace a Radiator Cap
Replacing a radiator cap is a fairly simple task that even a novice can accomplish with basic automotive knowledge. However, you need to take proper safety precautions, as you’ll be dealing with a potentially hot and pressurized system. Below, we discuss the tools needed for the job, the steps to follow, and some critical safety precautions.
Necessary Tools
To replace your radiator cap, you don’t need a vast arsenal of tools. In fact, you may not need any tools at all, as most radiator caps can be removed and replaced by hand. However, you will need a new radiator cap.
Ensure you buy a cap that matches your vehicle’s specifications—this information can usually be found in your vehicle owner’s manual. It’s also helpful to have a pair of gloves for protection against potential hot coolant and a rag for any spills.
Step-by-step Guide to Replacing a Radiator Cap
Here’s a quick guide based on the video tutorial by TRQ on YouTube:
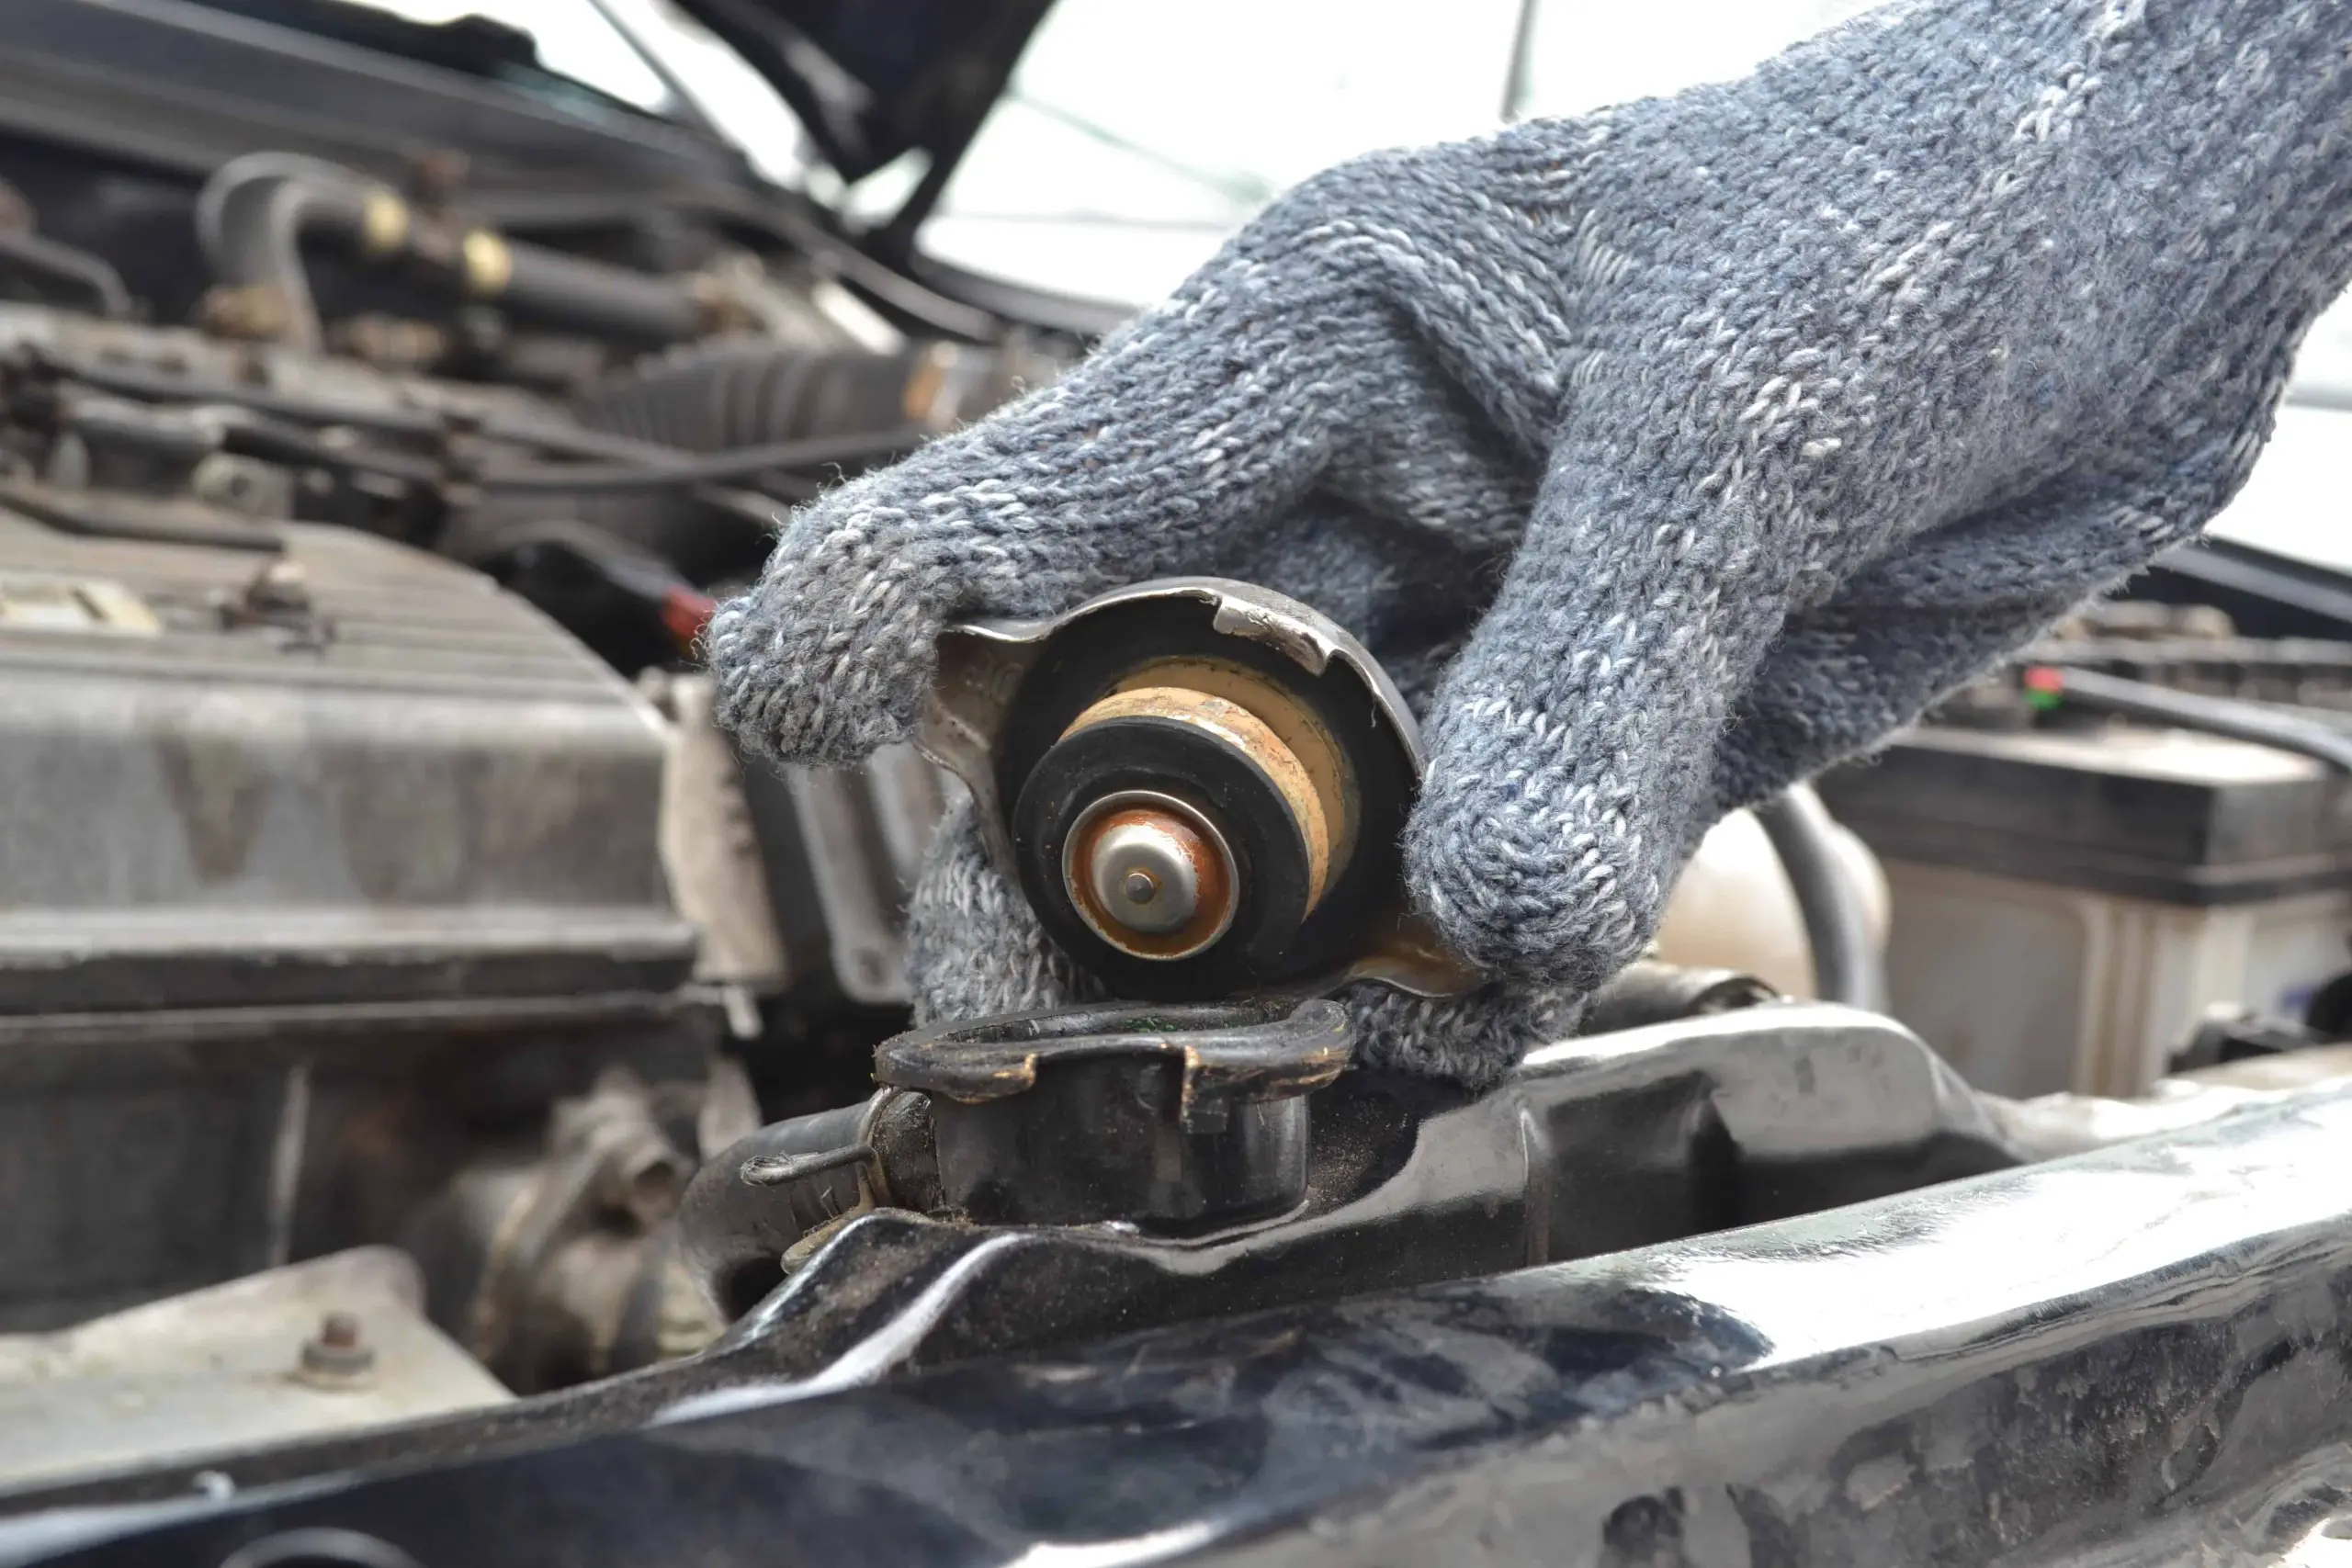
- Ensure the Engine is Cool: Never attempt to remove the radiator cap while the engine is hot. The coolant system is pressurized and can eject hot coolant if you try to remove the cap. To be safe, always wait for at least two hours after the engine has been switched off before attempting to replace the cap.
- Remove the Old Cap: Place the rag over the radiator cap to protect your hand, then push down on the cap (it’s spring-loaded) and turn it counter-clockwise to the first stop. Pause for any hissing sound (pressurized steam escaping). Once the hissing stops, push down and continue turning counterclockwise to remove the cap.
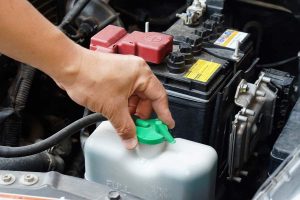
- Inspect the Coolant: Once the cap is off, inspect the coolant. It should be filled up to the base of the filler neck. If it’s low, you may need to add more coolant once the new cap is installed.
- Install the New Cap: Take your new radiator cap and, while pushing down, turn it clockwise until you feel it fully engage. Ensure it’s tight and secure.
- Check for Leaks: Start your vehicle and let it warm up to operating temperature. Watch for any signs of leakage around the radiator cap and monitor the temperature gauge to ensure the engine doesn’t overheat.
FAQs
1. How often should I replace my radiator cap?
There’s no universal timeline for replacing your radiator cap as it largely depends on the vehicle’s usage and conditions. However, it’s advisable to inspect your radiator cap annually as part of regular vehicle maintenance. Look for any visible signs of wear and tear such as cracks, rust, or a worn-out seal.
2. Is it expensive to replace a radiator cap?
Replacing a radiator cap is relatively inexpensive compared to other automotive repairs. A standard new radiator cap usually costs between $10 and $30, depending on the type and brand. If you choose to have a professional mechanic perform the replacement, the labor cost typically ranges from $20 to $50.
However, the financial implications of not replacing a faulty cap can be significant. If left unchecked, a bad cap can cause the engine to overheat, leading to potentially costly repairs such as a blown head gasket or, in severe cases, a complete engine replacement.
3. Can I replace the radiator cap by myself?
Yes, replacing a radiator cap is generally a simple task that can be performed by anyone with basic automotive knowledge. You’ll need a new radiator cap that matches your vehicle’s specifications (usually found in the vehicle owner’s manual), a pair of gloves for protection, and a rag for potential spills.
The key steps involve waiting for the engine to cool down, carefully removing the old cap, inspecting the coolant level, and installing the new cap. Safety is paramount during this process, and you should never attempt to remove the radiator cap while the engine is hot as it can eject pressurized and hot coolant. If you’re unsure or uncomfortable doing it yourself, it’s best to seek help from a professional mechanic.