Vehicles are complex machines with lots of moving parts working together. One of those important parts is called the “transmission band.” Among the many parts of the transmission, the bands play a crucial role in ensuring your car runs properly.
Transmission bands are parts of your car’s transmission that help control gear shifting. They can become loose due to the following causes:
- Wear and tear
- Lack of maintenance
- Overheating
- Improper adjustment
- Faulty clutch
- Fluid contamination
- Seal or gasket failure
- Vibration or impact
This article will explore how transmission bands work, the signs of loose transmission bands, their causes, and how to fix them.
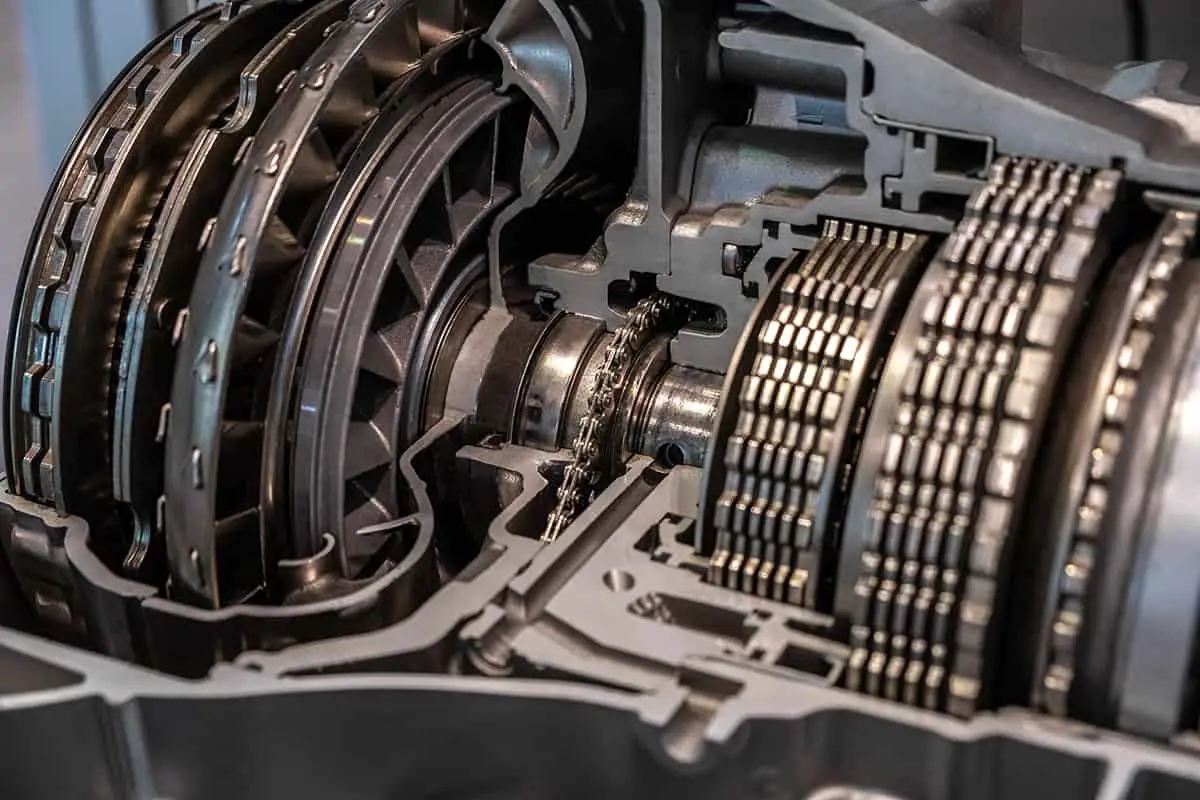
The Mechanics of Transmission Bands
When you drive, your vehicle smoothly shifts gears, allowing it to speed up, slow down, or reverse. But have you ever wondered how this happens? This process is made possible by a complex system in your car called the transmission, with an important part known as transmission bands.
How transmission bands work in vehicles
Transmission bands are strong straps in your vehicle’s transmission that help control the gear-shifting process. They do this by wrapping around parts of the gear system, kind of like a belt around your waist, and tightening or loosening when needed.
Transmission bands are a vital part of the gear-shifting process. Without them, gear shifting could become jerky or not work at all. When the transmission bands are in good shape, they ensure that your vehicle can smoothly shift gears, whether you’re speeding up, slowing down, or changing direction.
If you’ve ever had a bike with gears, the concept is somewhat similar. The gears need to change smoothly to maintain your speed and control, and that’s what transmission bands help to do in a car.
However, transmission bands can become loose or wear out over time. This can cause issues with gear shifting, making your vehicle difficult to drive and potentially causing other damage to the transmission.
Symptoms and Signs of Loose Transmission Bands
Just like a bike that has trouble changing gears, a car with loose transmission bands might give you trouble too. This section will help you learn the signs that could mean your car’s transmission bands are loose.
1. Delayed gear shifts
When you’re accelerating, your vehicle should smoothly transition from one gear to the next. If there is a delayed gear shifting, it could be a sign that the transmission bands are loose.
2. Strange noises
This could be a whining noise, especially when you’re trying to speed up. Sounds like this shouldn’t be ignored.
3. Slipping gears
If your vehicle is suddenly shifting gears without you doing anything, it’s a sign something isn’t right. This is called “gear slipping,” and it can be caused by loose transmission bands.
4. Vehicle won’t move
In severe cases, your vehicle might not move at all, even though the engine is running. This happens when the bands are so loose that they can’t engage the gears properly.
Causes of Loose Transmission Bands
1. Wear and tear
Transmission bands are not immune to this wear and tear. Each time you drive, the bands tighten and loosen to shift gears. Over time, this constant movement can cause them to wear out and become loose.
2. Lack of maintenance
If your vehicle isn’t properly maintained, small problems might turn into bigger issues. If the transmission bands are not checked and adjusted regularly, they can become loose and cause problems.
3. Overheating
Your car’s engine can get very hot, especially when driving on hot days or for long periods. This heat can affect the transmission, including the bands. If the transmission gets too hot, the bands can become weakened and loose.
4. Improper adjustment
If they’re too tight or too loose, they can’t do their job properly. Sometimes, if the bands are not adjusted correctly during a repair or service, they can become loose.
5. Faulty clutch
The clutch is another part of the transmission that works closely with the bands. If the clutch is faulty or not working correctly, it can put extra stress on the bands. This can cause them to become loose over time.
6. Fluid contamination
Your vehicle’s transmission needs clean fluid to work well. If the fluid becomes contaminated with dirt or debris, it can damage the transmission bands. The dirty fluid can cause extra friction, which can wear out the bands and make them loose.
7. Seal or gasket failure
The seals and gaskets in your transmission help keep everything contained and working well. If these parts fail, transmission fluid can leak out. This could lead to a lack of lubrication for the bands, causing them to wear out and become loose.
8. Vibration or impact
If your vehicle experiences a lot of vibrations or impacts, it can affect the transmission bands. This could happen if you regularly drive on rough roads or if your vehicle’s engine vibrates a lot.
Repair and Replacement of Transmission Bands
If you’re having problems with your vehicle because of loose transmission bands, don’t worry! There are ways to fix this.
The repair process of transmission bands
Repairing transmission bands involves several steps. It’s usually a job for a professional mechanic because the transmission is a complicated part of your vehicle.
- Diagnosis: The first step is to figure out what’s wrong. The mechanic will check for the signs and symptoms you’ve learned about, like delayed gear shifts or weird noises. They might use special tools to take a closer look at the transmission.
- Disassembly: If the mechanic confirms that the problem is with the transmission bands, they’ll need to take apart the transmission to reach them. This step needs to be done very carefully to avoid damaging any parts.
- Repair or replacement: Depending on what the mechanic finds, they might be able to fix the bands by adjusting them. But if the bands are too worn out or damaged, they’ll need to be replaced.
DIY adjusting transmission bands
Adjusting the transmission bands of your vehicle is a complex task that requires a specific set of skills. This guide serves as an overview and the exact steps may vary based on the specific make and model of your vehicle.
- Gather necessary tools: Basic tools you’ll need include a socket set, torque wrench, and a flathead screwdriver. Ensure you have a clean workspace with plenty of light.
- Secure your vehicle: Park your vehicle on a level surface and use wheel chocks to prevent it from moving.
- Locate transmission bands: Refer to your vehicle’s service manual to identify the location of the transmission bands. They can typically be accessed from the bottom of the vehicle.
- Drain transmission fluid: Place a drain pan beneath the transmission and remove the drain plug to drain the transmission fluid.
- Access adjustment screw: You will see an adjustment screw on each of the bands. This is what you’ll use to adjust the bands.
- Loosen lock nut: Each adjustment screw is held in place by a lock nut. Using your socket set, carefully loosen but do not fully remove the lock nut.
- Back off the adjusting screw: Using your screwdriver, turn the adjusting screw counter-clockwise to back it off several turns.
- Tighten adjustment screw: Slowly tighten the adjustment screw clockwise until it’s snug, but be careful not to overtighten.
- Back off adjustment screw: Depending on your vehicle’s specifications, back off the adjustment screw by a certain number of turns (typically around 2-3). This provides the band with the right amount of tension.
- Tighten lock nut: Once the adjustment screw is correctly set, tighten the lock nut while holding the adjustment screw in place. This secures the adjustment.
- Refill transmission fluid: After adjusting the bands, refill the transmission with the appropriate type and amount of fluid.
- Test your vehicle: Start your vehicle and shift through all gears while stationary. If there are no issues, take a short test drive to ensure the adjustments have improved the gear shifting.
DIY replacing transmission bands
Replacing transmission bands is even more complex that typically requires professional expertise due to the specialized tools and detailed knowledge of the transmission required.
However, if you have advanced mechanical skills and understand the risks, here’s a general guide to follow after gathering the necessary tools and securing your vehicle:
- Remove transmission: Use the transmission jack to support the transmission. Disconnect the transmission from the engine. This typically involves disconnecting several components and hardware.
- Drain transmission fluid: Position a drain pan under the transmission. Remove the transmission oil pan and drain the fluid.
- Remove valve body: This part is connected to the transmission and needs to be removed to access the bands.
- Inspect bands: Examine the transmission bands for signs of wear, damage, or looseness.
- Remove old bands: If the bands are damaged or worn, they need to be removed. This can usually be done by loosening the adjustment screw and removing the band.
- Install new bands: Install the new bands in the same position as the old ones. Tighten them according to the manufacturer’s specifications.
- Reassemble transmission: Once the new bands are in place, reassemble the valve body, replace the oil pan, and refill with clean transmission fluid.
- Reinstall transmission: Reconnect the transmission to the engine and any other components you had to disconnect.
- Test drive: Once everything is reassembled, start your vehicle and let it idle to warm up the transmission fluid. Then, take it for a test drive, checking for smooth gear changes and any noises or other issues.