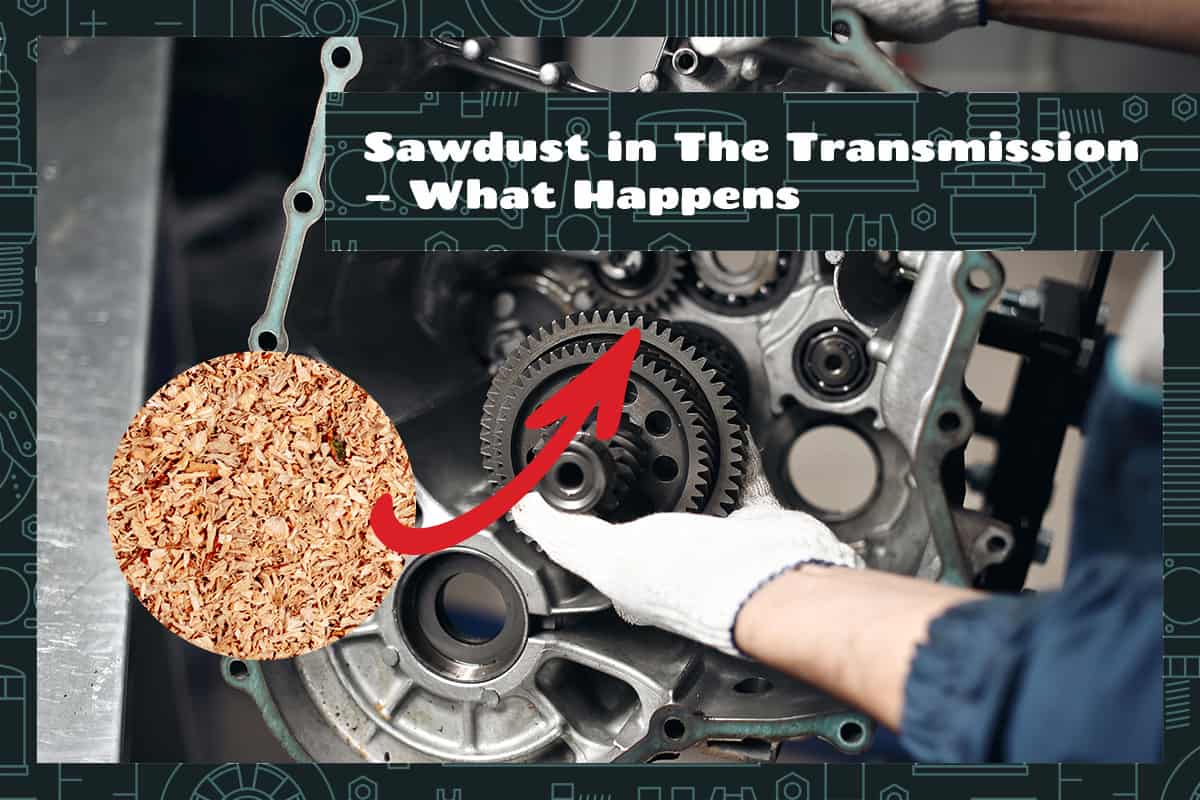
Car transmissions regulate power from the engine to the wheels and ensuring smooth gear shifts. Over time, transmissions can develop issues, and some unusual remedies have been suggested and tried. One such remedy, somewhat steeped in myth and mechanic folklore, is the addition of sawdust to the transmission.
People put sawdust in the transmission primarily to quieten noisy gear shifts and mask underlying mechanical problems, especially when trying to sell a car. However, while it might offer a temporary fix, sawdust can lead to accelerated wear and eventual failure of the transmission.
This guide will cover the effects of adding sawdust to your transmission, how you can spot a sawdust-laden transmission system, and what you should do about it.
Why Would Anyone Put Sawdust in a Transmission?

Transmissions ensure a smooth transfer of power from the engine to the wheels. However, when wear and tear set in, issues like noisy gear shifts can arise. Enter sawdust—an old-time remedy believed to address these issues. But why sawdust?
The grainy nature of sawdust can temporarily fill gaps between worn-out transmission parts. This can muffle noises and make the transmission sound healthier than it really is.
When selling a used car, a noisy transmission can lower its value. Some sellers, aiming for a higher sale price, might use sawdust to hide these noises and potential issues from prospective buyers.
Effects of Sawdust on Transmission
You may have read somewhere that the sawdust mixes with transmission fluid to become a gummy mess that sits on the bottom of the transmission pan. This, however, is not true since the sawdust will get everywhere. Introducing foreign materials like sawdust can have a range of effects, both short-term and long-term.
Immediate Effects
Introducing sawdust might appear to fix noise issues initially, but it brings several risks.
Firstly, sawdust can clog the transmission filter. A clogged filter restricts the flow of transmission fluid, essential for cooling and lubricating internal parts. This can result in overheating and possibly lead to warped or broken parts.
Secondly, sawdust acts as an abrasive. While it might fill gaps between worn parts, it also grinds against them. This abrasive action accelerates the wear of the transmission parts and creates significant damage.
Long-term Consequences
The temporary benefits of sawdust wear off, and the damage becomes evident. With the transmission parts undergoing accelerated wear, the chances of a total transmission failure increase.
Furthermore, sawdust affects the viscosity of the transmission fluid by causing it to become thicker and stickier. When this happens, it will not absorb heat efficiently, leading to overheating problems.
Identifying a Contaminated Transmission
When foreign substances, such as sawdust, infiltrate this system, they disrupt the transmission system’s operation. Here are a few ways you can tell whether there’s sawdust in your transmission.
Symptoms of Sawdust Contamination
- Unusual Noises: After a brief period of noise suppression, sawdust’s abrasive nature can cause grinding or whining sounds during gear shifts.
- Inconsistent Gear Shifts: Though sawdust might initially smoothen gear changes, its prolonged presence can lead to erratic or jerky shifts as damage accumulates.
- Overheating: Sawdust can clog transmission filters, hindering fluid flow. This restricted flow can cause the transmission to overheat, evidenced by a burning smell or the transmission warning light.
- Cloudy or Dirty Transmission Fluid: Checking the transmission fluid can offer clues. Clean fluid is usually red and transparent. The presence of sawdust can give it a cloudy appearance or gritty texture.
Physical Inspection Methods
- Dipstick Test: Using the transmission dipstick, one can check the fluid’s color and consistency. Sawdust particles might settle at the bottom or make the fluid appear murky.
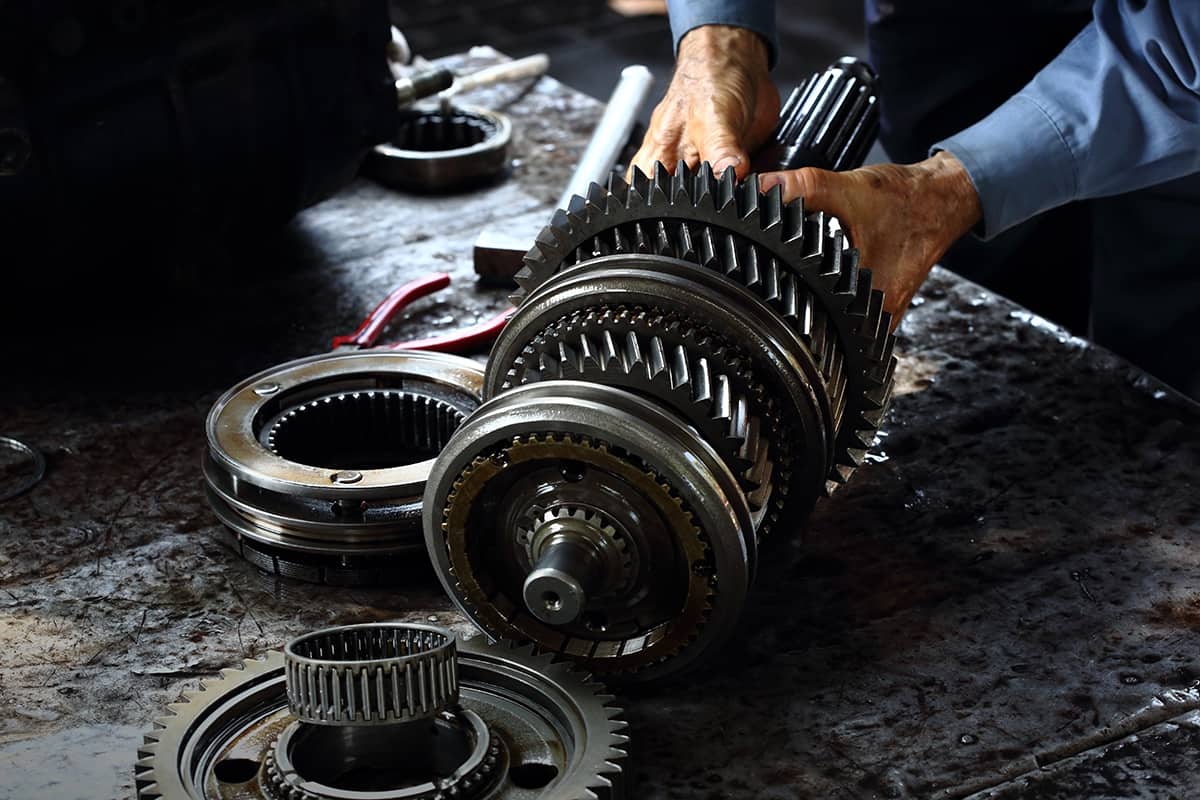
- Filter Examination: A look at the transmission filter can be revealing. If it’s clogged with fine particles resembling sawdust, it’s a clear indication of contamination.
- Pan Inspection: Dropping the transmission pan can provide a direct view of any contaminants. Sawdust, being heavier than fluid, will often settle at the pan’s bottom.
Professional Assessments
- Diagnostic Tests: Modern garages have diagnostic equipment that can read transmission performance, highlighting any irregularities that might suggest contamination.
- Expert Inspection: Mechanics, with their trained eyes, can often spot issues that the average car owner might miss. Their experience with various transmission problems can help them identify signs of sawdust contamination.
- Fluid Analysis: Some automotive centers offer detailed fluid analysis to check for contaminants and assess the overall condition of the transmission fluid.
The Procedure to Clean a Contaminated Transmission
If you think there’s sawdust in your transmission, you need to get rid of it as quickly as possible or before you start the engine. We’ll describe the process below, but if you don’t feel comfortable doing this, speak with a trusted mechanic.
1. Preparing the Workspace
- Safety First: Make sure the car has cooled down. Hot components can cause burns.
- Gather Necessary Tools: Have jacks, jack stands, drain pans, gloves, goggles, and other required tools at the ready.
2. Draining the Contaminated Fluid
- Locate the Drain Plug: Positioned beneath the transmission, this plug allows the fluid to be drained.
- Use a Drain Pan: Position a drain pan underneath to catch the fluid. Be prepared; the fluid can come out quickly.
- Allow Complete Drainage: Give ample time for the fluid to drain entirely, ensuring that contaminants settled at the bottom are removed.
3. Removing the Transmission Pan
- Loosen the Bolts: The transmission pan is held by several bolts. Start by loosening them without fully removing.
- Tip and Drain: Once loosened, tilt the pan to allow any remaining fluid to drain into the pan.
- Fully Remove the Pan: After draining, remove all the bolts and take off the pan. Be cautious; there might still be some residual fluid.
4. Cleaning the Transmission Pan
- Scrape Off Excess: Using a scraper, remove any excess gasket material or contaminants.
- Use a Cleaning Solvent: Clean the pan with a suitable solvent to eliminate any traces of contaminants.
- Dry Completely: Ensure the pan is thoroughly dried before reinstallation to prevent moisture-related issues.
5. Changing the Transmission Filter
- Locate the Filter: Depending on the car model, the filter might be bolted or simply clipped in place.
- Remove and Replace: Take off the old filter and replace it with a new one, ensuring it’s seated properly.
6. Reassembling and Refilling
- Reattach the Pan: Using a new gasket, position the transmission pan and tighten the bolts in a crisscross pattern to ensure even pressure.
- Refill Transmission Fluid: Using the car manufacturer’s recommended transmission fluid, refill the system through the dipstick tube.
- Check for Leaks: After filling, start the car and let it run for a few minutes, then inspect for any leaks.