The catalytic converter plays a pivotal role in reducing harmful emissions. However, various issues, such as engine misfires or contamination from oil or antifreeze, may lead to it becoming clogged. A clogged catalytic converter not only impacts your vehicle’s performance but can also lead to significant damage if not addressed promptly.
To unclog a catalytic converter, you’ll need to:
- Detach it from the vehicle
- Apply a specialized cleaner
- Rinse and thoroughly dry it
- Reattach it to your vehicle
- Perform post-process testing to confirm successful unclogging
In this comprehensive guide, we will delve into the causes and symptoms of a clogged catalytic converter, preventive measures, a detailed DIY guide to unclogging it, and maintenance tips for post-unclogging.
Signs of a Clogged Catalytic Converter
When your vehicle’s catalytic converter is clogged, it sends out warning signals. Spotting these signs early can prevent severe damage and keep your vehicle in prime condition.
Symptoms of a Clogged Catalytic Converter
Several symptoms can alert you to a clogged catalytic converter. These signs may vary, but they typically revolve around your vehicle’s performance and exhaust system.
- Decreased Engine Performance: One of the earliest and most noticeable signs is a significant drop in your vehicle’s performance. This includes lower horsepower, difficulty accelerating, and decreased fuel efficiency. When your catalytic converter is clogged, the exhaust gasses get trapped, restricting your engine’s capacity to function optimally.
- Unusual Noises: A faulty catalytic converter may cause your vehicle to make strange noises. This happens because the clog can lead to increased pressure in the exhaust system, causing it to emit rumbling or rattling sounds. If you notice such noises, especially during startup or acceleration, it could be a sign of a clogged converter.
- Foul Exhaust Smell: The catalytic converter is designed to convert harmful gasses into less harmful substances before they’re emitted from your vehicle. When it’s clogged, it cannot do this efficiently, leading to a foul smell from your vehicle’s exhaust. This might resemble the scent of rotten eggs or sulfur.
- Check Engine Light: Modern vehicles are equipped with sensors that monitor the function of major components, including the catalytic converter. If these sensors detect a problem, the check engine light on your dashboard will light up. While this light could indicate various issues, a persistently lit check engine light coupled with other signs might hint at a clogged converter.
- Overheated Engine: A blocked catalytic converter can cause your engine to overheat. The trapped gasses can lead to increased temperature in the engine bay, which can potentially result in engine damage if not promptly addressed.
Diagnostic Tools and Techniques
Identifying a clogged catalytic converter can be made easier with the help of specific diagnostic tools and techniques.
- OBD-II Scanner: An On-board Diagnostic (OBD-II) scanner can read fault codes from your vehicle’s computer system. These codes can indicate potential problems with the catalytic converter.
- Exhaust Back Pressure Tester: This device measures the pressure in your exhaust system. If the pressure reading is too high, it may indicate a clog in the catalytic converter.
- Visual Inspection: A visual inspection can also help. Sometimes, the converter might be visibly damaged or discolored due to overheating.
Causes of Catalytic Converter Clogging
Various factors can contribute to the clogging of a catalytic converter, and being aware of these can help in the effective maintenance of your vehicle.
1. Engine Misfires
Engine misfires can be one of the leading causes of a clogged catalytic converter. When an engine misfires, it doesn’t burn the air-fuel mixture in one or more of its cylinders. This unburned fuel then ends up in the exhaust system, including the catalytic converter. This unburned fuel can cause deposits to form, leading to clogging of the converter.
2. Oil or Antifreeze Contamination
Oil and antifreeze are meant to remain in their respective systems and not mix with fuel or exhaust gasses. However, due to leaks or engine damage, oil or antifreeze can find its way into the combustion chamber and, eventually, the catalytic converter.
Similar to unburned fuel, oil, and antifreeze can cause deposits in the converter, leading to clogging. It’s essential to regularly check for leaks and monitor your vehicle’s oil and coolant levels. Regular oil changes and coolant system maintenance can help prevent these issues.
3. Fuel Additives
Fuel additives are often marketed as products that can enhance engine performance or clean various components of the fuel system. However, some additives can harm the catalytic converter. Certain additives can leave residues that build up in the converter, leading to clogging over time.
Not all additives are harmful, though. Some are designed to be safe for all parts of your vehicle, including the catalytic converter. Make sure to carefully read the labels of any additives you plan to use and consult with a trusted automotive professional if in doubt.
How to Unclog a Catalytic Converter: A Step-by-Step Guide

Unclogging your vehicle’s catalytic converter might seem challenging, but with the right tools and some patience, it’s a task you can undertake yourself. Here, we’ll guide you through the process step by step, so you can restore your vehicle’s performance.
Preparing Your Tools and Safety Equipment
Before starting, gather all necessary tools and safety equipment. You’ll need:
- Safety glasses and gloves
- Jack stands and a hydraulic jack
- Wrench set
- Catalytic converter cleaner
- Bucket and water
Step-by-Step Process to Unclog Your Catalytic Converter
The unclogging process involves removing the catalytic converter, applying a cleaning solution, rinsing it, letting it dry, and reinstalling it. While this process requires time and patience, it can save you from expensive repairs or replacement costs.
1. Detaching the Catalytic Converter
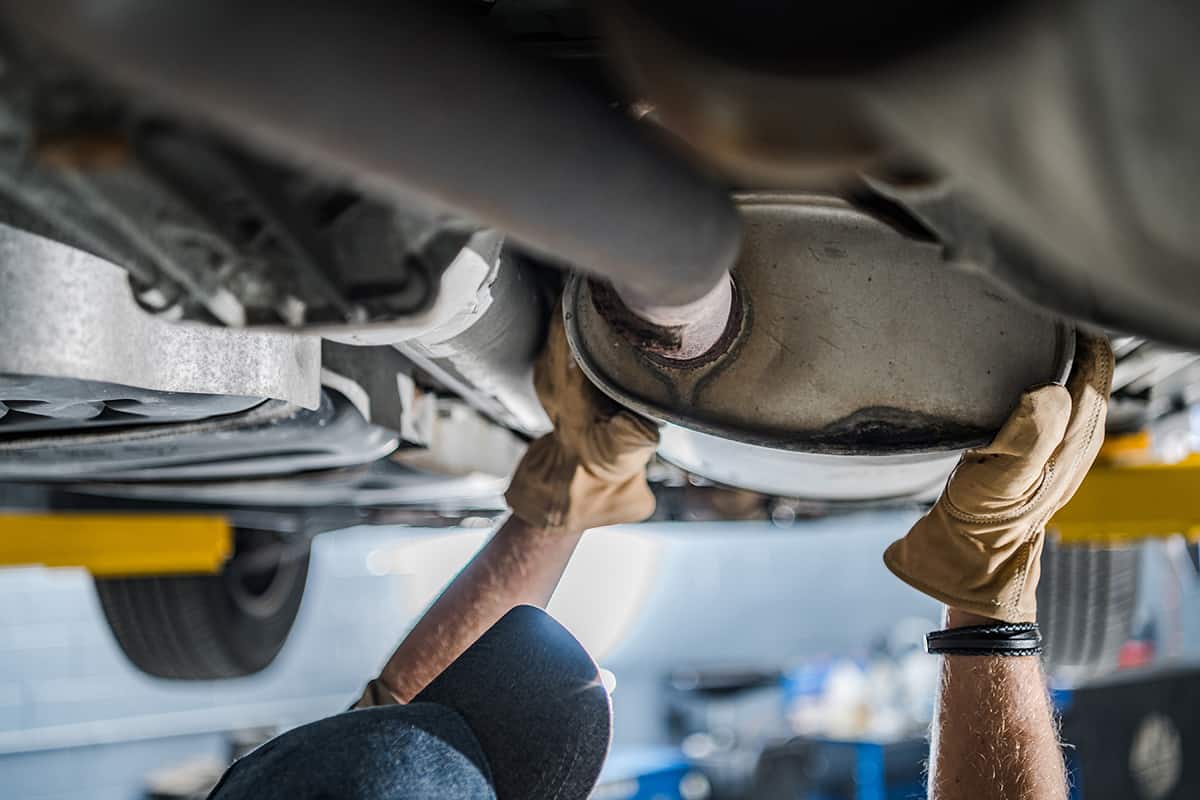
With the vehicle safely on jack stands, locate the catalytic converter. It’s usually found in the lower part of the vehicle, between the engine and the muffler. Use your wrench set to carefully remove the bolts securing the catalytic converter. Remember the orientation for reinstallation.
2. Applying Cleaner
Once the catalytic converter is detached, prepare the cleaner as per the instructions on its packaging. Submerge the converter in this solution, ensuring it’s fully covered. Leave it to soak for the time specified on the cleaner’s instructions, usually several hours.
3. Rinsing and Drying
After soaking, remove the catalytic converter from the cleaning solution and rinse it thoroughly with water. Ensure all the cleaning solution is washed off. Shake off excess water and leave the converter in a well-ventilated area to dry completely. This might take a few hours or even overnight, depending on the conditions.
4. Reattaching the Catalytic Converter
Once the catalytic converter is completely dry, it’s time to reattach it to your vehicle. Replace it in the same orientation as it was before removal and carefully tighten the bolts. Double-check to ensure it’s secured properly to prevent any exhaust leaks.
5. Testing the Vehicle Post-process
Start your vehicle and let it idle for a few minutes. Pay attention to any unusual noises or smells. Take your vehicle for a short drive, noticing any improvements in performance. If the symptoms of a clogged converter persist, you might need to repeat the process or seek professional help.


