Catalytic converters and flex pipes perform critical functions to maintain your vehicle’s performance and reduce environmental pollution. While a catalytic converter helps in reducing harmful gasses, a flex pipe ensures the smooth flow of these gasses out of your vehicle. Recently, many DIY auto enthusiasts have considered replacing their catalytic converters with flex pipes.
Steps to replace a catalytic converter with a flex pipe involve:
- Locating and inspecting the catalytic converter
- Removing the old converter
- Measuring and cutting the flex pipe
- Installing the flex pipe
- Conducting post-installation checks for any exhaust leaks
This brief guide will help you understand flex pipes, their advantages, and potential limitations. It will also walk you through a step-by-step process of replacing a catalytic converter with a flex pipe, essential safety measures, and maintenance tips.
A Brief Look at Flex Pipe
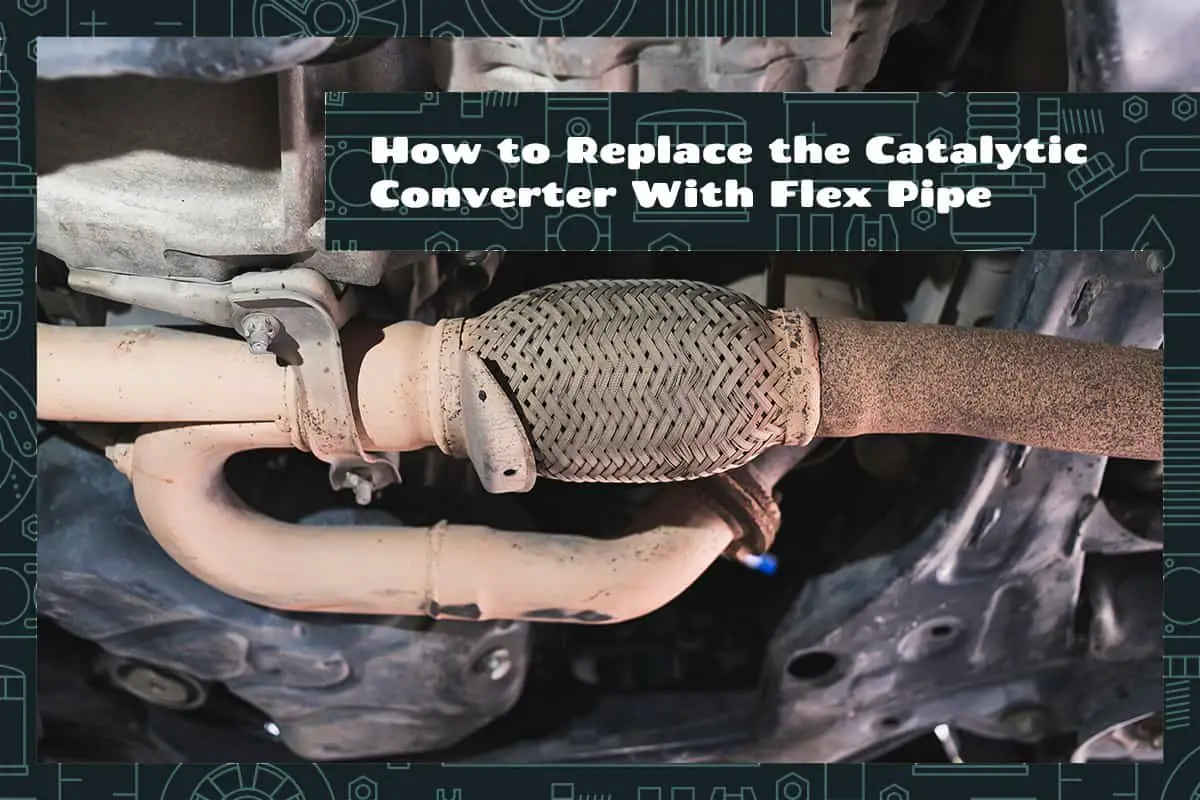
A flex pipe is a section of the exhaust system that is engineered to handle the exhaust gasses generated by the engine. Typically situated between the exhaust manifold and the rest of the exhaust system, it allows for flexibility in movement, which is essential to accommodate the vibrations from your running engine and the bumps of the road.
Advantages of Using a Flex Pipe
They are typically less expensive than catalytic converters, making them a cost-effective replacement option. They also stand up well to physical stress due to their flexibility, reducing the likelihood of damage to your exhaust system from engine vibrations or impacts from road debris.
Another advantage is the ease of installation. Flex pipes are designed to be cut to size, meaning they can be custom-fitted to virtually any vehicle. This adaptability is particularly useful for those who like to perform their own vehicle modifications.
In addition, removing the catalytic converter (which essentially acts as a filter in your exhaust system) can decrease back pressure, allowing the exhaust gasses to exit the engine more freely and potentially leading to a slight increase in engine power and efficiency.
Potential Limitations of a Flex Pipe
Although flex pipes are robust, they may not last as long as a traditional catalytic converter. Depending on the quality of the flex pipe and the conditions it’s exposed to, it may need to be replaced more frequently.
Furthermore, a flex pipe cannot perform the emission control functions of a catalytic converter. Removing the catalytic converter and replacing it with a flex pipe can increase the amount of pollution your car produces, which may be problematic from both an environmental and legal perspective.
Lastly, without the catalytic converter’s sound-damping effects, your exhaust may be louder, potentially leading to a noisier ride.
Preparing for the Replacement Process
Ensuring you have the right tools, knowing when to consider replacement, and understanding safety precautions can make the difference between a smooth, successful job and potential complications.
When to Consider a Replacement
Your car’s catalytic converter might require replacement for several reasons.
When your catalytic converter becomes clogged, damaged, or less effective due to wear and tear, you may notice signs such as decreased fuel efficiency, poor engine performance, or the dreaded “check engine” light.
Additionally, you might be considering a flex pipe for the benefits it can bring, such as enhanced vehicle performance or lower replacement cost.
Tools and Materials for the Task
A car jack and jack stands are necessary to safely raise your vehicle for access. A socket set, wrench set, and pliers will come in handy for removing the old catalytic converter and installing the flex pipe.
In terms of materials, your primary need is the flex pipe itself. Make sure to choose a high-quality flex pipe suitable for your vehicle’s make and model. You’ll also need exhaust clamps to secure the flex pipe in place and a high-temperature exhaust sealant to seal the joints and prevent leaks.
Step-by-Step Guide to Replacing a Catalytic Converter with a Flex Pipe
Replacing a catalytic converter with a flex pipe can feel like a challenging task. However, with the right tools, careful preparation, and a clear set of steps, it becomes a manageable DIY project.
1. Locating and Inspecting the Catalytic Converter
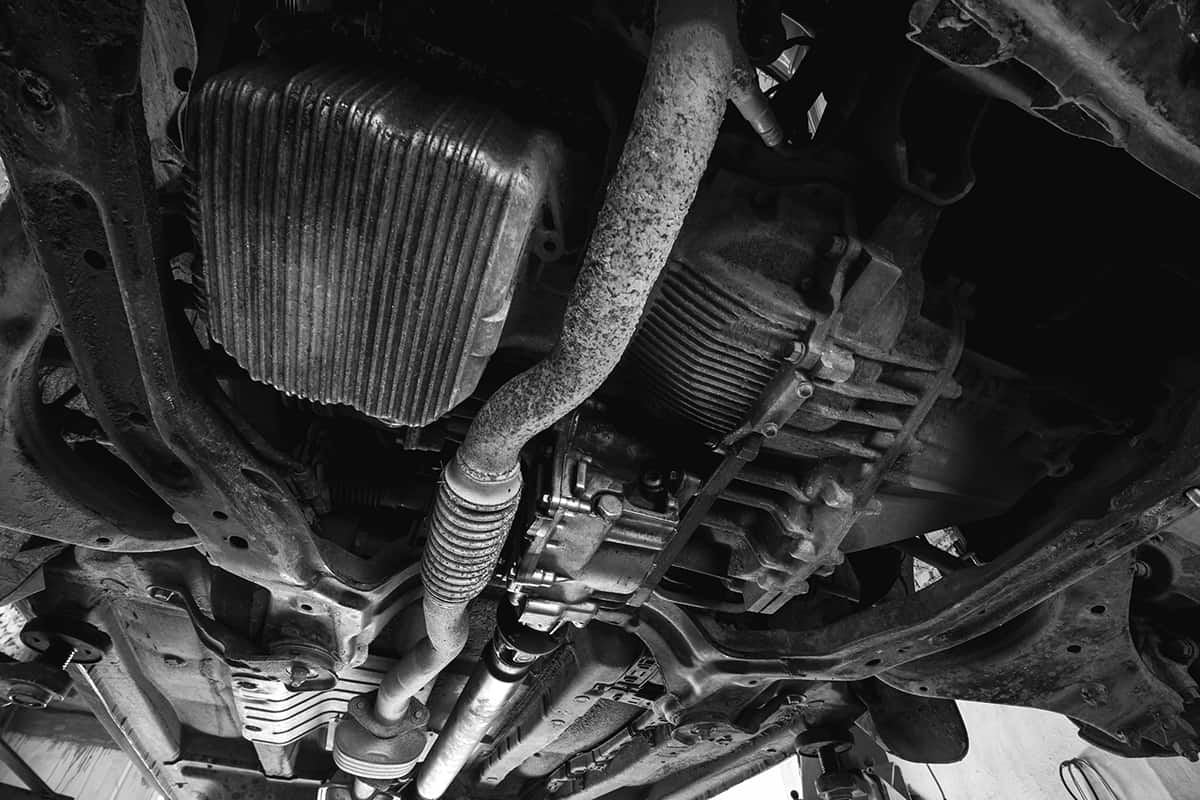
It is usually found in the underside of your car, in the exhaust system between the engine and the muffler. After finding it, do a quick inspection for any visible signs of damage or wear. This step will also help you understand how the catalytic converter is attached to your car’s exhaust system, which will be beneficial during removal.
2. Removing the Old Catalytic Converter
Ensure your car is safely lifted on jack stands to provide adequate space for work. Using your socket set and wrench, remove the bolts or clamps that hold the catalytic converter in place. If the bolts are rusted or hard to remove, using a penetrating oil can make the task easier. Once the bolts are removed, carefully take out the catalytic converter.
3. Measuring and Cutting the Flex Pipe to Size
Measure the length of the removed catalytic converter as a guide, then add a few extra inches to account for overlaps when installing. Using a metal saw or angle grinder, cut the flex pipe to the right size. Ensure to make straight cuts for the best fit.
4. Installing the Flex Pipe
Align it with the existing exhaust system, making sure it fits snugly. Check the alignment from multiple angles to ensure it doesn’t hang too low or interfere with other parts of your vehicle. Once aligned, use your exhaust clamps to temporarily hold the flex pipe in place.
After checking the alignment one last time, apply high-temperature exhaust sealant on the joints where the flex pipe meets the existing exhaust. This helps prevent leaks. Finally, tighten the exhaust clamps securely using your wrench or socket set. Ensure the flex pipe is firmly in place and doesn’t move around.
5. Ensuring a Secure and Tight Fit
Make sure the flex pipe is securely fitted, and the exhaust clamps are tightened appropriately. There should be no visible gaps at the joints. Gently shake the flex pipe to ensure it’s stable and doesn’t rattle.
To wrap up, start your engine and listen carefully for any unusual noises or signs of exhaust leaks. If you notice anything out of the ordinary, it may indicate an issue with the installation, and you may need to adjust the fit or seal.
Maintenance and Longevity of a Flex Pipe
Flex pipes require regular care to function optimally and last longer. Once you have successfully replaced your catalytic converter with a flex pipe, the focus shifts to maintenance and ensuring its longevity.
Regular Inspection and Maintenance
Make a routine of visually checking your flex pipe periodically, preferably every time you service your vehicle. Look for any signs of physical damage, such as cracks, rust, or noticeable wear and tear. Listening to unusual noises when your engine is running can also signal a problem, as it could indicate a loose fit or an exhaust leak.
Maintenance also includes checking the tightness of the exhaust clamps and the integrity of the exhaust sealant. Vibrations from the engine and the effects of the elements can loosen these components, potentially leading to leaks. If you notice any issues, promptly address them to prevent further damage.
The lifespan of a Flex Pipe
Flex pipes can be durable and robust, but their lifespan can vary based on several factors. These include the quality of the flex pipe, the conditions it’s exposed to, and how well it’s maintained.
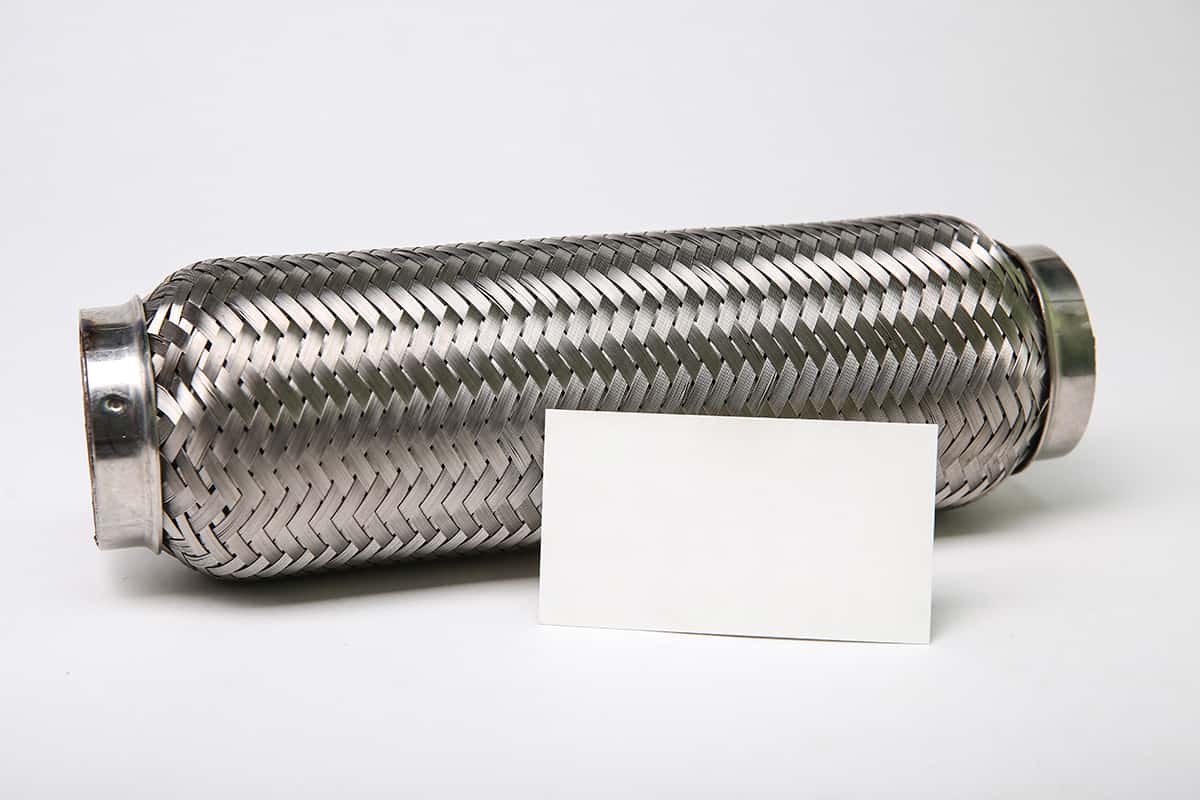
High-quality flex pipes made of stainless steel tend to last longer due to their resistance to rust and corrosion. Similarly, a flex pipe will last longer if your vehicle is mainly used for highway driving as opposed to stop-and-go city driving, which puts more stress on the exhaust system.