You can enhance the handling and appearance of a Subaru Outback by lowering the vehicle. Doing this can also help reduce the vehicle’s center of gravity, making it steadier in turn. Before lowering your Outback, you should know how you’re going to do it.
There are 4 methods you can try to lower your Subaru Outback, namely:
- Installing lowering springs or coil overs
- Adjusting the torsion bars
- Using air suspension
- Cutting the springs
In this guide, I’m going to talk about what lowering a car means, the specific ways to lower a Subaru Outback, and the things you need to consider before lowering your vehicle.
What Is Lowering a Car?
A vehicle’s ride height, or the distance between the ground and the bottom of the chassis, can be lowered through adjustments to the vehicle’s suspension. The vehicle’s stability can be increased when you reduce the center of gravity by lowering the ride height.
The act of modifying a vehicle’s suspension, including lowering it, can be legal in some places but illegal in others. As long as the alterations do not make the vehicle illegal to operate or unsafe to drive, lowering a car is generally legal.
The Federal Motor Vehicle Safety Standards (FMVSS) established the minimal safety criteria that all motor vehicles sold and driven on public roads in the United States must fulfill. Even though lowering a car is illegal by these regulations, any changes to the suspension system must not compromise the vehicle’s controllability.
Pros and Cons of Lowering a Car
Pros
- Improved handling: By reducing the vehicle’s center of gravity and thereby increasing its stability on the road, lowering it can enhance its handling performance. Because of this, the vehicle may be quicker to respond to steering inputs, especially when negotiating sharp turns at high speeds.
- Increased aerodynamics: Improving a car’s aerodynamics is another benefit of lowering it. This is because less air is flowing underneath the vehicle. This has the potential to lessen air resistance and improve gas mileage.
- Enhanced appearance: Vehicles with lowered suspensions tend to have a more imposing and sporty profile, which is highly coveted by many drivers.
Cons
- Reduced ride comfort: Because the suspension has less travel and the car is lower to the ground, lowering a car can make the ride bumpier and more uncomfortable. As a result, driving conditions inside the vehicle may worsen, especially over rough terrain or bumps.
- Reduced clearance: Vehicles with lower ride heights are more likely to bottom out on speed bumps and other road imperfections because there is less clearance between the vehicle and the ground.
- Increased tire wear: If you lower your car, the tires will be at a steeper angle and will be in contact with the road for a longer period of time when you turn.
- Increased risk of damage: The undercarriage of a lowered vehicle is more likely to be damaged by hitting potholes or other road debris because it is lower to the ground.
How to Lower a Subaru Outback
As previously mentioned, there are 4 ways to lower your Subaru Outback. Let’s take a closer look at those methods below:
1. Installing lowering springs or coil overs
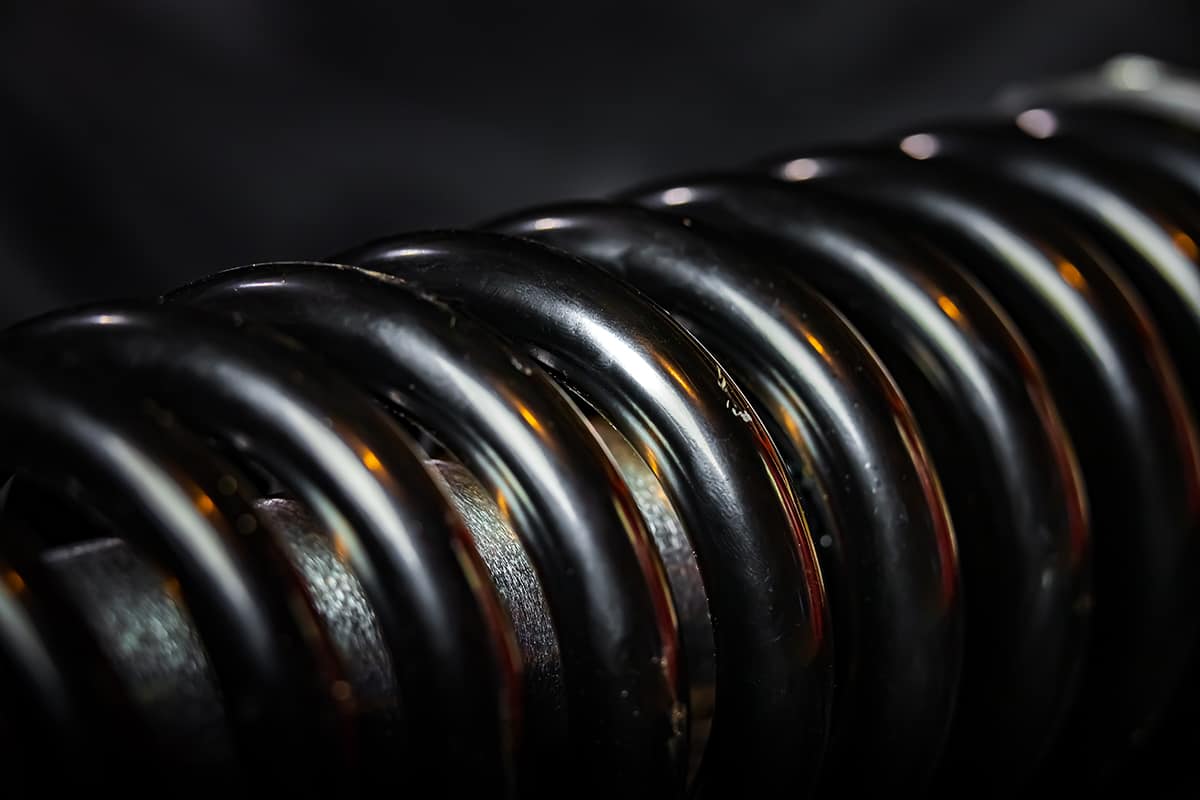
Using lowering springs or coil overs to lower a car entails swapping out the stock suspension parts for aftermarket parts that are made specifically to reduce the vehicle’s ride height.
- Gather the necessary tools and materials: In addition to the new lowering springs or coil overs, you will need a jack, jack stands, a torque wrench, a spring compressor (if applicable), and other miscellaneous tools and materials.
- Lift and support the car: Raise the vehicle off the ground with the jack and support it with jack stands. Before attempting any repairs, make sure the vehicle is safely jacked up.
- Remove the factory suspension components: Remove the stock springs and shocks from the vehicle in accordance with the manual’s directions. A spring compressor may be necessary to remove the springs.
- Install the new lowering springs or coil overs: New lowering springs or coil overs should be installed according to the manufacturer’s instructions. Ensure that all bolts are tightly fastened by applying the correct torque.
- Test the car: Try out the car’s ride and handling after you’ve replaced the suspension parts. If problems arise, fix them as soon as possible.
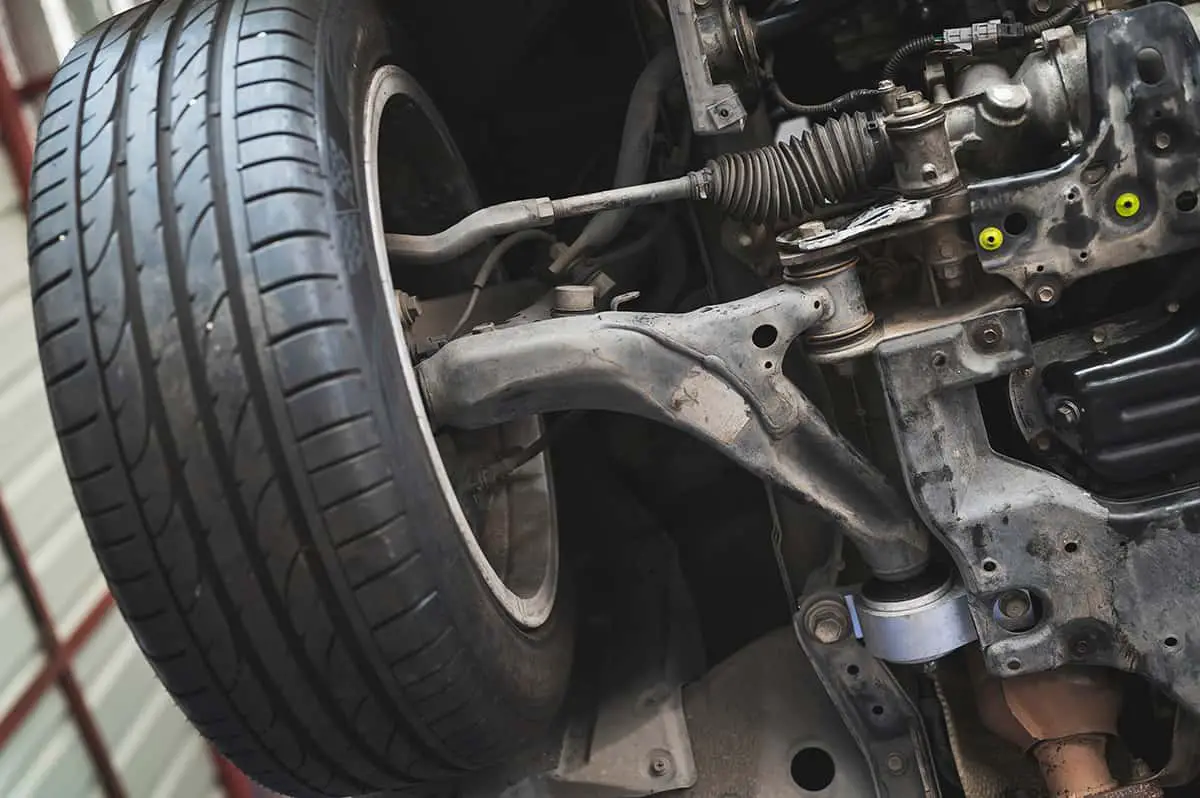
2. Adjusting the torsion bars
Some older cars have adjustable torsion bars in the suspension system, which allows the ride height to be lowered. After gathering the necessary tools (jack, jack stands, torque wrench, and miscellaneous tools and materials), here’s how you adjust the torsion bars on your Outback:
- Locate the torsion bars: Torsion bars are typically installed close to the front suspension under the car. Refer to the owner’s manual to locate your Outback’s torsion bars.
- Adjust the torsion bars: Loosen the torsion bars’ bolts with a wrench or other suitable tool. Adjust the torsion bars to the desired ride height with a pry bar or other suitable tool. When you’re done, make sure to tighten the bolts to the correct torque.
- Test the car: After adjusting the torsion bars, drive the vehicle to ensure it rides and handles as expected. If problems arise, fix them as soon as possible.
3. Using air suspension
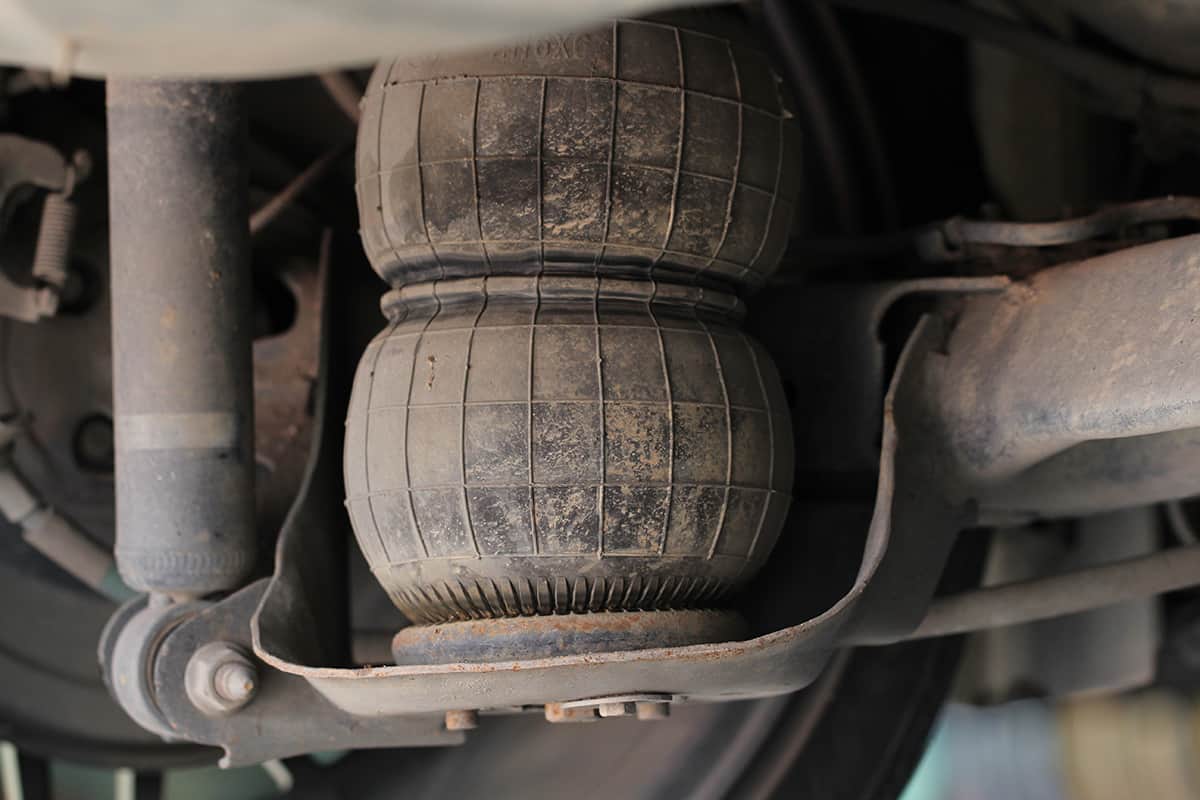
To lower a car with air suspension, you must install air springs and a compressor to change the car’s ride height. Gather the necessary tools, supplies, and materials, as well as lift your vehicle to a safe height before installing the suspension components.
The air suspension kit should come with a set of instructions on how to remove existing parts and replace them with the new system. In addition, you should make sure the kit is compatible with your Outback’s model year.
Once you’re done installing the air suspension components, test it out to ensure the vehicle handles properly and that the air springs are set to the desired pressure (which affects ride height).
4. Cutting the springs
As the springs are an integral part of the suspension system, cutting them is not a safe or recommended way to lower a car. Having said that, here is a summary of the steps involved (after gathering the right materials and tools and lifting the vehicle to a safe height):
- Compress the springs: Reduce the size of the springs to a more manageable level by using a spring compressor. Handle the springs with care and use the spring compressor as directed by the manufacturer to prevent injury.
- Cut the springs: Remove some of the spring coils with a grinder or other cutting tool. If you want a uniformly lowered car, you must reduce the length of both springs by the same amount. Please note that you cannot fix springs that have been cut too short.
- Test the car: After you’ve shortened the springs, you should drive the vehicle around to see how it rides and handles.
Is Lowering a Subaru Outback Worth It?
It can be, especially if you want to give your Outback a more imposing, intimidating look. The handling and whatnot can be a non-issue if you prioritize looks over everything else.
However, one thing worth mentioning is that modifying your car in any major way, including lowering it, can affect the resale value. So, lowering your car is not an investment from a financial standpoint.
With all that said, if you still want to lower your Subaru Outback, make sure you follow all kit instructions to the letter. If you don’t feel comfortable lowering your car by yourself, take it to a trusted mechanic.