Brake fluid is integral for the smooth functioning of the brakes. Despite its importance, understanding how often to change brake fluid is often neglected by many vehicle owners. Knowing the right time to change brake fluid can keep your vehicle in optimal condition and ensure your safety on the road.
Change your brake fluid every 2-3 years or according to your vehicle manufacturer’s recommendation. Indicators for a change include a spongy brake pedal, discoloration of the fluid, and erratic braking behavior.
This guide will discuss the significance of brake fluid, how it operates, and why regular changes are crucial.
What is Brake Fluid?
Brake fluid is a type of hydraulic fluid used in hydraulic brake and hydraulic clutch applications in vehicles. It is formulated to have high boiling points to prevent vaporization under intense heat generated during braking. It also needs to maintain its fluidity across a broad range of temperatures, resisting freezing in cold climates and thinning in hot conditions.
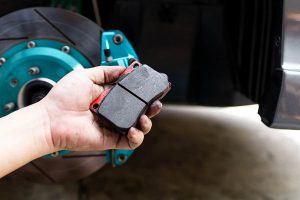
The primary purpose of brake fluid is to convert the mechanical force you apply on the brake pedal into hydraulic pressure. This pressure, in turn, compresses the brake pads against the brake rotors, creating the friction needed to slow down or stop your vehicle.
The Lifespan of Brake Fluid
The lifespan of brake fluid can vary based on various factors, from the type of vehicle you drive to the conditions in which you drive. Brake fluid deteriorates and accumulates contaminants, leading to a decrease in performance and potential damage to the braking system.
How Long Does Brake Fluid Last?
While brake fluid is engineered to withstand a range of conditions and serve its purpose effectively, it does not last indefinitely. Many vehicle manufacturers recommend changing the brake fluid every two to three years. However, this timeframe can vary based on several conditions.
For instance, frequent aggressive driving or heavy towing, which lead to increased brake use and generate more heat, can speed up the rate at which the brake fluid deteriorates. Similarly, if you live in a region with high humidity, the brake fluid may absorb moisture faster, reducing its lifespan.
Signs of Old or Contaminated Brake Fluid
The first sign of worn-out brake fluid is a change in its color. Fresh brake fluid is typically clear to amber in color. Over time, as it absorbs water and contaminants, it darkens. If the fluid appears dark brown or black, it likely needs to be replaced.
Another sign is the feeling of a soft or spongy brake pedal. Because brake fluid is designed to be incompressible, any compressibility indicates a problem, often related to water contamination, which can lead to vaporization under high heat and decrease braking efficiency.
Lastly, if your vehicle’s braking performance diminishes or becomes erratic, it could be due to old or contaminated brake fluid. In extreme cases, contamination can lead to corrosion within the brake system, causing parts to fail.
How Often to Change the Brake Fluid Change
Ensuring optimal performance and longevity of your vehicle’s braking system requires knowing when to change the brake fluid. While manufacturer’s recommendations provide a basic guideline, many factors can influence this frequency.
Manufacturer’s Recommendations
Most vehicle manufacturers suggest changing brake fluid every 20,000 to 45,000 miles or every 2 to 3 years, whichever comes first. However, this can vary considerably depending on the vehicle’s make and model, type of brake fluid used, and specific driving conditions.
If your vehicle has anti-lock brakes (ABS) or stability control systems, these may have more stringent brake fluid change intervals because of the added strain on the brake fluid. Always consult your vehicle’s owner’s manual or a trusted mechanic for the manufacturer-recommended brake fluid change interval for your specific vehicle.
Factors Influencing the Frequency of Brake Fluid Changes
Several variables can affect the frequency at which you should change your brake fluid. The type of brake fluid in your vehicle is a significant factor. For example, glycol-based brake fluids like DOT 3, DOT 4, and DOT 5.1, which are hygroscopic, might need changing more often than silicone-based DOT 5 brake fluid due to their tendency to absorb water.
Driving conditions and habits also impact the lifespan of brake fluid. If you frequently drive in cities with stop-and-go traffic, hilly regions, or heavy tow loads, your brakes work harder, generating more heat and potentially accelerating the degradation of your brake fluid.
Process of Changing Brake Fluid
Though often overlooked, changing brake fluid is a necessary aspect of preventative maintenance that ensures optimal brake performance and overall vehicle safety. Here’s a general guideline for DIY changing brake fluid. If you don’t feel comfortable doing this, get your car checked by a professional mechanic.
- Safety First: Park your vehicle on a flat surface and make sure it’s in ‘Park’ or ‘Neutral’ with the parking brake engaged. For added safety, use wheel chocks or blocks to prevent the car from moving.
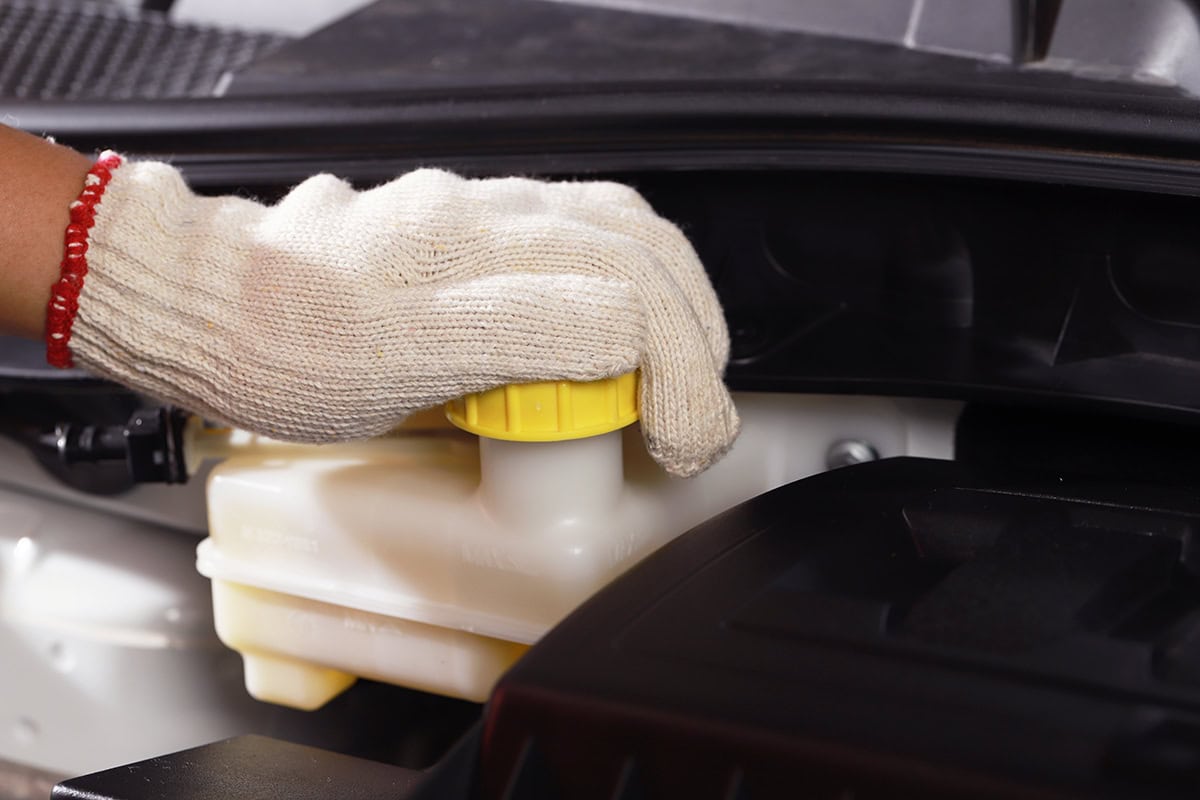
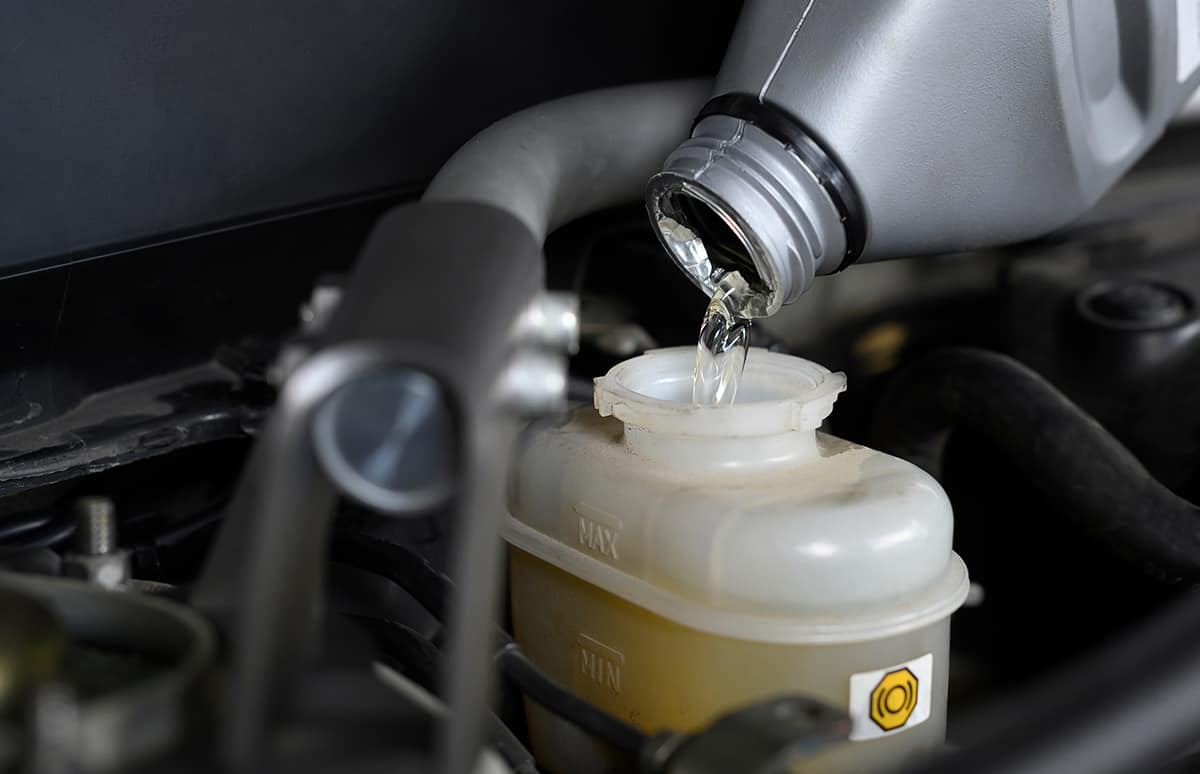
- Locate the Master Cylinder: The brake master cylinder is usually on the driver’s side, near the firewall. Open the reservoir and clean any dust or debris from the top before removing the lid.
- Remove Old Fluid: Using a turkey baster or a small hand pump, remove as much of the old fluid from the reservoir as possible, being careful not to spill any on the vehicle’s paint as brake fluid can be corrosive.
- Add New Fluid: Pour the new brake fluid into the reservoir up to the “Full” line. Replace the cap loosely to prevent contaminants from entering.
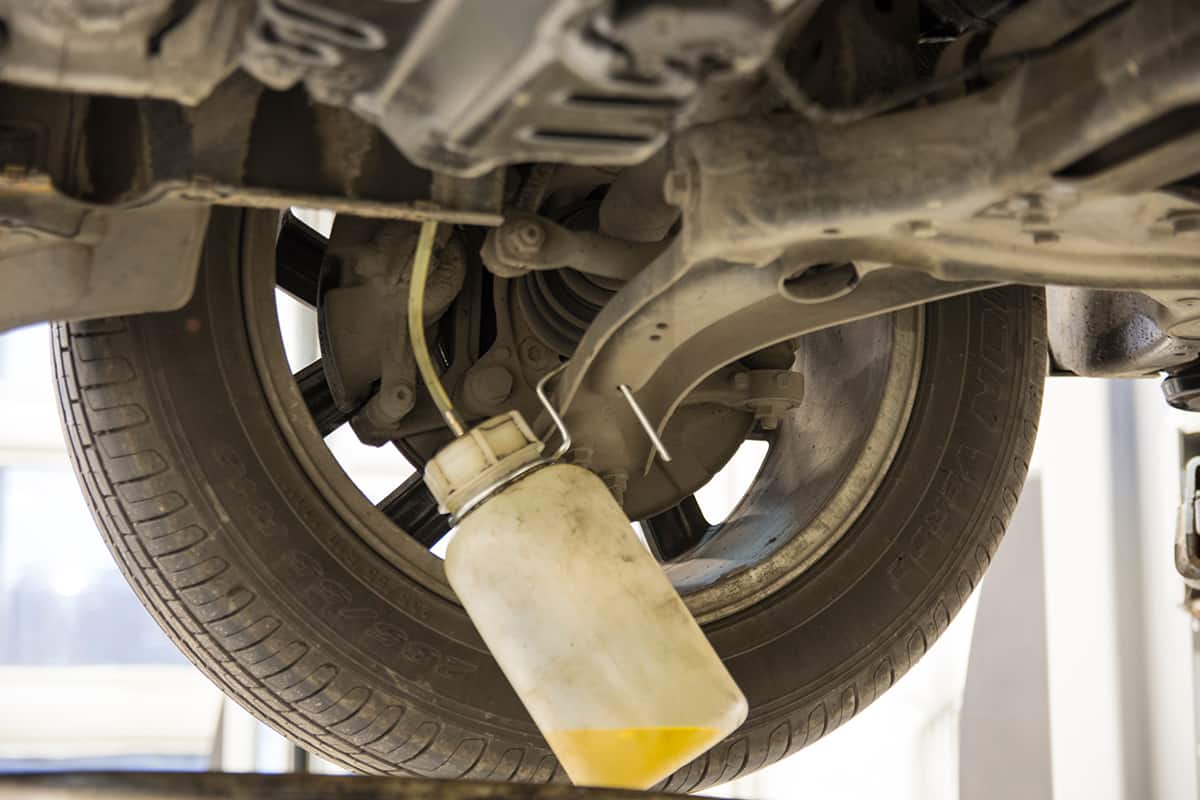
- Bleed the Brakes: Starting with the brake furthest from the master cylinder (usually the rear passenger side), locate the bleeder screw on the back of the brake caliper. Attach one end of the plastic tubing to this screw and place the other end into a container.
- Pump and Release: Have your assistant pump the brake pedal a few times and then hold it down. While they’re holding it, open the bleeder screw. Fluid will flow out through the tube into the container. Once the fluid stops, close the screw, and repeat until only clean fluid comes out. Make sure to keep the reservoir filled with new fluid during this process.
- Repeat for Each Brake: Repeat the bleeding process for each brake, moving closer to the master cylinder each time.
- Final Check: When finished, ensure the fluid level in the reservoir is correct, and the pedal feels firm when pressed. Take a short test drive to confirm the brakes are working properly.