Bleeder valves may not be the most glamourous parts of a vehicle, but they’re integral to the smooth operation of your car’s braking system. Despite their pivotal role, they often go unnoticed and unappreciated until the brake issues bring them to attention.
A bleeder valve is a component that allows excess air to escape from the brake system, thereby maintaining brake responsiveness and safety. Symptoms of a bad bleeder valve in your car may include a spongy brake pedal, unusual noises when braking, visible brake fluid leaks, or overall diminished brake performance.
This guide is designed to help you understand the nuances of automotive bleeder valves. We’ll explore their functionality, signs of potential issues and delve into how to diagnose and address problems.
What Is a Bleeder Valve?
When it comes to car maintenance and repair, every component counts—especially those seemingly minor parts that keep your vehicle’s larger systems functioning properly. One such part is the bleeder valve. Small but mighty, this component plays an integral role in your car’s braking system.
A bleeder valve, sometimes called a bleed valve or vent valve, is a device found in the hydraulic braking systems of most vehicles. The primary purpose of this valve is to remove unwanted air from the brake lines, ensuring the system functions at peak performance.
Air in the braking system can lead to a multitude of issues. When you press the brake pedal, it’s the brake fluid that transmits the force to the brake rotors, which slows down the car.
Functions of Bleeder Valves
The bleeder valve serves two critical functions in the braking system.
First, it purges unwanted air from the brake lines. During brake maintenance or repair, air often gets into the system. Using the bleeder valve, you can ‘bleed’ out this air, ensuring that only brake fluid is present in the system for optimal performance.
Second, the bleeder valve allows for brake fluid replacement. Over time, brake fluid can degrade or become contaminated, which can affect the performance of the brakes. By opening the bleeder valve, old fluid can be expelled and replaced with fresh fluid.
Thus, maintaining the health of your bleeder valves plays a direct role in the safety and functionality of your vehicle.
Bleeder Valve Components
Bleeder valves are essentially simple devices made up of several parts:
- Body: The body of the bleeder valve is typically made of durable metal. It’s designed to withstand the pressures exerted by the braking system, providing a robust shell that houses the other components of the valve.
- Screw or Valve Stem: This is part of the valve that opens and closes to release air and fluid. When the screw is turned counter-clockwise, it opens, and when turned clockwise, it closes.
- Seat: The seat provides a seal when the valve is closed. It’s located within the body of the valve and comes into contact with the screw or valve stem to ensure no fluid or air can escape when the valve is not in use.
- Spring: The spring provides the necessary tension to keep the screw or valve stem in the closed position when not in use, preventing the unintentional release of brake fluid.
- Cap: The cap, usually made of rubber or plastic, fits over the open end of the bleeder valve. It serves to protect the valve from dust, dirt, and corrosion, extending its lifespan and ensuring smooth operation.
How a Bleeder Valve Works
The bleeder valve functions through a relatively straightforward process:
- Opening the Valve: When air needs to be purged or brake fluid replaced, a wrench is used to turn the screw or valve stem, opening the valve.
- Bleeding the System: With the brake pedal depressed, air and/or brake fluid are forced out of the system through the opened valve. This process is often repeated several times until all the air is purged.
- Closing the Valve: Once the air is removed, the screw or valve stem is turned back to the closed position, creating a seal with the seat to prevent further escape of fluid or entry of air.
Placement and Installation of Bleeder Valves
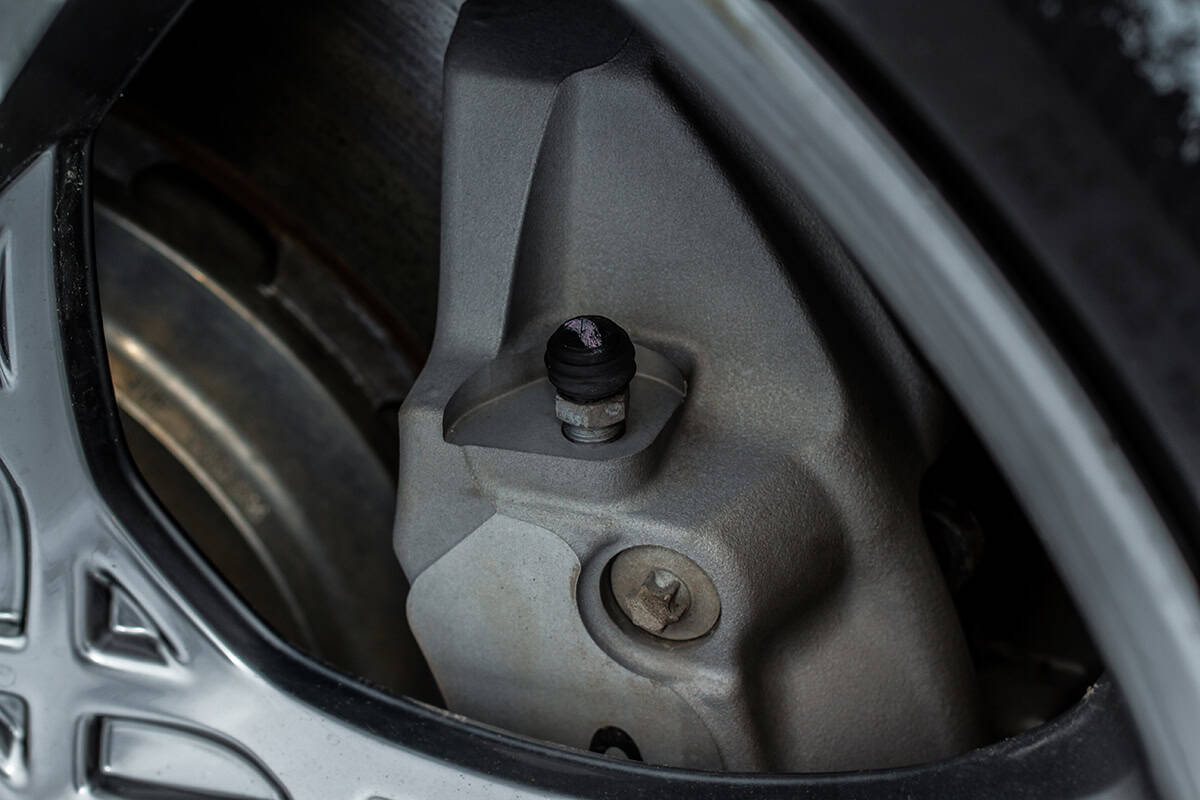
Bleeder valves are located on the brake calipers or wheel cylinders in your vehicle’s braking system. Each wheel typically has its own bleeder valve, as each brake line must be bled independently to ensure optimal brake performance.
During installation, the bleeder valve is threaded into the caliper or wheel cylinder. Avoid overtightening, which can cause damage to the valve or make it difficult to open in the future. The cap is then placed over the valve for protection.
Symptoms of a Bad Bleeder Valve
Maintaining the health of your vehicle’s bleeder valves is paramount to the performance and safety of its braking system. You should be able to recognize signs of a failing bleeder valve so you can take appropriate action.
1. Unusual Noises from the Valve
When a valve becomes worn or damaged, it may cause a whistling or hissing noise when the brake pedal is depressed. This noise may be an indication that the valve is not sealing properly, allowing air to escape.
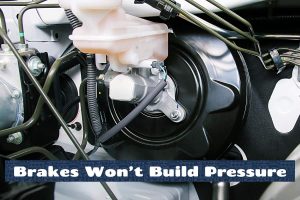
2. Difficulty in Controlling System Pressure
If a valve is damaged or malfunctioning, this could manifest as a decrease in braking efficiency or a change in how the brake pedal feels when pressed. For instance, the brake pedal may feel spongy or excessively hard, indicating potential issues with the system’s pressure balance.
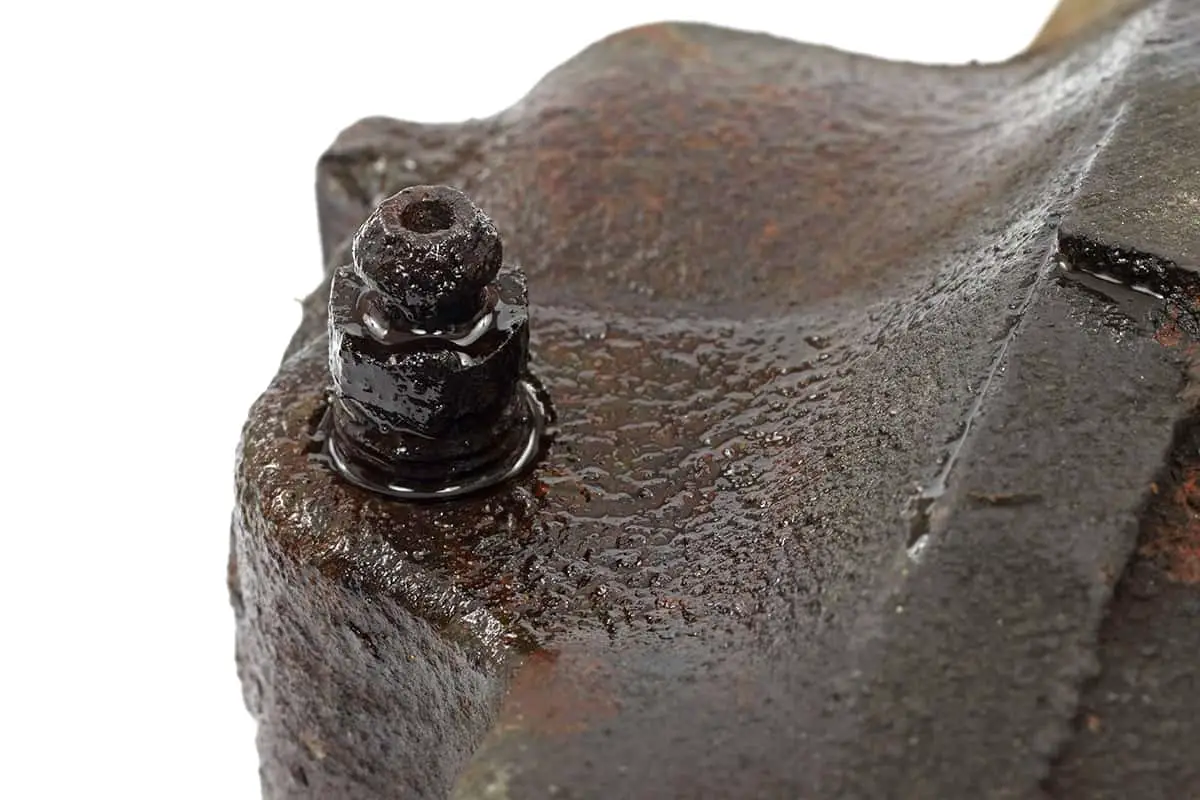
3. Leaks and Other Visible Signs
Brake fluid leaks around the valve or discoloration on the valve itself can be signs of a problem. Remember, brake fluid is typically clear to amber in color and has a distinctive, somewhat sweet smell. If you notice fluid pooling under your car near the wheels or see fluid on the bleeder valve itself, it may suggest a faulty valve.
Addressing Bleeder Valve Problems
Once symptoms of a faulty bleeder valve have been identified, you need to address them promptly to ensure your vehicle’s safety and performance.
Diagnosing Bleeder Valve Issues
To diagnose bleeder valve problems, begin by performing a visual inspection. Check the valve for visible signs of damage, leaks, or corrosion. If the valve appears to be in poor condition, replacement is likely necessary.
If the valve appears fine visually, perform a pressure test. If you’re unable to maintain system pressure while bleeding the brakes, it could be a sign of a faulty valve.
DIY Guide to Replacing a Bleeder Valve
Before you begin, gather the necessary tools: a new bleeder valve, a wrench set, brake fluid, a drain pan, and protective gloves and goggles.
- Ensure Safety: Park your vehicle on a flat surface and engage the parking brake. Wear protective gloves and goggles.
- Locate the Faulty Valve: Find the faulty bleeder valve on the brake caliper or wheel cylinder.
- Remove the Old Valve: Use a suitable wrench to unscrew the faulty valve. Brake fluid will likely leak out, so have a drain pan ready to catch it.
- Install the New Valve: Thread the new bleeder valve into the hole where the old one was removed. Tighten it with a wrench but avoid overtightening to prevent damage.
- Bleed the Brakes: After replacing the valve, you need to bleed the brakes to remove any air that may have entered the system. This typically involves opening the bleeder valve, pressing the brake pedal to push out air, then closing the valve before releasing the pedal.
- Check Brake Fluid Level: Check the brake fluid reservoir and top it up if necessary.
While many car enthusiasts can handle replacing a bleeder valve, there’s no shame in seeking professional assistance if you’re uncomfortable with the process. A professional mechanic can accurately diagnose and fix your bleeder valve problems, ensuring the safety and performance of your vehicle.