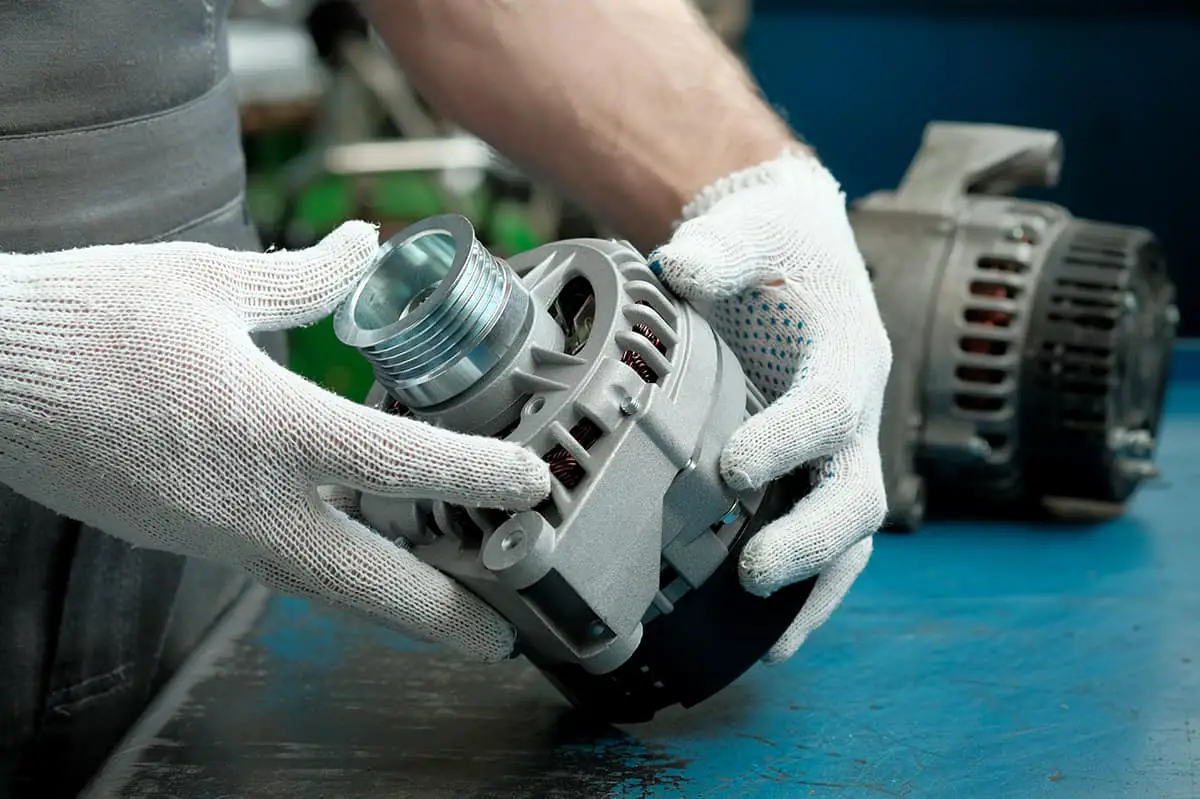
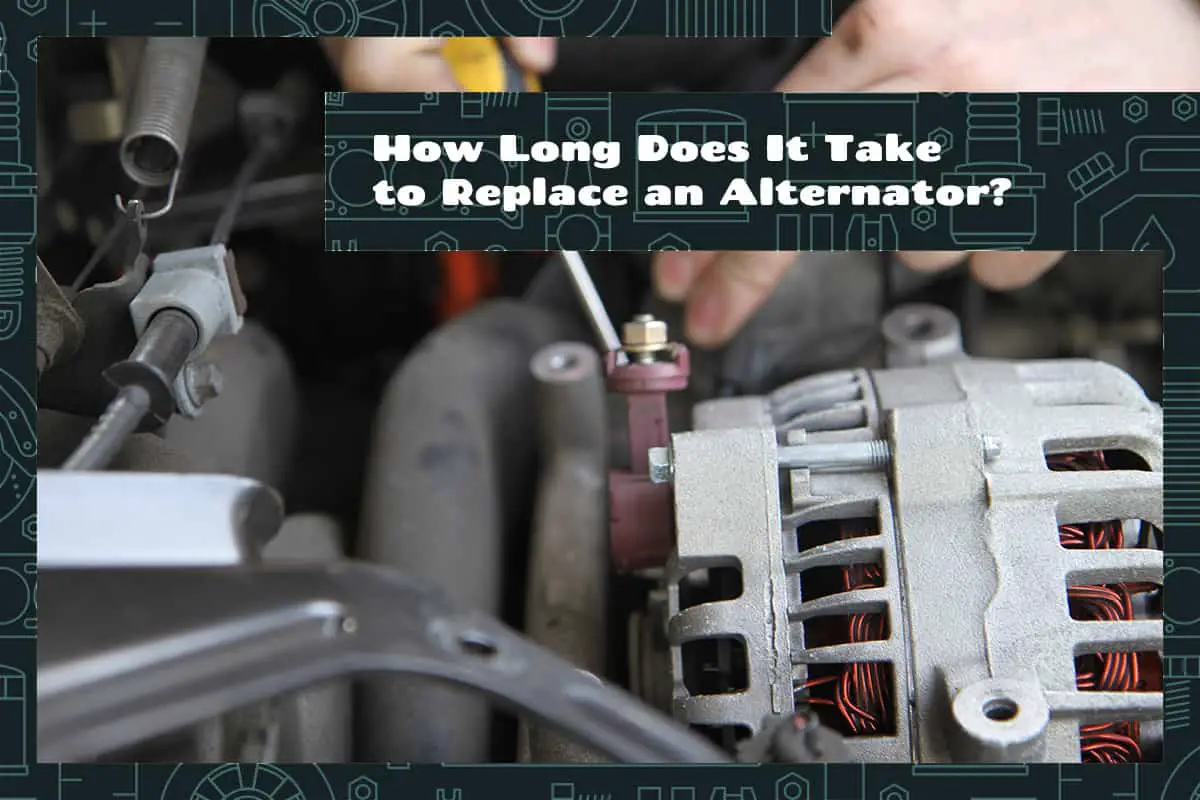
Your car’s alternator is an essential component that keeps the battery charged and powers the electrical system while the engine is running. As with any part of your car, the alternator can wear out over time, requiring replacement to ensure your vehicle remains reliable and safe to drive.
On average, replacing an alternator takes around 2-4 hours. Factors such as your vehicle’s make and model, your experience level, and whether you’re attempting a DIY replacement or using professional services can impact the time it takes.
In this guide, we’ll cover everything you need to know about alternator replacement, from identifying the signs of a failing alternator to the step-by-step process of replacing it yourself.
Determining if the Alternator Needs Replacement
Before you decide to replace your alternator, you first need to determine whether it’s really the source of your car’s issues. There are a few key steps you can take to make sure that your alternator is the problem.
Testing the alternator
You can use a multimeter, a device that measures voltage, to test your alternator. Follow these steps:
- Turn off your car and let the engine cool down.
- Set the multimeter to DC volts (usually represented by a “V” and a straight line).
- Connect the red probe to the positive terminal on your battery and the black probe to the negative terminal.
- Start your car and let it idle.
- Check the multimeter reading. A healthy alternator should give a reading between 13.7 and 14.7 volts. If the voltage is below 13 volts, your alternator may not be working correctly.
Identifying common symptoms
Pay attention to your car’s performance. Some common signs that your alternator might be failing include:
- Dimming headlights when the engine is idling
- Difficulty starting the car or frequent stalling
- Strange noises, such as a grinding or whining sound
- A warning light on your dashboard, often shaped like a battery
The impact of alternator failure
A failing alternator can cause your battery to lose its charge, leading to problems like a dead battery or a car that won’t start. It can also affect other electrical components, like your car’s headlights, radio, and power windows. If you notice any of these issues, you should address the problem right away to avoid further damage to your vehicle.
Step-by-Step Guide to DIY Alternator Replacement

If you’ve determined that your alternator needs replacement and you want to do it yourself, this guide will help you through the process. Remember to always follow safety precautions and consult your vehicle’s owner’s manual for specific instructions.
1. Preparing your vehicle and workspace
Before you start, make sure you have a clean, well-lit workspace with plenty of room to move around your vehicle. Gather the necessary tools, such as a wrench, sockets, and a multimeter, as well as a new alternator. Park your car on a level surface and engage the parking brake.
2. Disconnecting the battery
It’s crucial to disconnect your car’s battery before working on the electrical system. This helps avoid any accidental short circuits or electric shocks. To disconnect the battery, follow these steps:
- Locate your battery and identify the positive (red) and negative (black) terminals.
- Using a wrench, loosen the nut on the negative terminal, then remove the cable from the terminal.
- Repeat this process for the positive terminal.
3. Removing the serpentine belt
The serpentine belt is a long, winding belt that connects various engine components, including the alternator. To remove it, follow these steps:
- Find the belt tensioner, which is a pulley that keeps the belt tight.
- Use a wrench or socket to turn the tensioner and release the belt’s tension.
- Carefully slide the belt off the alternator pulley and other pulleys.
4. Removing the old alternator
With the belt out of the way, you can now remove the old alternator. Follow these steps:
- Disconnect any electrical connections from the alternator. These usually include a large wire connected to the alternator’s output terminal and a smaller plug with several wires.
- Using a wrench or socket, remove the bolts that secure the alternator to the engine.
- Carefully lift the alternator out of the engine compartment.
5. Installing the new alternator
Now that the old alternator is out, it’s time to install the new one. Follow these steps:
- Carefully lower the new alternator into the engine compartment and align it with the mounting holes.
- Install the bolts that secure the alternator to the engine, but don’t fully tighten them yet. This will allow for slight adjustments while reconnecting the belt.
- Reconnect the electrical connections to the alternator, making sure they are tight and secure.
6. Reconnecting the serpentine belt and battery
With the new alternator in place, it’s time to reconnect the serpentine belt and the battery. Follow these steps:
- Loop the serpentine belt around the alternator pulley and the other pulleys, making sure it follows the same path as before.
- Use a wrench or socket to turn the tensioner and create slack in the belt.
- Carefully slide the belt onto the tensioner pulley and release the tensioner to tighten the belt.
- Double-check that the belt is properly seated on all pulleys, and adjust the alternator’s position if necessary.
- Tighten the alternator mounting bolts securely.
- Reconnect the battery by attaching the positive cable to the positive terminal and tightening the nut, followed by the negative cable and the negative terminal.
Time Estimates for Alternator Replacement
Understanding how long it takes to replace an alternator can help you plan your project and decide whether to do it yourself or seek professional help.
DIY replacement time
If you’re tackling the alternator replacement yourself, expect it to take around 2-4 hours. This estimate varies depending on your experience, skill level, and the complexity of your vehicle’s engine. First-time DIYers may need extra time to familiarize themselves with the process and their car’s specific requirements.
Professional service time
A professional mechanic can typically complete an alternator replacement in 1-3 hours. The exact time depends on the mechanic’s experience and the vehicle’s make and model. Visiting a professional can save time, especially if you’re not confident in your abilities or have a complex engine layout.
Unforeseen complications
Keep in mind that unexpected issues may arise, such as rusted or seized bolts, broken components, or difficulties accessing the alternator. These complications can increase the time it takes to replace the alternator, whether you’re doing it yourself or relying on a professional.
Tips for a Smooth Alternator Replacement
Following these tips can help ensure a successful alternator replacement, whether you’re doing it yourself or working with a professional mechanic.
1. Researching your specific vehicle
Before starting the replacement process, consult your vehicle’s owner’s manual or search online for specific instructions and diagrams. Every car is different, and knowing the details of your vehicle can save time and prevent mistakes.
2. Gathering the right tools
Make sure you have all the necessary tools and equipment before starting the project. This may include a wrench, socket set, multimeter, and a new alternator.
3. Ensuring proper safety measures
Always follow safety precautions when working on your car. Disconnect the battery, wear safety glasses, and use jack stands if you need to lift your vehicle.
4. Knowing when to seek professional help
If you’re not confident in your abilities or encounter a problem you can’t solve, don’t hesitate to seek help from a professional mechanic.
Alternator Replacement Costs

Knowing the costs associated with alternator replacement can help you budget for the repair and decide whether to do it yourself or hire a professional.
1. Cost of the alternator
The price of a new alternator can range from $100 to $350, depending on the make and model of your vehicle. You can purchase an alternator online, at an auto parts store, or through a dealership.
2. Labor costs for professional service
If you choose to have a professional mechanic replace your alternator, labor costs can range from $120 to $200, depending on the complexity of the job and local labor rates.
3. Additional expenses to consider
Keep in mind that other expenses may arise during the replacement process. These could include the cost of additional tools, replacement of damaged components, or the purchase of a new serpentine belt.


