We know that having a fully functional fuel gauge is crucial for safe and efficient driving. The last thing you want is to be stranded on the side of the road with an empty gas tank because your fuel gauge wasn’t working correctly. The good news is, in many cases, a faulty fuel gauge is simply due to a blown fuse, and replacing it can get your gauge up and running in no time.
The fuse box is usually located under the dashboard on the driver’s side, in the engine compartment, or in the trunk. Fuses may be labeled using abbreviations or numbers. Look for labels such as “FUEL,” “GAUGE,” or a specific number that corresponds to the fuel gauge.
In this article, we’ll walk you through the process of locating and replacing the fuel gauge fuse in your car.
Locating the Fuse Box
Before you can find the fuel gauge fuse, you must know where the fuse box is in your vehicle. While fuse box locations can vary depending on the make and model, there are a few common places where you can usually find them. Keep in mind that some vehicles have more than one fuse box, so you may need to check multiple locations.
1. Common fuse box locations in different car models
- Under the dashboard: One of the most common places for a fuse box is underneath the dashboard on the driver’s side. You may need to crouch down or use a flashlight to locate it. Look for a rectangular or square-shaped plastic cover that can be removed to access the fuses.
- In the engine compartment: Some vehicles have a fuse box located within the engine compartment. This is typically near the battery or on one of the side walls. The fuse box may have a lid or cover that needs to be removed to access the fuses.
- In the trunk: Occasionally, the fuse box can be found in the trunk, usually on one of the side walls or behind a panel.
2. Consult your owner’s manual for specific information
Since fuse box locations can vary greatly between car models, it’s always best to consult your vehicle’s owner’s manual for the most accurate information. The manual will provide diagrams and instructions on where to find the fuse box, as well as how to remove the cover and access the fuses.
If you don’t have your owner’s manual, you can often find a digital version online by searching your car’s make, model, and year along with the keywords “owner’s manual.”
Identifying the Fuel Gauge Fuse
Once you’ve located the fuse box in your vehicle, the next step is to identify the specific fuse responsible for the fuel gauge. This process can be made easier by understanding how to read the fuse box diagram and recognizing fuse labeling and color codes.
1. Reading the fuse box diagram
The fuse box diagram is typically found on the inside of the fuse box cover or in your owner’s manual. This diagram serves as a map, indicating the location and function of each fuse within the box. Look for an abbreviation or symbol related to the fuel gauge, such as “FUEL,” “GAUGE,” or “F/GAUGE.” The diagram may also indicate a specific number assigned to the fuel gauge fuse.
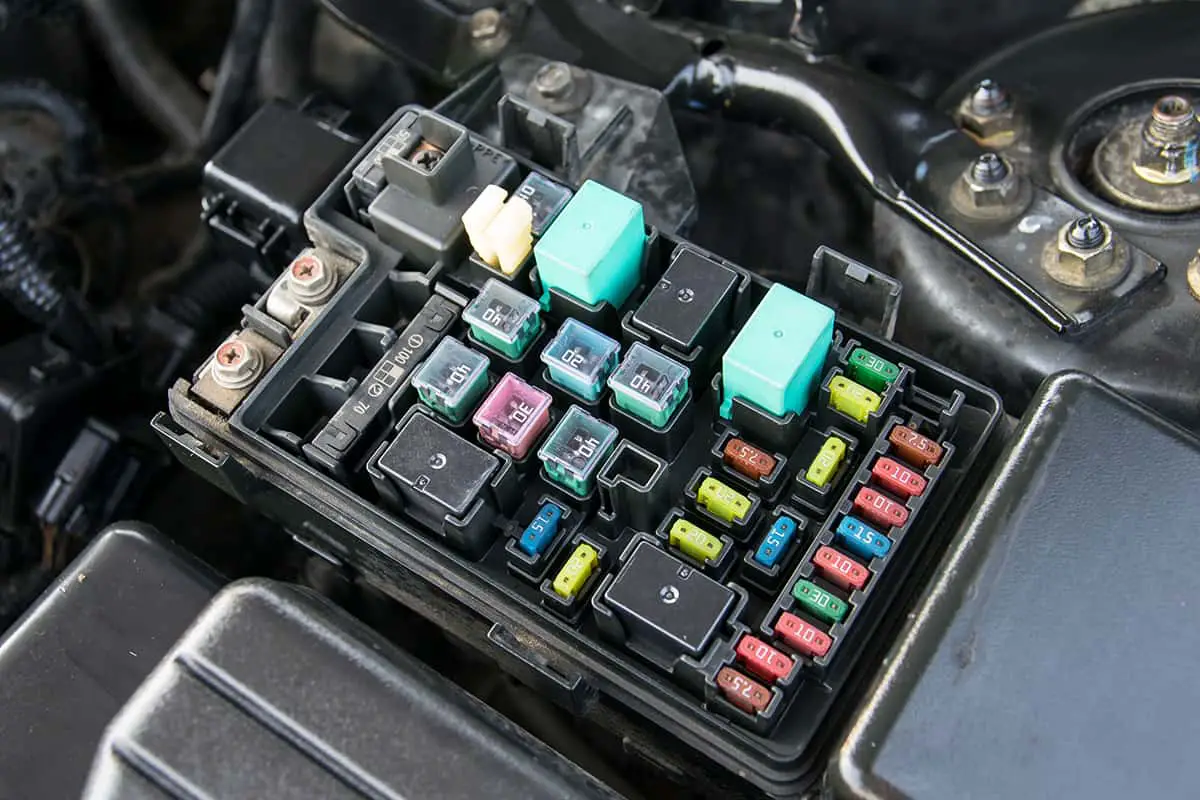
2. Fuse labeling and color codes
When identifying the fuel gauge fuse, ensure that you also take note of its color and amperage rating, as this information will be crucial when replacing a blown fuse. By understanding the fuse box diagram and recognizing fuse labeling and color codes, you can easily locate and identify the fuel gauge fuse in your vehicle, ensuring a smooth and efficient repair process.
Common fuse colors and their corresponding amperage ratings include:
- Orange: 5 amps
- Red: 10 amps
- Blue: 15 amps
- Yellow: 20 amps
- Clear or white: 25 amps
- Green: 30 amps
How to Safely Remove and Replace the Fuel Gauge Fuse
Now that you’ve located the fuel gauge fuse, it’s essential to know how to safely remove and replace it. Following the correct precautions and safety measures will ensure a successful and risk-free process. In this section, we’ll guide you through the necessary steps to replace the fuel gauge fuse safely and efficiently.
1. Precautions and safety measures
Before you begin working on your vehicle’s electrical system, it’s crucial to follow some basic safety precautions. Keep these tips in mind as you work on your fuse box:
- Turn off the engine and ensure the car is in park or, for manual transmissions, in neutral with the parking brake engaged.
- Disconnect the negative battery terminal to avoid the risk of electrical shock or short circuits. Use a wrench to loosen the terminal clamp and set it aside, ensuring it doesn’t make contact with any metal surfaces.
- Wear non-conductive gloves, if possible, to minimize the risk of electric shock.
- Work in a well-ventilated area, as some fuses can emit a slight odor if they have blown.
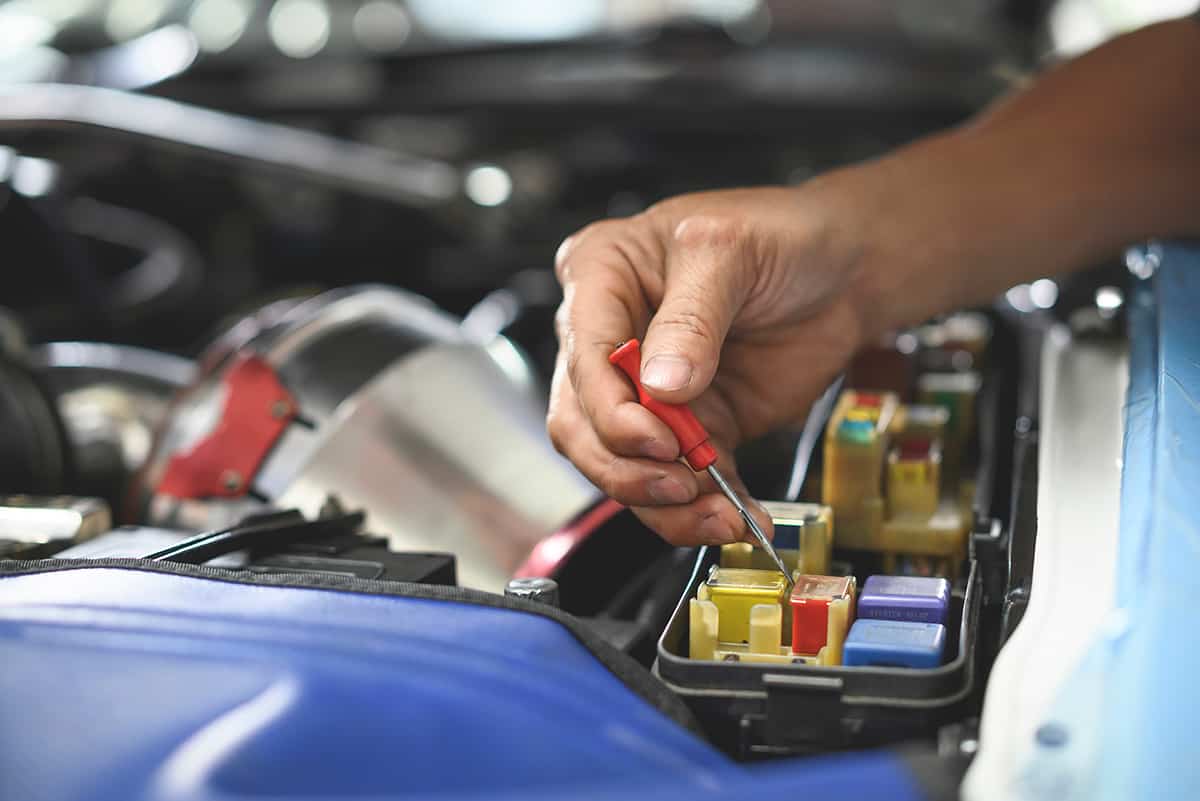
2. Using the fuse puller or needle-nose pliers
Most vehicles come with a fuse puller in the fuse box, which is a small plastic tool specifically designed for removing fuses. If you don’t have a fuse puller, you can use a pair of needle-nose pliers. Carefully grip the fuel gauge fuse with the puller or pliers and gently pull it straight out to remove it.
3. Identifying a blown fuse and replacing it with the correct type
Once you’ve removed the fuel gauge fuse, inspect it closely. A blown fuse will have a broken or burnt metal wire inside the transparent plastic casing. If the fuse is indeed blown, you’ll need to replace it with a new one.
Make sure to use a fuse with the same amperage rating and color as the original fuse. Insert the new fuse into the slot where the old one was removed, ensuring it is seated correctly and securely.
Troubleshooting Additional Fuel Gauge Issues

If you’ve replaced the fuel gauge fuse and your gauge still isn’t functioning properly, other underlying issues may need to be addressed. This section will discuss additional troubleshooting steps to help diagnose and resolve any remaining fuel gauge problems.
1. Check for wiring and electrical connection problems
Wiring issues and faulty electrical connections can also cause your fuel gauge to malfunction. To check for these problems:
- Inspect the wiring running from the fuse box to the fuel gauge for any visible signs of damage, such as fraying, cuts, or burns. If you find damaged wires, they must be repaired or replaced.
- Check the connections at both the fuse box and the fuel gauge for signs of corrosion or loose connections. Clean any corroded terminals with a wire brush and ensure all connections are secure.
2. Assessing the fuel gauge sensor
The fuel gauge sensor, also known as the fuel-sending unit, is located inside the fuel tank and measures the fuel level. A faulty fuel-sending unit can cause inaccurate or non-functioning fuel gauge readings. To assess the fuel gauge sensor:
- Consult your owner’s manual to locate the fuel-sending unit’s wiring connector, usually found near the fuel tank or under the rear seat.
- Disconnect the wiring connector and use a multimeter to test the sensor’s resistance. Compare your readings to the manufacturer’s specifications listed in your owner’s manual or repair manual.
- If the sensor’s resistance is out of spec, you may need to replace the fuel-sending unit. This can be a more complex task, often requiring fuel tank removal, and may be best left to a professional mechanic.