Valve seals in cars prevent oil from flowing into combustion chambers and maintain optimal engine performance. Over time, wear and tear can take its toll on these seals, leading to various issues like increased oil consumption or blue smoke from the exhaust.
Once valve seals are worn out, replacement is typically necessary to restore engine function. Costs vary but expect to pay between $300 to $1,500 depending on car model and labor charges.
This guide will help you understand the symptoms and causes of bad valve seals, the replacement process, and cost estimates.
What Are Valve Seals?
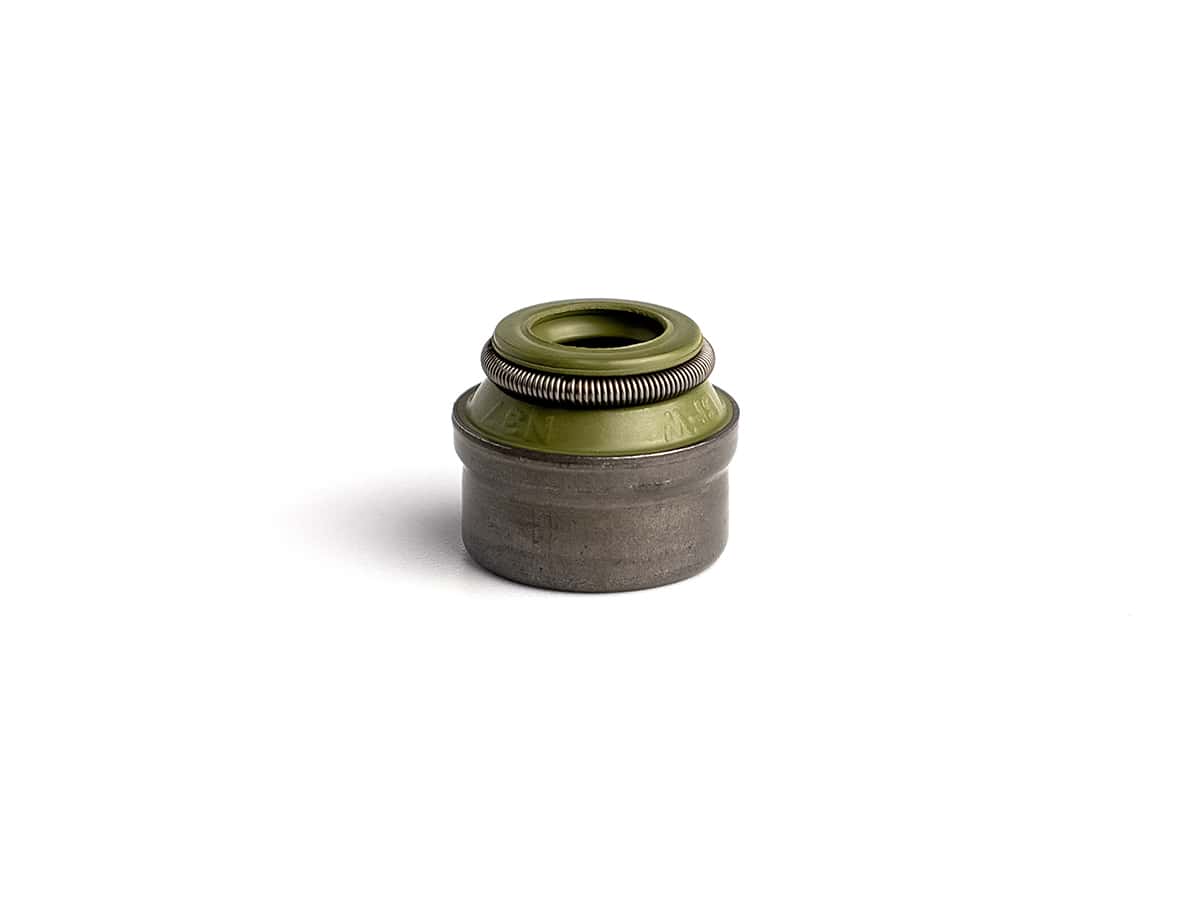
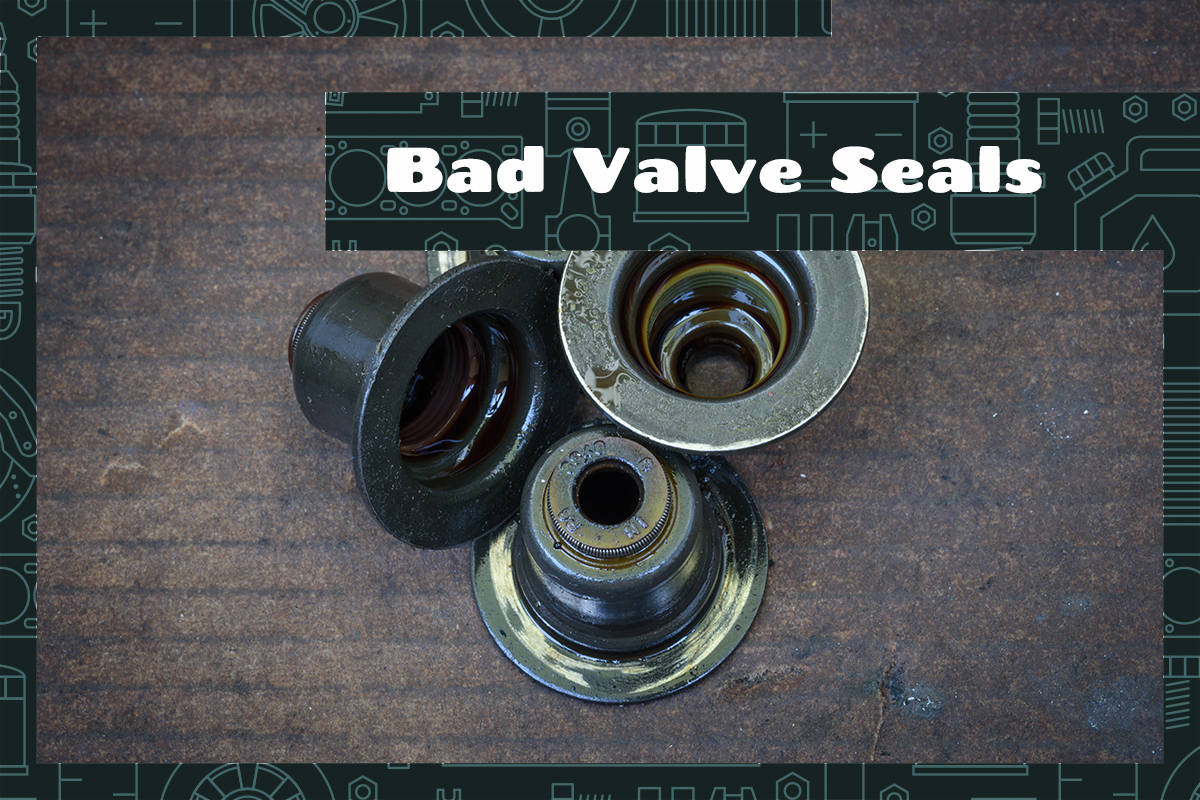
Valve seals are small rings made of rubber or polyacrylate materials. Positioned at the top of the engine, right above the valves, their main job is to restrict oil from entering the combustion chamber. They strike a delicate balance: allowing a small amount of oil to lubricate the valve stem while ensuring excess oil doesn’t seep in.
You’ll find two primary types of valve seals:
- Umbrella Valve Seals: Resembling an umbrella, as the name suggests, these seals have a circular base that extends into a larger umbrella-like top. They aren’t directly attached to the valve guide but rather float on the valve stem.
- O-Ring Valve Seals: These seals are more of an older design predominantly found in older car models. Positioned around the top of the valve guide, they work as barriers, stopping oil from moving down the valve stem.
Symptoms of Bad Valve Seals
There are clearcut signs that your car’s valve seals have gone bad. Let’s see what those are:
1. Excessive Oil Consumption
If you find yourself topping off the oil more frequently, yet there are no visible leaks, the valve seals might be allowing more oil than needed into the combustion chamber. This overconsumption not only puts a dent in your pocket but can also harm other engine components due to insufficient lubrication.
2. Blue Smoke from the Exhaust
If the valve seals are compromised, excess oil can find its way into the combustion chamber, burning alongside the fuel. This process results in the emission of blue smoke from the exhaust, especially during startup. While engines might emit various smoke colors for different reasons, blue is a telltale sign of oil combustion.
3. Rough Idle
The smooth purring of an engine can turn into a rough and inconsistent idle with faulty valve seals. The irregular oil flow caused by the compromised seals can affect the engine’s combustion stability. This means the car might shake or vibrate more when idling, or you might notice fluctuating RPMs on the dashboard.
4. Poor Fuel Economy
As oil seeps into the combustion chamber, it can dilute the fuel-air mixture, so the engine works harder to achieve the same output. You might notice that you’re refueling more often, even if your driving habits remain unchanged.
5. Fouled Spark Plug
The spark plug plays a pivotal role in igniting the fuel-air mixture in the combustion chamber. However, with excess oil entering this chamber due to failing valve seals, the spark plug can become fouled or coated with oil residues. A fouled spark plug can cause misfires and reduce engine performance.
Causes of Valve Seal Failure
There are several reasons for why your valve seals deteriorate, which are as follows:
1. Wear and Tear
Like many car parts, valve seals aren’t immune to the usual wear and tear. Over time, as the engine racks up more miles, the seals can become brittle or lose their elasticity. This natural aging process can lead to the seals not fitting snugly around the valve stems.
2. Engine Overheating
Situations like a malfunctioning cooling system or prolonged heavy acceleration can cause the engine to overheat. Excessive temperatures can compromise the integrity of the valve seals.
3. Contaminated Oil
Oil plays a protective role in the engine by lubricating parts and preventing wear. But if the oil is contaminated with dirt, debris, or other foreign particles, it can be abrasive. This abrasive action can wear down the valve seals quicker than usual.
Valve Seal Replacement Process
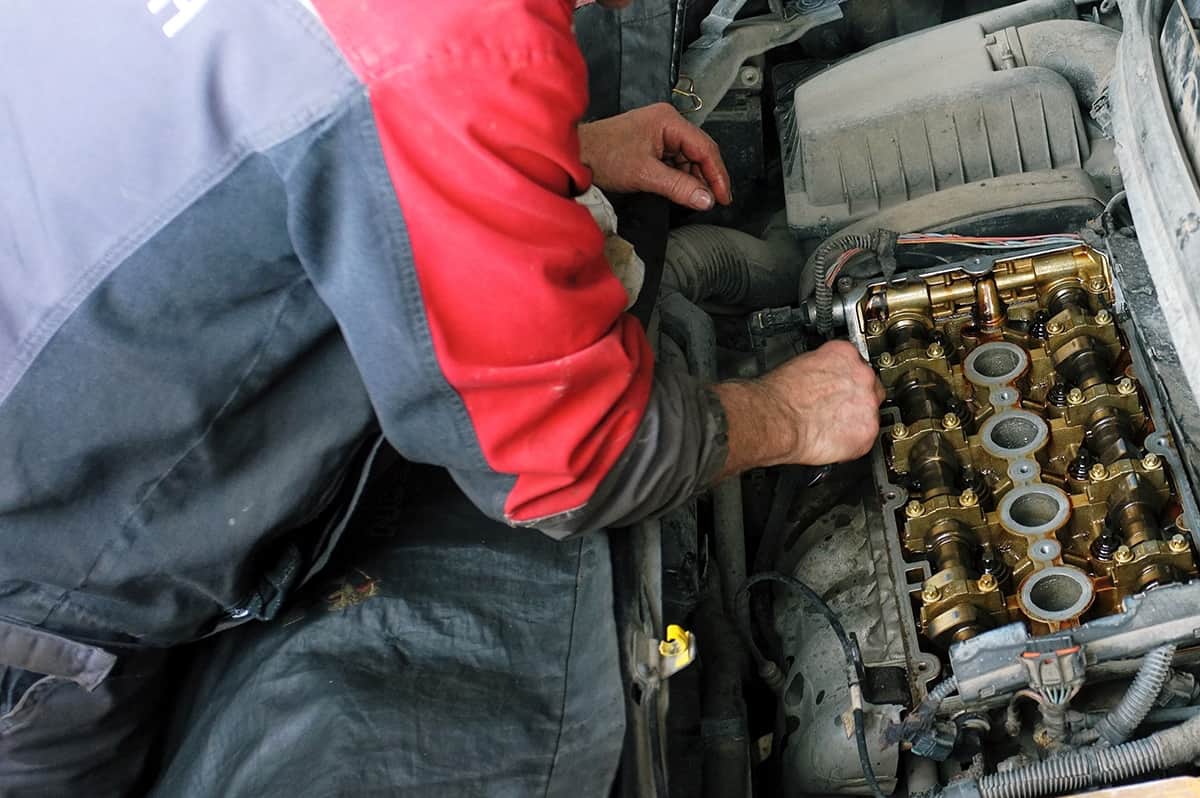
The replacement of valve seals is a meticulous task that requires a structured approach. If you’re considering getting into the nitty-gritty of this task, here’s a comprehensive breakdown.
- Preparing the Workspace: Lay out all the tools you’ll need, including valve compressors, pliers, wrenches, and new valve seals. Also, consider using a tray or a container to keep track of all removed parts, as they need to be replaced in the correct order.
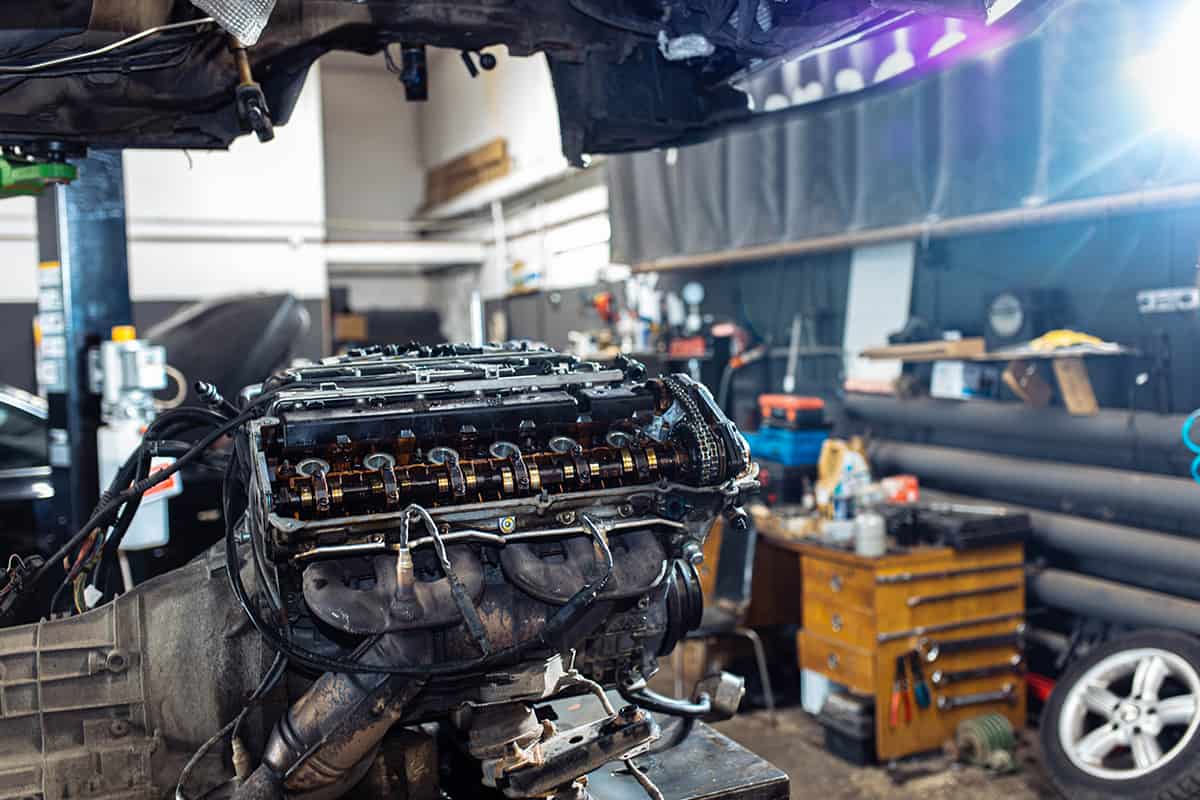
- Removing the Cylinder Head Cover: Begin by disconnecting the car’s battery. Next, take off the cylinder head cover, which is typically bolted on. Underneath, you’ll find the camshafts and the valves.
- Setting the Engine to Top Dead Center (TDC): Rotate the engine, using a wrench on the crankshaft pulley, until the piston of the cylinder you’re working on is at TDC. This position keeps the valves from falling into the cylinder when you remove them.
- Compressing and Removing the Valve Springs: With a valve spring compressor, carefully compress the valve spring of the valve you’re working on. This will expose the valve keepers—tiny half-moon clips holding the valve in place. Using a magnet or needle-nose pliers, remove these keepers. Once the keepers are out, release the valve spring compressor slowly, allowing the spring and the spring retainer to come off. This will leave the valve stem exposed.
- Removing the Old Valve Seal: With the valve stem accessible, you can now remove the old valve seal. Using pliers, grip the seal and gently wiggle it to break the seal’s grip, then lift it off the valve stem. Be gentle to avoid any damage to the valve stem.
- Installing the New Valve Seal: Place the new seal over the valve stem and push it down until it seats properly. It should fit snugly. Position it correctly to prevent any future leaks.
- Reassembling the Valve Components: Position the valve spring and retainer over the valve stem. Using the valve spring compressor, compress the spring, making room to reinsert the valve keepers. Once the keepers are securely in place, release the compressor.
- Reattaching the Cylinder Head Cover: After putting all the components in their correctly places, reattach the cylinder head cover. Tighten the bolts in a crisscross pattern to ensure even pressure.
- Reconnect the Battery and Test Drive: The final step is to reconnect the car battery. Ensure the connections are secure. After completing the replacement process, take your car for a short test drive. Listen for any unusual sounds and observe for blue smoke or other symptoms that might indicate an issue.
Replacement Cost
The general guide above describes the meticulous task of replacing bad valve seals. But how much will the whole process run you?
Generally speaking, you may end up paying around $300 to $1,500 to replace valve seals, depending on your car’s make and model. Here’s a quick cost breakdown:
Parts Cost
The valve seals themselves are typically not very pricey. A set can range from $20 to $100, depending on the brand and material quality. Avoid extremely cheap options as they might not offer the durability and efficiency required for optimal engine performance.
Labor Costs
The majority of the expense often stems from labor. Given the intricate nature of the task, mechanics might require several hours to complete the job. Labor rates fluctuate based on location, but on average, you can expect to pay anywhere from $70 to $120 per hour, with a general duration of 4 to 6 hours in total.