CV joints, or constant velocity joints, are key parts of your car’s drive shaft. They connect the drive shaft to the wheels, allowing your car to move. But sooner or later, CV joints will show signs of wear. When they do, it can cause problems with your vehicle’s movement and safety.
Symptoms of a bad CV joint may include:
- Loud clicking noises when turning
- Bouncy rides even on smooth roads
- Vibration while accelerating
- Grease on the edge of your tires
In this article, we’ll dig deeper into understanding the symptoms, causes, and fixes of a bad CV joint, helping you to keep your car in top shape.
An Intro to CV Joints
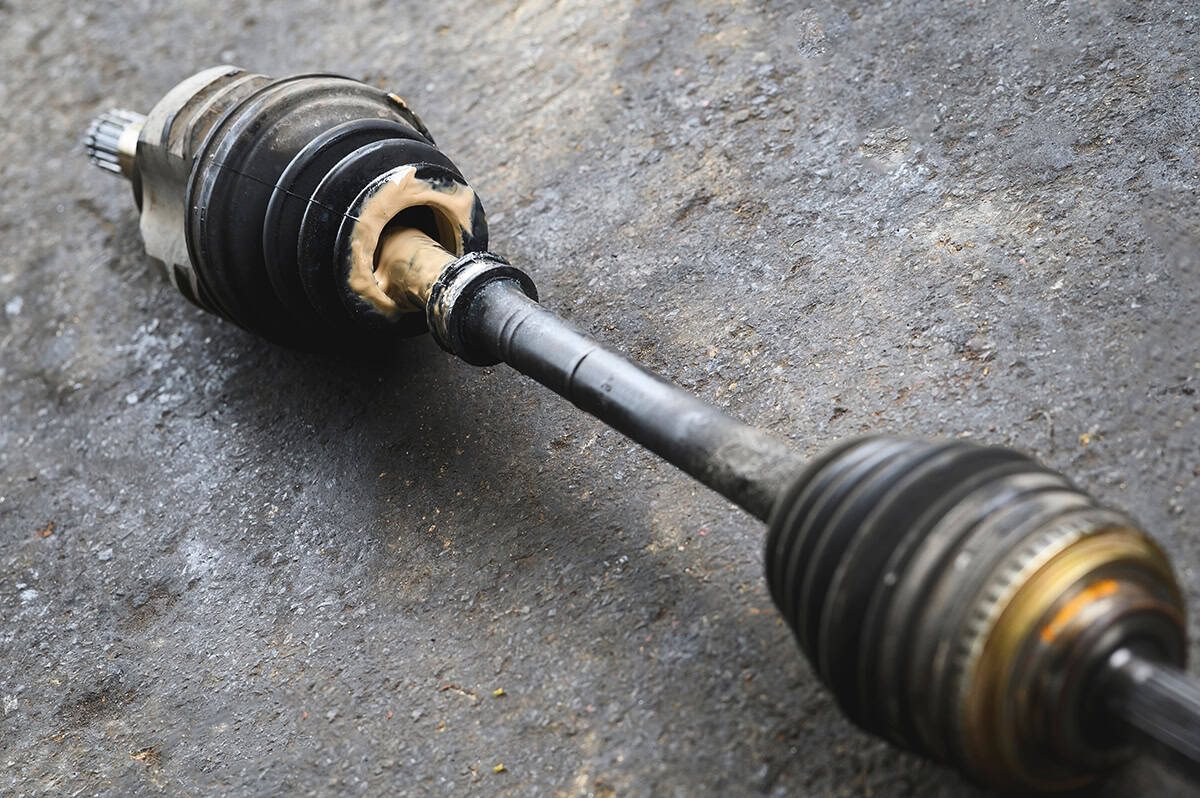
CV joints play a crucial role in your vehicle’s operation. They are part of the drive shaft, which connects the transmission to the wheels. Their main job is to transfer power from the engine to the wheels while accommodating the up and down movements of the suspension and the left and right turns of the steering. Regardless of how much the drive shaft bends or moves, CV joints ensure a steady power transfer, earning them the name “constant velocity” joints.
Without CV joints, your car would struggle to handle turns or navigate bumps on the road. Every time you steer your car or encounter a speed bump, you rely on your CV joints to make these motions smooth and effortless. They flex and bend, allowing the wheels to turn and the suspension to absorb shocks, ensuring a comfortable and controlled driving experience.
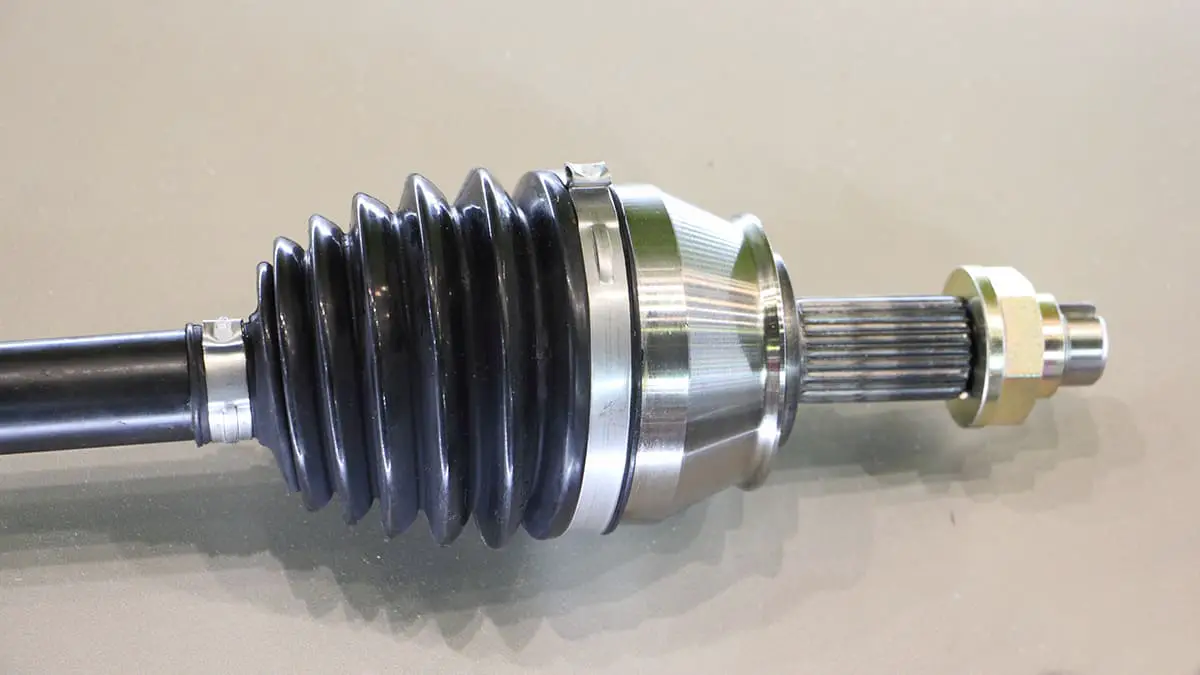
Components of a CV Joint
There are three main parts: the outer race, the ball bearings, and the cage.
The outer race is the outer shell of the CV joint. The ball bearings are small, hard, spherical parts that sit inside the cage. The ball bearings move within the cage and the outer race, allowing the CV joint to bend and flex while maintaining a steady speed to the wheels.
Types of CV Joints
There are two main types of CV joints, each with a special role. The first type is the ‘fixed’ or ‘ball-type’ CV joint. This one is used at the end of the drive shaft closest to the wheel. It’s designed to handle lots of bending and flexing, like when you’re turning the steering wheel.
The second type is the ‘plunging’ or ‘tripod-type’ CV joint. This one is used on the end of the drive shaft nearest to the transmission. It’s designed to slide in and out, like a telescope, to handle changes in distance between the transmission and the wheel when the car moves over bumps or dips.
Identifying a Bad CV Joint
In this section, we’ll learn about the symptoms and signs that indicate a bad CV joint, and why recognizing them is important.
Symptoms of a bad CV Joint
The first step in identifying a bad CV joint is understanding the symptoms it might produce. These symptoms often signal that something is wrong with the CV joint before it fails completely.
- Noises when turning: One of the most common symptoms of a bad CV joint is a loud, repetitive clicking noise when you turn your vehicle. This noise occurs because the CV joint is not able to keep a constant speed while turning, which causes it to click rapidly.
- Vibration while accelerating: If you notice a vibration or shuddering sensation through your vehicle when you accelerate, this could be another symptom of a bad CV joint. This happens when the CV joint is worn or damaged and is unable to maintain a constant velocity.
- Bouncy ride: A bad CV joint can also make your ride feel bouncy or rough, even on smooth roads. This is because the CV joint, which helps smooth out the motion of your vehicle, is not functioning correctly.
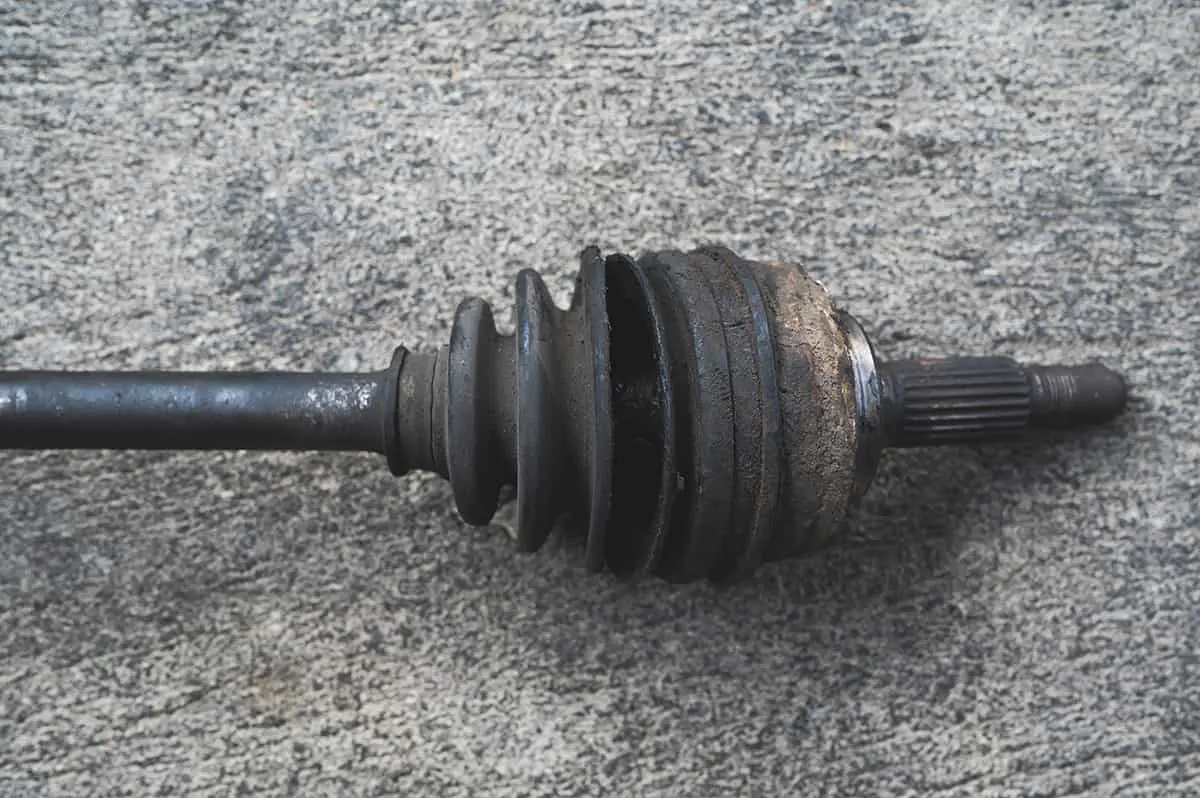
Visual signs of CV Joint damage
- Leaking grease: Each CV joint is packed with grease and sealed with a rubber or plastic boot. If you notice grease on the inside edge of your tire or underneath the vehicle, it might be a sign that the CV joint boot is damaged and is leaking grease. Without enough grease, the CV joint can wear out more quickly.
- Damaged CV boot: A damaged or torn CV boot can lead to a bad CV joint. If the boot is damaged, dirt and road debris can get inside the joint, which can cause damage over time.
Reasons Behind CV Joint Failures
Here, we’ll explore the various causes of why your CV joints may be failing.
1. Normal wear and tear
CV joints work hard every time you drive. The constant flexing, vibration, and pressure can lead to wear and tear. This is the most common reason why CV joints fail. Wear and tear can result in a loss of lubrication, damage to the CV boot, and gradual degradation of the joint components.
2. Impact damage
Accidents or impacts, like hitting a pothole or curb, can cause immediate damage to the CV joint or its protective boot. High impacts can cause physical damage, like cracks or breaks, to the joint. They can also tear the boot, allowing dirt to enter and grease to leak.
3. Incorrect installation
An incorrectly installed CV joint can lead to premature failure. If the joint isn’t aligned correctly, it can cause excessive vibration, increased wear, and, eventually, failure. Similarly, if the joint isn’t properly lubricated during installation, it can lead to increased friction and heat, causing the joint to wear out more quickly.
4. Lack of maintenance
Neglecting regular maintenance of your vehicle’s drive shaft and CV joints can lead to failure. If maintenance is overlooked, small issues, like a small tear in the boot or a minor grease leak, can develop into larger problems that can cause the CV joint to fail.
How to Replace a Bad CV Joint
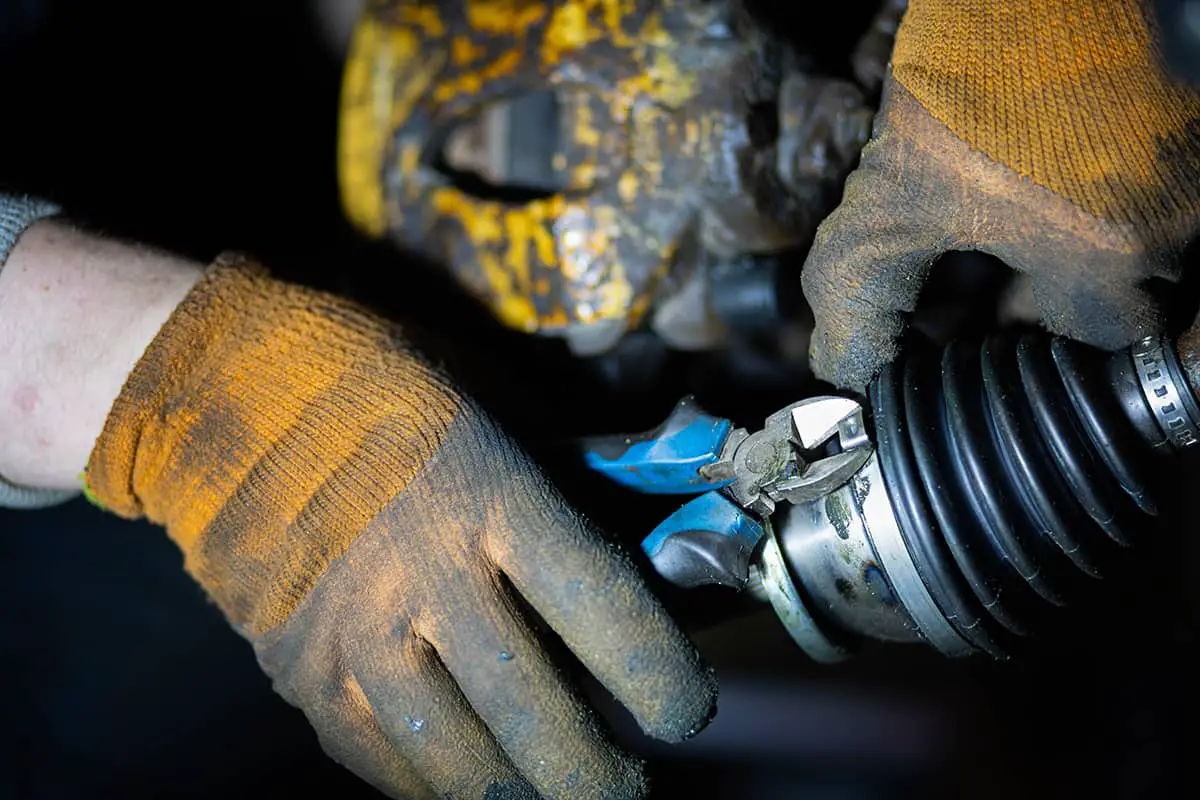
Once you’ve identified a bad CV joint in your vehicle, the next step is fixing it. This process usually involves replacing the joint, and, sometimes, the entire drive shaft. Here’s a simplified overview of what the replacement process might look like if performed by a professional mechanic:
- Removal of the wheel: The mechanic will start by lifting the vehicle and removing the wheel on the side with the bad CV joint.
- Removal of the axle nut: The large nut holding the CV joint to the wheel hub is removed.
- Separation of the drive shaft from the wheel hub: The mechanic then separates the drive shaft, which includes the CV joint, from the wheel hub.
- Removal of the drive shaft: The other end of the drive shaft is disconnected from the transmission, allowing the mechanic to remove the whole drive shaft.
- Replacement of the CV Joint: The old CV joint is removed from the drive shaft and replaced with a new one. If the whole drive shaft is being replaced, this step isn’t necessary.
- Reinstallation: The drive shaft, complete with the new CV joint, is reconnected to the transmission and wheel hub, the axle nut is replaced, and the wheel is reinstalled.
- Post-replacement check: After the replacement, the mechanic will check the vehicle to make sure everything is working correctly.
If you’d like to see this process in action, we suggest checking out autodoc.co.uk’s video tutorial.
Maintaining a Healthy CV Joint
Regular maintenance plays a vital role in keeping your CV joints in good condition. Here are some maintenance tasks you can perform to maintain a healthy CV joint:
- Inspect CV boots: Regularly check the condition of the CV boots, which protect the CV joints from dirt and moisture. Look for any signs of damage, such as cracks, tears, or leaks. If you notice any issues, it’s crucial to address them promptly.
- Keep CV boots sealed: Ensure that the CV boots are properly sealed to prevent dirt, water, and debris from entering and causing damage to the CV joints. Replace any damaged or deteriorated boots to maintain the integrity of the CV joint system.
- Maintain proper grease levels: CV joints require proper lubrication to minimize friction and wear. Check the grease levels in the CV joints and replenish if necessary. It’s recommended to follow the manufacturer’s guidelines for the type and amount of grease to use.
- Avoid excessive force and impact: Be mindful of your driving habits and try to avoid situations that subject the CV joints to excessive force and impact. Avoid rough terrains, potholes, and curbs whenever possible, as they can put undue stress on the CV joints.
- Drive responsibly: Avoid aggressive driving, sudden acceleration, and harsh braking. Smooth and gradual driving helps reduce stress on the CV joints.
- Be mindful of off-road driving: If you frequently drive off-road, consider installing protective skid plates or guards to shield the CV joints from potential damage caused by rocks, branches, or other obstacles.
- Maintain proper wheel alignment: Incorrect wheel alignment can lead to increased stress on the CV joints. Regularly check and adjust the wheel alignment as recommended by your vehicle manufacturer.
- Avoid overloading: Overloading your vehicle can put excessive strain on the CV joints. Follow the manufacturer’s recommendations for the maximum load capacity of your vehicle and avoid exceeding it.