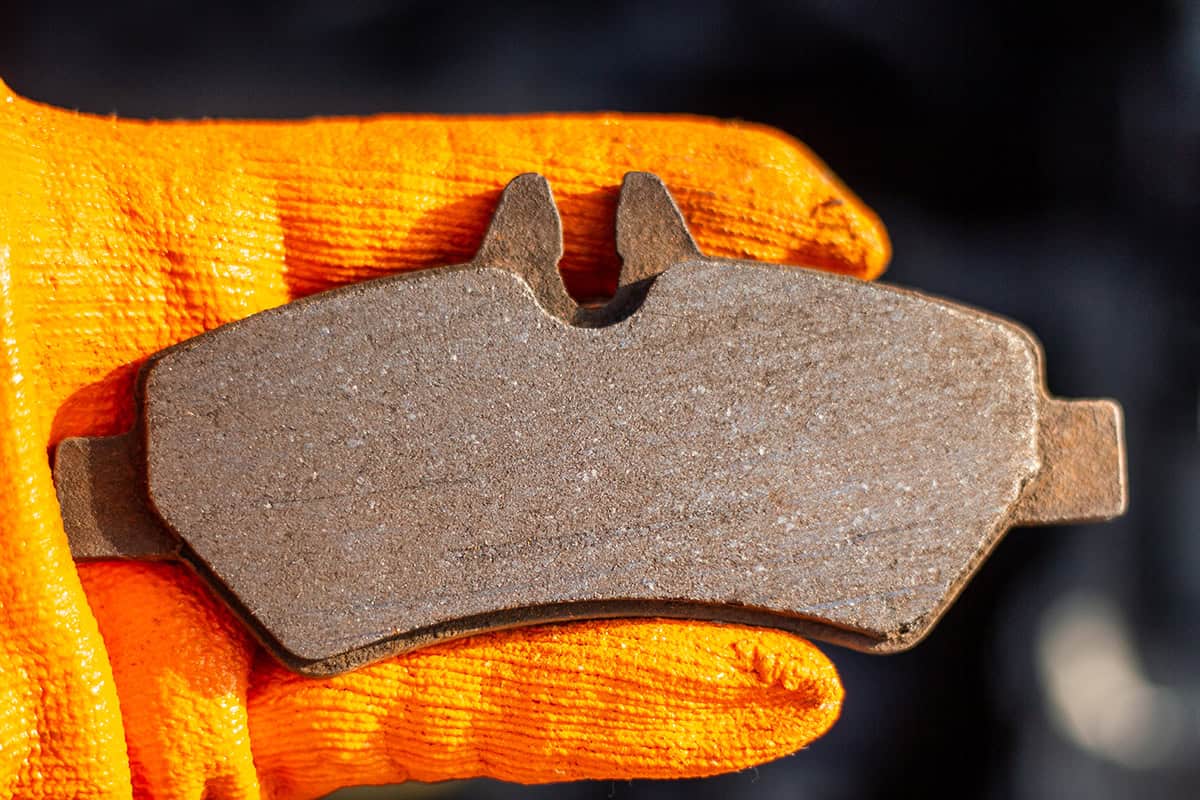
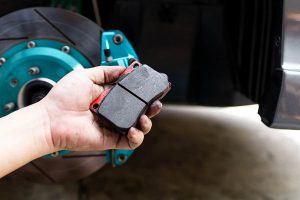
Brake pads help you slow down or stop your vehicle by pressing against the brake rotors, creating friction. Over time, these brake pads wear down, and worn-out brake pads can pose a serious safety risk.
Signs of worn-out brake pads include:
- High-pitched squealing or squeaking sounds
- Grinding noise when braking
- Vibration or pulsing in the brake pedal
- Longer stopping distances
- Warning light on your dashboard
This article will guide you through the importance of brake pads, how to spot worn-out ones, and what you should do when they need replacing.
How Do Brake Pads Work?
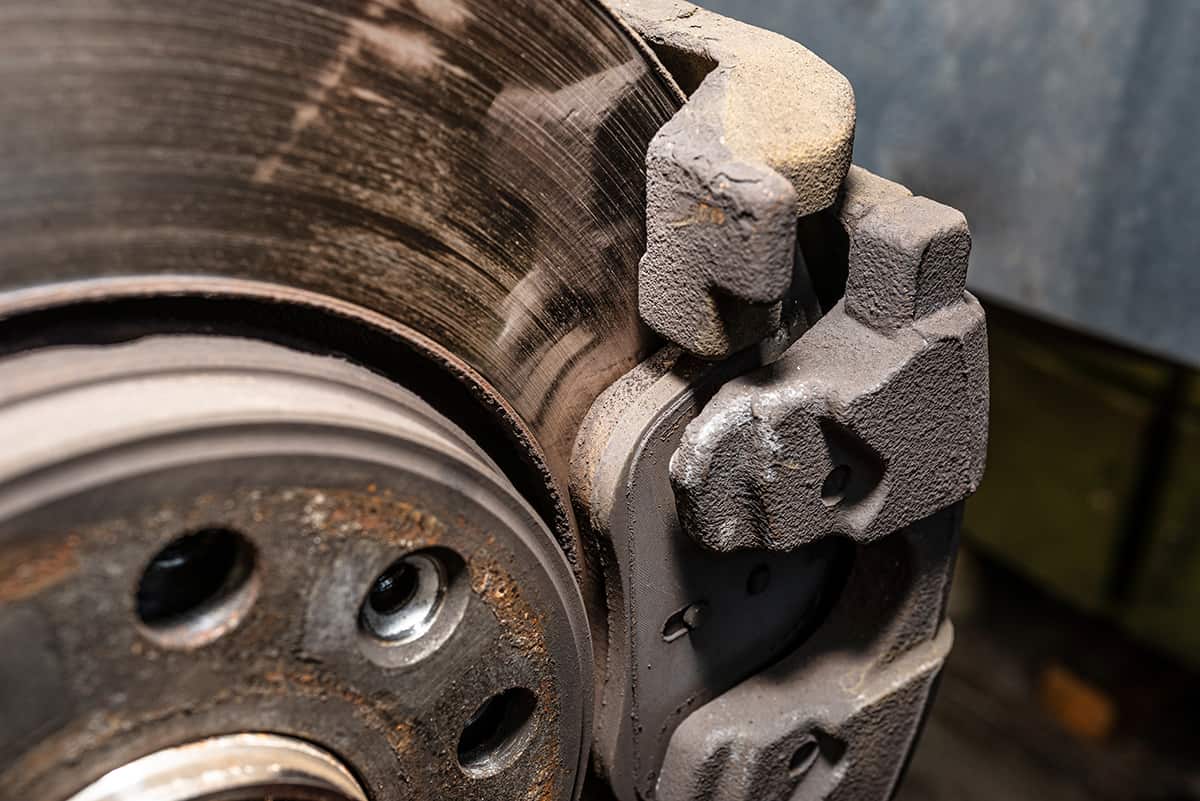
When you press your foot down on the brake pedal, it sets off a chain of events that slows or stops your car. Here’s how it works:
- The brake pedal: You press the brake pedal.
- The brake fluid: This pushes brake fluid through the brake lines.
- The brake caliper: The brake fluid causes the brake caliper to press the brake pads against the brake rotors.
- The brake pads: The brake pads create friction against the brake rotors.
- The brake rotors: The rotors are attached to the wheels. This friction slows the rotors, which in turn slows the wheels.
- The result: Your car slows down or stops!
The Warning Signs of Worn-out Brake Pads
Brake pads gradually wear down. Spotting the signs of worn-out brake pads early on can help prevent bigger problems in the future.
Seeing the Wear on Your Brake Pads
Checking your brake pads for visible signs of wear and tear is the most direct way to tell if they need to be replaced. Some cars have brake pads that can be seen from the outside. If you look through your wheel spokes, you’ll see a thick piece of material—that’s your brake pad.
Squeaking, Squealing, and Grinding Noises
Brake pads are designed to make a noise as an early warning sign when they start wearing down. This usually sounds like a high-pitched squealing or squeaking that you’ll hear when the brakes aren’t being used. The sound comes from a small metal shim called an indicator that’s there just for this purpose.
If the squeaking turns into a loud grinding sound when you brake, it’s a red alert. It means the pads are worn down so much that metal is rubbing on metal.
Vibration and Resistance in the Brake Pedal
Sometimes, your foot can feel worn-out brake pads before your ears hear them. If your brake pedal vibrates or pulses when you step on it, that might mean your brake pads are worn unevenly.
Also, if it feels like you have to push the brake pedal down harder than usual to stop the car, your brake pads could be worn out. It’s a bit like having to press harder on a worn-out eraser to get it to erase pencil marks.
Your Car’s Brake Pad Wear Indicator
Many modern cars have a brake pad warning light on the dashboard. If this light comes on, it means the car’s computer thinks the pads are too thin. It’s best to get your brake pads checked out as soon as you see this light.
The Dangers of Ignoring Worn-Out Brake Pads
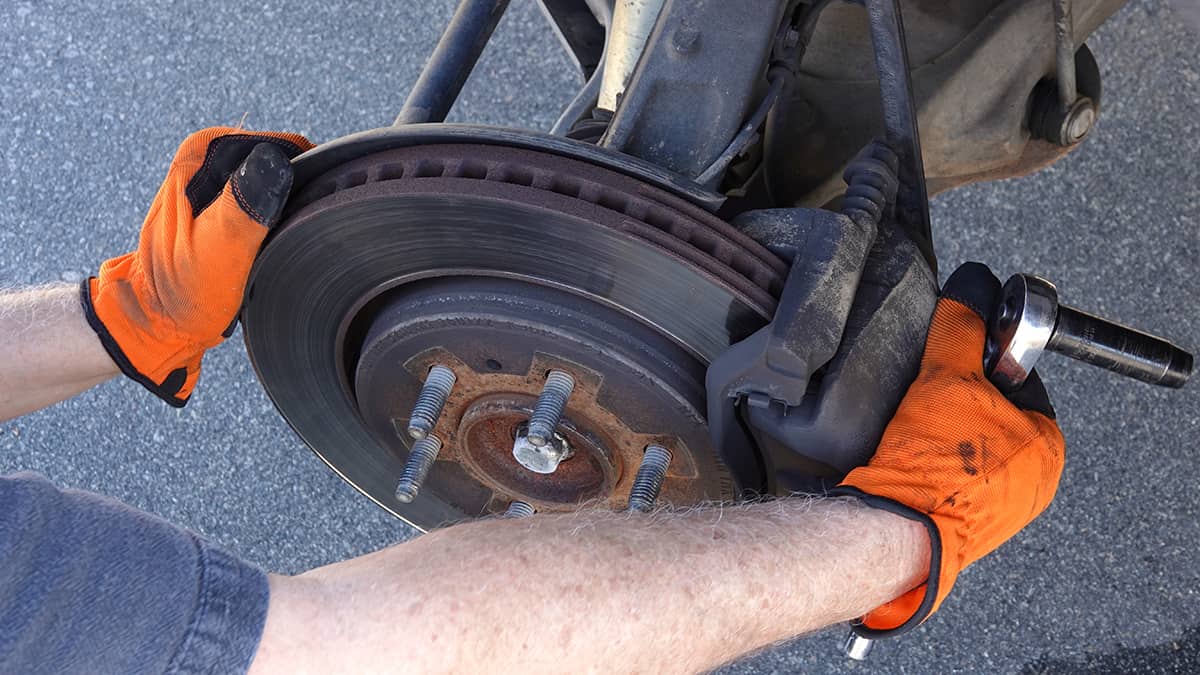
Brake pads protect you from danger on the road. Let’s look at the problems that can arise when worn-out brake pads are neglected.
Impact on Brake Performance
As brake pads wear thin, your car takes longer to stop. This can be especially dangerous in emergencies when every second counts. Also, worn-out brake pads can cause your car to pull to one side when you brake. This happens when the brake pads on one side are more worn than the other, causing uneven braking.
Damaging Your Rotors
When brake pads wear down, the metal backing plates will scrape against the rotors, damaging them. The damage can cause vibrations when braking and decrease the lifespan of the rotors, which are more expensive to replace than brake pads. Over time, the glass plate gets scratched and may even crack, becoming unusable.
Compromised Safety
The most serious consequence of ignoring worn-out brake pads is the increased risk of accidents. If you can’t stop or slow down effectively, you might not be able to avoid hazards on the road.
What to Do if Your Brake Pads are Worn Out
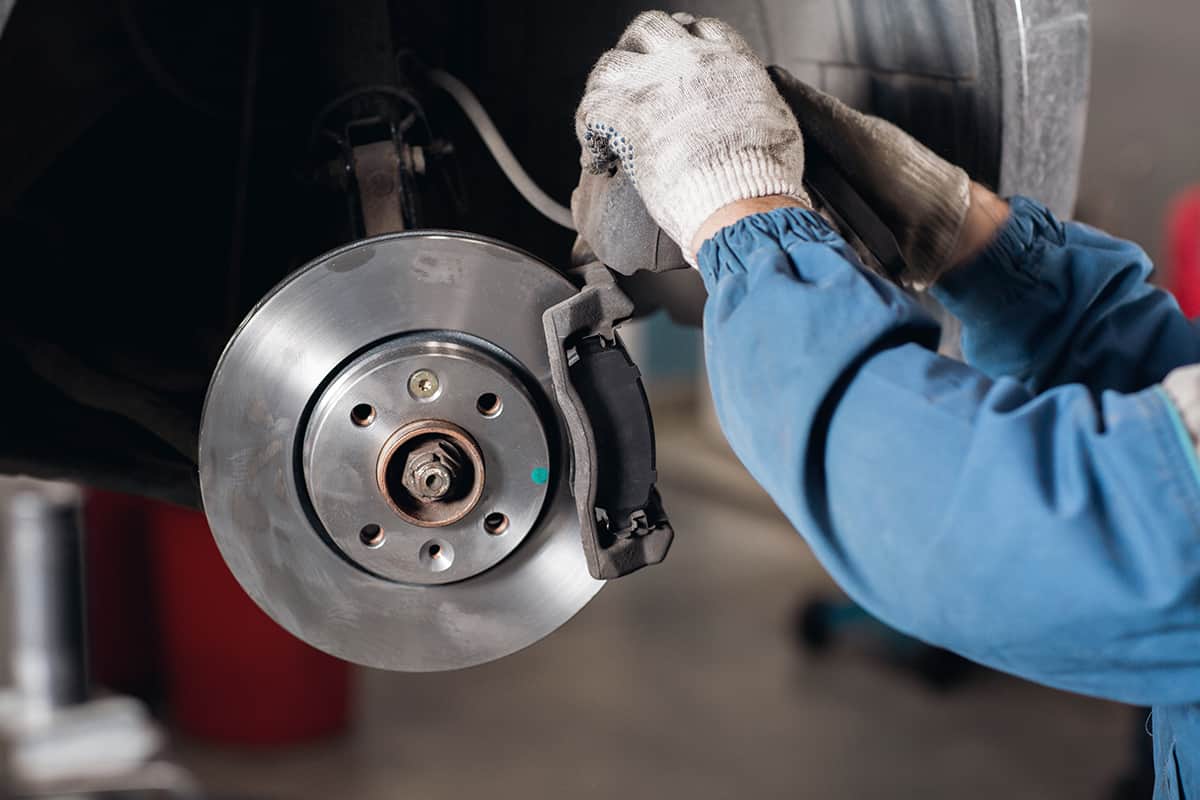
You’ve spotted the signs of worn-out brake pads on your car. Now what? It’s time to roll up your sleeves and take action. Here’s what you need to do.
Consult a Professional
Your mechanic will inspect the brake pads, measure their thickness, and check for any damage. If your brake pads need replacing, they will guide you through the process, helping you understand your options and the costs involved. It’s like going to a doctor when you’re not feeling well. The doctor will diagnose the problem and suggest the best treatment.
Choosing the Right Replacement Brake Pads
There are several types of brake pads on the market, made from different materials. Each type has its pros and cons, and the right choice depends on your car type, driving habits, and budget.
Here’s a quick overview:
- Organic brake pads: These are made from materials like glass, rubber, and Kevlar. They’re quiet and don’t wear out the rotors as quickly, but they may not last as long as other types.
- Semi-metallic brake pads: Made from a mixture of metals and other materials, these brake pads are durable and good for heat dissipation. However, they might be a bit noisier and can wear out the rotors faster.
- Ceramic brake pads: These are made from ceramic fibers, and they’re the most expensive type. But they’re also quiet, produce less dust, and last a long time.
Step-by-Step Brake Pad Replacement Process
Before we begin, it’s worth noting how replacing brake pads can be a complex process. It’s usually best done by a professional mechanic. However, understanding the steps can help you appreciate what’s involved.
Here’s a step-by-step overview.
- Gathering necessary tools: Just as a painter needs brushes and paints, replacing brake pads requires certain tools. These typically include a car jack, jack stands, a lug wrench, and a C-clamp or brake piston compressor. You’ll also need your new brake pads, of course.
- Lifting the car: First, the car needs to be safely lifted off the ground. This is done using the car jack and then secured with the jack stands. It’s like elevating a house to fix its foundation—you need to lift it carefully and make sure it’s stable.
- Removing the wheels: The lug wrench is used to remove the lug nuts and take off the wheels. It’s similar to taking the lid off a jar to access what’s inside. In this case, you’re accessing the brake components.
- Removing the caliper: Next, the brake caliper, which houses the brake pads, is removed. This step needs to be done carefully to avoid damaging the brake hose connected to the caliper.
- Removing the old brake pads: Once the caliper is removed, the old brake pads can be taken out. It’s like removing an old phone case before you can put on a new one.
- Checking the brake rotor: With the brake pads out, it’s a good time to check the brake rotor. If it’s damaged or worn down, it may need to be resurfaced or replaced. It’s like checking a bike’s tire for punctures when you’re replacing the inner tube.
- Installing the new brake pads: Now comes the moment of renewal: installing the new brake pads. The pads are placed in the brake caliper, ready to do their job of slowing down your car when needed.
- Reinstalling the caliper: With the new brake pads in place, the caliper is reattached. Care needs to be taken not to damage the brake hose.
- Reinstalling the wheels: The wheels are put back on the car and secured with the lug nuts. It’s like putting the lid back on the jar after you’ve got what you need.
- Testing the brakes: Finally, with everything back in place, it’s time to test the brakes. It’s like trying on a new pair of shoes to make sure they fit and feel right. You need to be sure your new brake pads are working properly.
