Trailer brake systems are important for safe towing, making sure your trailer can stop when needed. Just like with cars, sometimes problems can happen with your trailer’s brakes, and you might see a warning message. Resetting this system can be a bit complicated, but with the right information, you’ll be able to do it and make sure your trailer is safe for the road.
Here are the steps for resetting the service trailer brake system:
- Remove the wheels from the service trailer.
- Look for the wheel adjuster to reset the service trailer brake.
- Attach the wheel adjuster to the brake shoes with a screwdriver.
- Tighten the wheel adjuster.
- Bring back the wheels to a position where you can keep spinning them quickly without facing any resistance.
In this guide, we’ll explain the main parts of a trailer brake system, how to identify problems, and the steps to fix them.
Trailer Brake System Components
To understand how to reset your trailer’s brake system, it’s important to know about its main parts. In this section, we’ll explain the key components that make up a trailer brake system.
1. Brake controller
The brake controller is a small device inside the tow vehicle that controls the trailer’s brakes. It sends the right amount of power to the brakes so they work properly when you need to slow down or stop.
2. Brake lines and hoses
Brake lines and hoses carry brake fluid from the brake controller to the trailer’s wheels. The fluid helps to apply pressure to the brakes, making them work when you step on the brake pedal.
3. Brake assemblies
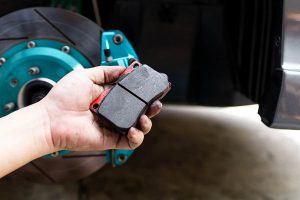
Each wheel on your trailer has a brake assembly, which includes brake pads, rotors, and other parts. These components work together to create friction, slowing down or stopping the trailer when you apply the brakes.
4. Brake magnets and sensors
Brake magnets are part of the brake assembly and help activate the brakes when needed. Sensors in the brake system monitor the brakes’ performance and send information to the brake controller, ensuring everything works correctly.
5. Trailer connectors and wiring
Trailer connectors and wiring allow the tow vehicle and the trailer to communicate. They send signals from the brake controller to the trailer’s brakes, as well as information from the sensors back to the controller.
Identifying the Problem of the Trailer Brake Systems
When you have a warning message about your trailer’s brake system, you’ll need to figure out what’s causing the issue. In this section, we’ll explain how to identify problems with your brake system.
1. Visual inspection of the brake system
Sometimes, you can spot issues with your trailer’s brakes just by looking at them. Check for damaged or leaking brake lines, worn-out brake pads, or other visible problems.
2. Testing the brake controller
If you think your brake controller might be causing the problem, test it by connecting it to another trailer or using a tester designed for brake controllers. This can help you determine if the controller is working correctly or if it needs to be replaced.
3. Assessing the brake magnets and sensors
Inspect the brake magnets for wear or damage, and test the sensors with a multimeter to make sure they’re working correctly. If you find any issues, you may need to replace the magnets or sensors to fix the problem.
What to Do After Resetting the Service Trailer Brake System
After resetting your service trailer brake system by following the steps listed at the top, you should prepare to do the following things:
1. Resetting the brake controller
To reset the brake controller, find the reset button on the device, usually located on the front or side. Press and hold the button for a few seconds, then release it; this should clear any error codes and reset the controller to its default settings.
2. Resetting the brake system after repairing issues
Once you’ve fixed any issues with your trailer’s brake system, you’ll need to reset it to clear the warning message. Disconnect the trailer from the tow vehicle, wait a minute, then reconnect it; this should reset the system and turn off the warning light.
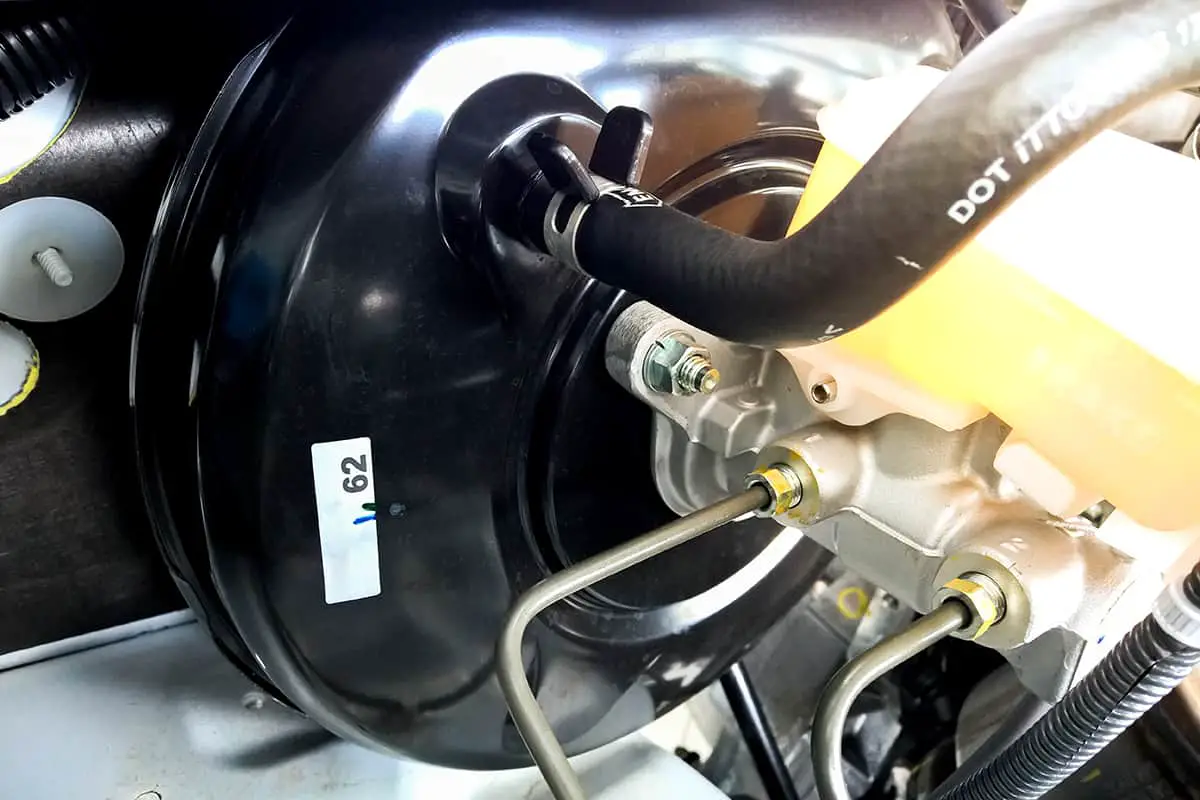
3. Bleeding the brake lines
Air in the brake lines can cause problems with your trailer’s braking system. To remove the air, you’ll need to bleed the brake lines.
Start by finding the brake bleeders and small valves located near each wheel. Attach a clear hose to the bleeder, and place the other end in a container. Have someone pump the brakes while you open the bleeder valve.
Close the valve when the brake pedal is pressed down, then open it again when it’s released. Repeat this process until no more air bubbles appear in the hose.
Testing the Trailer Brake System
Here are a few things you can do to ensure that the trailer brake system is working as intended:
Test-driving the trailer
One of the best ways to test your trailer’s brakes is to take it for a test drive. As you drive, pay attention to how the brakes feel when you apply them. They should respond quickly and smoothly without making any strange noises or causing the trailer to shake.
Make sure to test the brakes at different speeds and on different road conditions to get a thorough understanding of their performance.
Checking the brake lights
The brake lights on your trailer should illuminate when you apply the brakes. To check them, have someone step on the brake pedal in the tow vehicle while you stand behind the trailer to make sure the brake lights come on. If they don’t, you may need to fix a wiring issue or replace a burnt-out bulb.
Inspecting the brake assemblies
Visually inspect the brake assemblies on your trailer’s wheels to make sure they are in good condition. Look for signs of wear or damage on the brake pads and rotors. Also, check that the brake assemblies are securely attached to the wheels and that all bolts and fasteners are tight.
Testing the brake controller
To test the brake controller, connect a trailer brake system tester or use another trailer with a known working brake system. Apply the brakes and check the voltage output from the controller.
The voltage should increase as you apply more pressure to the brake pedal. If the voltage does not change or is inconsistent, you may need to adjust the settings on the controller or replace it entirely.
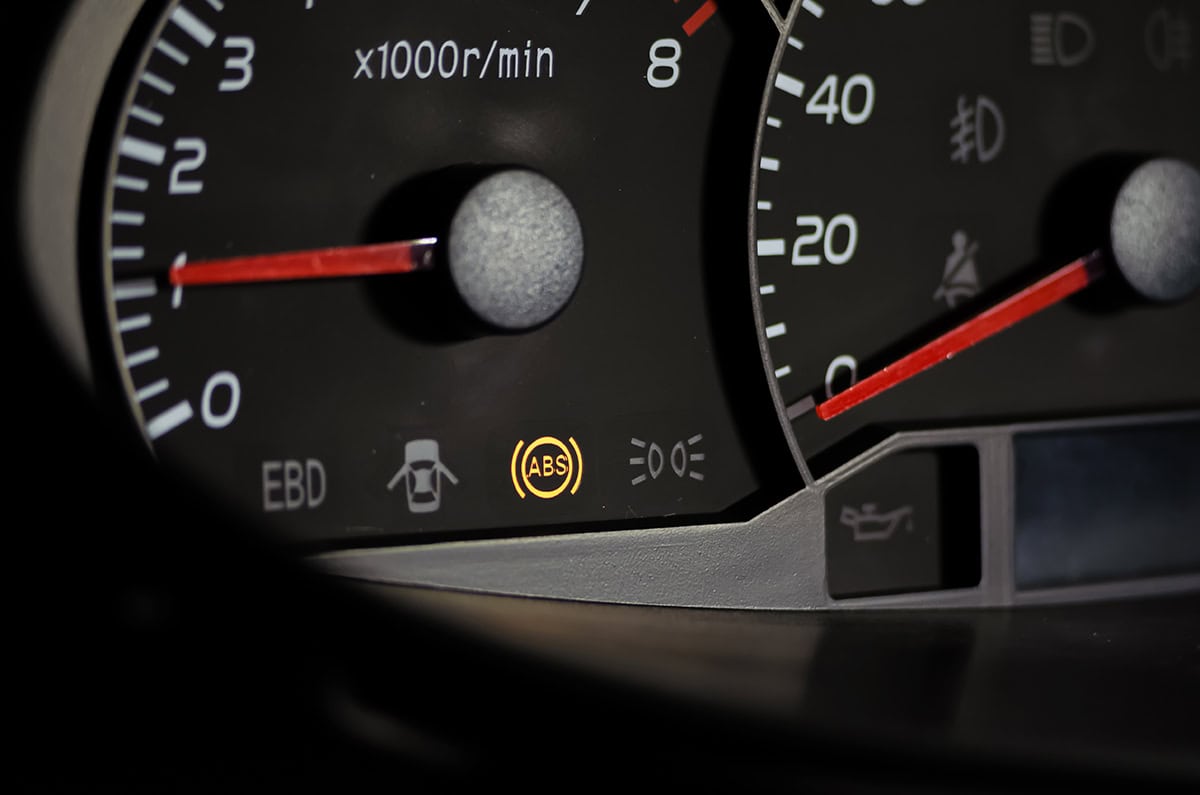
Verifying the brake system warning light is off
Before you hit the road, make sure the brake system warning light on your dashboard is no longer illuminated. If it’s still on, there may be a remaining issue with your trailer’s brake system that needs to be addressed.
FAQs
1. How often should I inspect my trailer’s brake system?
You should inspect your trailer’s brake system at least once a year or more frequently if you use your trailer often. Regular inspections can help you catch problems early and prevent accidents caused by brake failure. Before any long trips, give your brake system a quick check to make sure everything is in good working order.
2. How do I know if my brake controller is faulty?
Some signs that your brake controller might be faulty include:
- Inconsistent braking performance
- The trailer’s brakes locking up
- The brakes not responding when you step on the brake pedal
A brake system warning light on your dashboard could indicate an issue with the brake controller. To confirm whether the controller is faulty, you can test it using a trailer brake system tester or by connecting it to another trailer with a known working brake system.