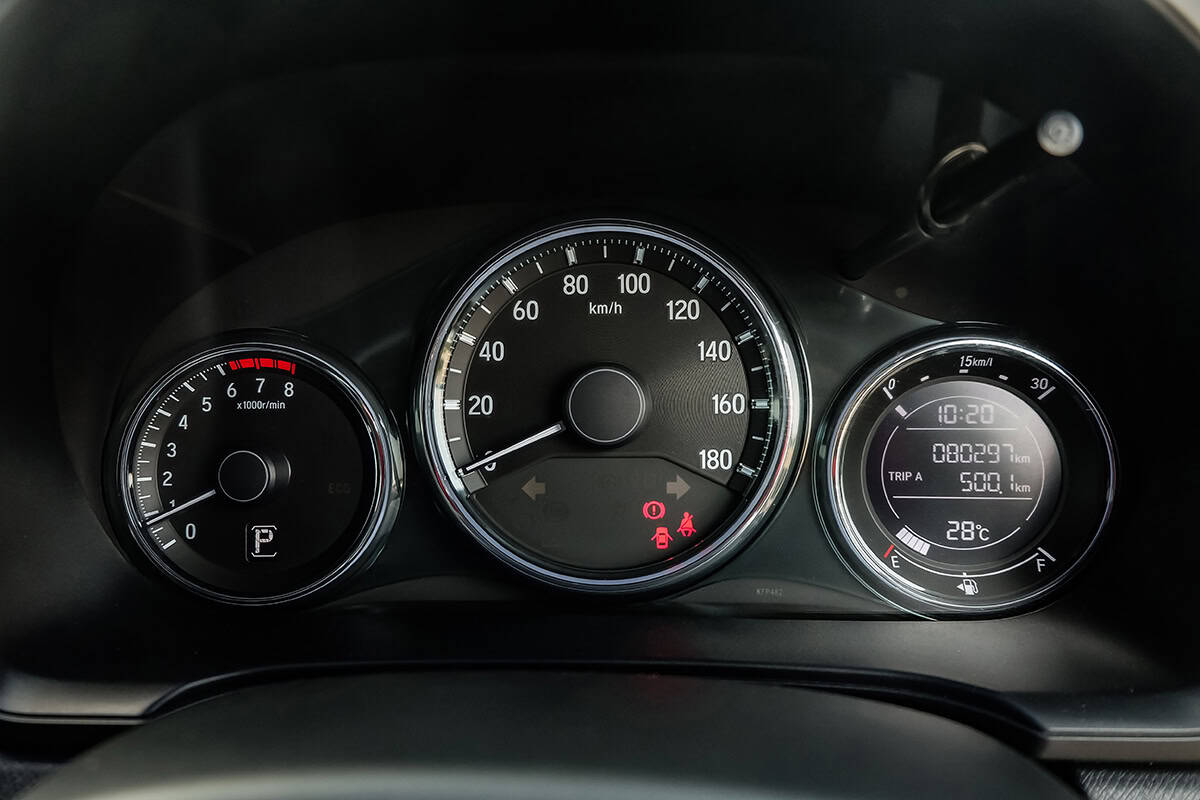
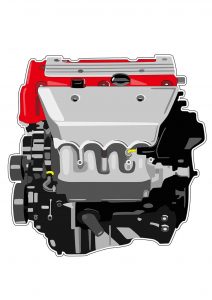
The RPM gauge, or tachometer, is an essential part of your vehicle’s dashboard. It helps you keep track of your engine’s speed and ensures that your car runs smoothly and efficiently. When the RPM gauge stops working, it can be difficult to monitor your engine’s performance, potentially leading to decreased fuel efficiency and increased wear and tear on your vehicle’s engine.
Here are the likeliest causes of why your RPM gauge isn’t working:
- Electrical issues, such as damaged wiring or connectors.
- Sensor problems, like a faulty vehicle speed sensor or engine control module.
- Mechanical issues, including a broken gauge or worn gears.
In this article, we’ll explore the different reasons your RPM gauge might stop working and guide you through the process of diagnosing and fixing the problem.
Understanding the RPM Gauge
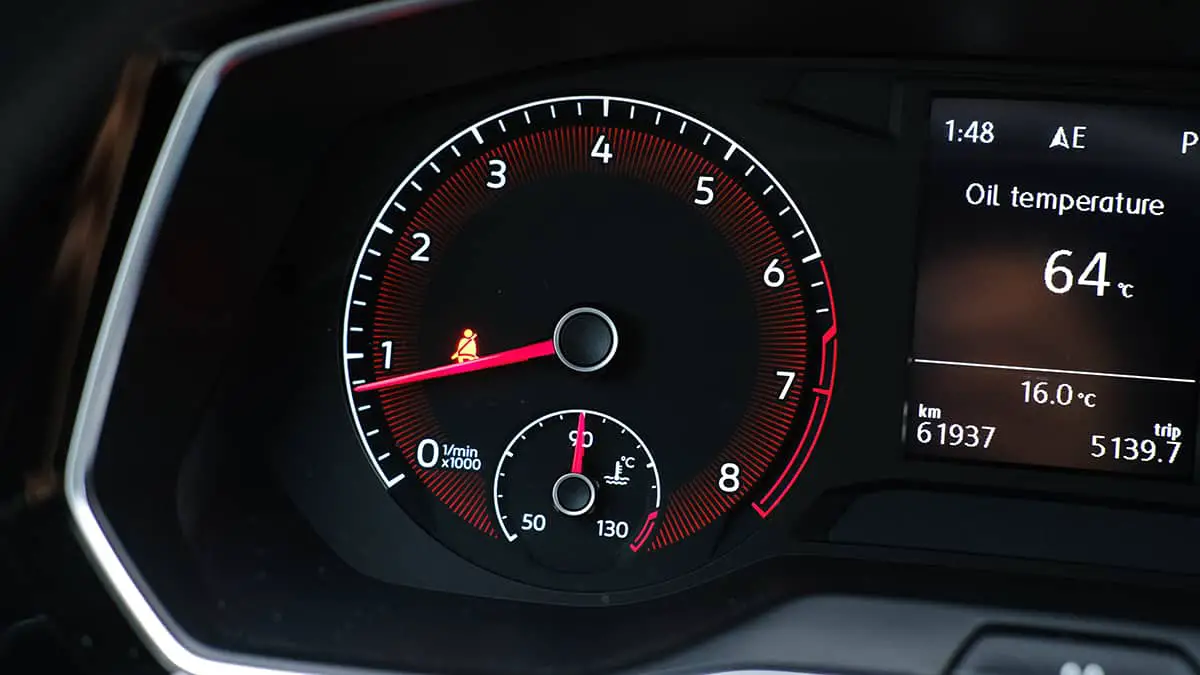
The RPM gauge, also known as the tachometer, is an important part of your car’s dashboard. It shows you how fast your engine is running, measured in revolutions per minute (RPM). Let’s learn more about this gauge and how it works.
What is the RPM gauge?
The RPM gauge is a round dial with numbers and a needle that moves as your engine’s speed changes. It helps you know when to shift gears and avoid overworking the engine. The gauge has two main parts: the display on your dashboard and the sensors connected to your engine.
How does the RPM gauge work?
The RPM gauge relies on both electrical and mechanical parts to show your engine’s speed. Sensors in your engine collect information about the engine’s rotation speed and send this data to the gauge.
The gauge then converts this information into a reading on the display, which is what you see as the needle moves. The RPM gauge also communicates with other systems in your car, like the transmission, to help your vehicle run smoothly.
Causes of RPM Gauge Malfunctions
RPM gauges can stop working for various reasons, making it difficult to monitor your engine’s speed. Understanding the possible causes of malfunctions is the first step toward fixing the problem. In this section, we’ll look at the common reasons behind RPM gauge issues, which can be grouped into electrical issues, sensor problems, and mechanical issues.
1. Electrical Issues
Electrical problems are a common cause of RPM gauge malfunctions. These issues can occur in several ways:
- Wiring problems—Damaged or disconnected wires can prevent the RPM gauge from receiving the necessary information from the engine sensors.
- Damaged or corroded connectors—Connectors that are damaged or corroded might not properly transmit electrical signals between the engine and the RPM gauge.
- Grounding problems—A poor ground connection can cause the RPM gauge to display incorrect readings or not work at all.
2. Sensor Problems
Sensors in your car are responsible for collecting and transmitting information about your engine’s speed. If these sensors aren’t working correctly, the RPM gauge might not function properly. There are two main sensors related to the RPM gauge:
- Malfunctioning vehicle speed sensor—This sensor measures the speed at which your car is traveling. If it’s not working, the RPM gauge may not display the right information.
- Engine control module issues—The engine control module (ECM) is like the brain of your car. It processes information from various sensors, including the RPM sensors. If the ECM is having problems, it can affect the RPM gauge’s performance.
3. Mechanical Issues
Mechanical issues can also cause RPM gauge malfunctions. These problems might involve the gauge itself or the components that connect it to the engine:
- Broken or damaged gauge—If the RPM gauge’s needle or internal components are damaged, it might not show the correct engine speed or may not work at all.
- Damaged drive cable—The drive cable connects the engine to the RPM gauge. If it’s damaged or worn out, the gauge might not receive the proper information.
- Worn or damaged gears—Gears inside the RPM gauge can wear out or get damaged, preventing the gauge from working correctly.
Troubleshooting the RPM Gauge
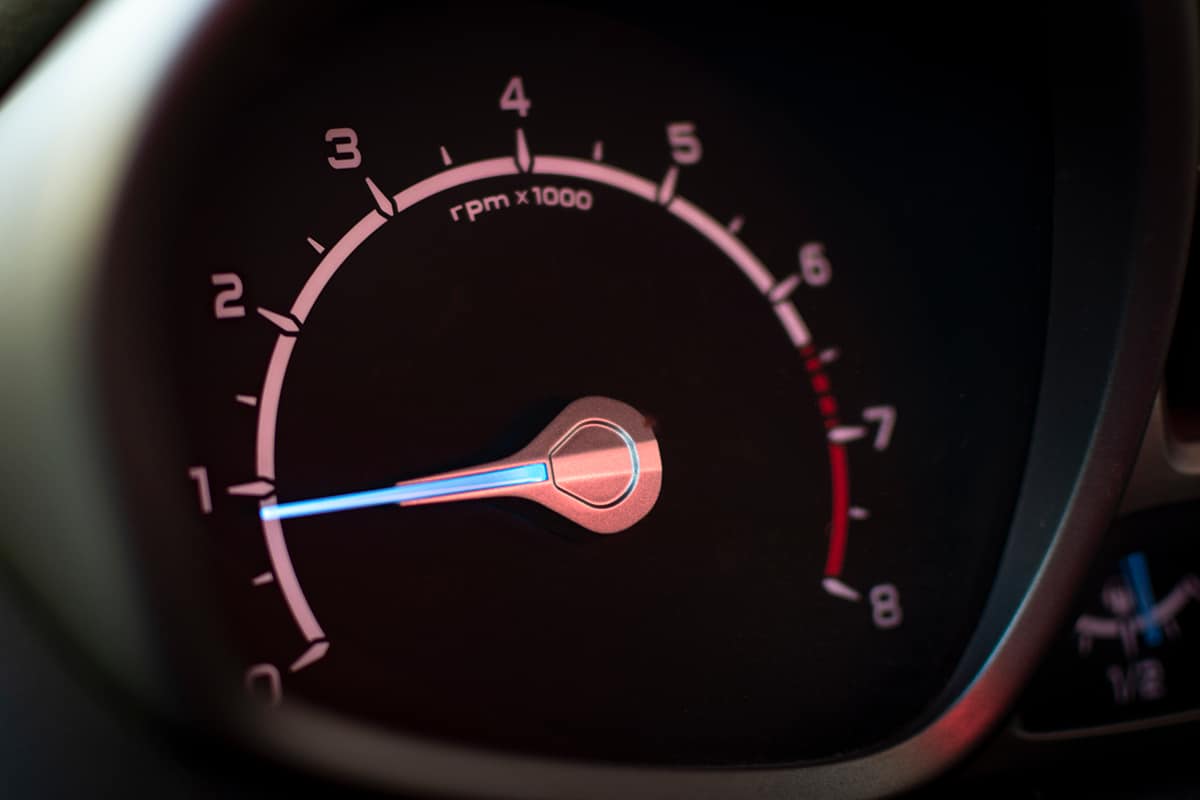
When your RPM gauge isn’t working properly, it’s important to figure out the cause of the problem. Troubleshooting involves inspecting and testing different parts of the gauge and related systems.
1. Visual Inspection
A visual inspection is often the first step in troubleshooting an RPM gauge. By checking for obvious problems, you might be able to quickly identify the cause of the malfunction. Here’s what to look for:
- Physical damage—Examine the RPM gauge itself for any signs of damage, like a broken needle or cracked face.
- Inspecting wiring and connectors—Check the wires and connectors connecting the RPM gauge to the engine for signs of damage, corrosion, or disconnection.
2. Diagnostic Tools
Using diagnostic tools can help you identify issues that aren’t visible to the naked eye. There are two main tools that can help you troubleshoot RPM gauge problems:
- OBD-II scanners—Onboard diagnostic (OBD-II) scanners can read information from your car’s engine control module. By connecting an OBD-II scanner to your car, you can check for error codes related to the RPM gauge or its sensors.
- Multimeter tests—A multimeter is a device that measures electrical properties like voltage, current, and resistance. By using a multimeter to test the wires and connections related to the RPM gauge, you can identify issues like damaged wires or poor grounding.
3. Testing the RPM Sensors
Once you’ve checked for visual and electrical problems, it’s time to test the RPM sensors. These sensors play a crucial role in the functioning of the RPM gauge, so it’s important to make sure they’re working correctly:
- Vehicle speed sensor—Test the vehicle speed sensor to ensure it’s accurately measuring your car’s speed. You can do this using an OBD-II scanner or by following your car’s service manual.
- Engine control module—If you suspect the engine control module might be the issue, consult your car’s service manual for testing procedures. In some cases, you may need a professional mechanic’s help to diagnose and fix ECM issues.
Repairing or Replacing the RPM Gauge
Once you’ve identified the issue with your RPM gauge, it’s time to repair or replace it. Depending on the cause of the malfunction, you may be able to fix the gauge yourself.
DIY Repairs
Some RPM gauge issues can be fixed with DIY repairs. Here’s what you’ll need:
- New RPM gauge
- Screwdriver
- Wire cutters
- Wire stripper
- Electrical tape
And here’s how you can replace the RPM gauge on your own. If you don’t feel comfortable doing this, you can always hire a professional mechanic.
- Disconnect the battery—Before beginning any repairs, disconnect the battery to prevent electrical damage or injury.
- Remove the old gauge—Use a screwdriver to remove the screws that hold the old RPM gauge in place. Carefully detach the gauge from the dashboard and disconnect the wires and cables connected to it.
- Prepare the new gauge—Unpack the new RPM gauge and familiarize yourself with its installation instructions. Use wire cutters to trim the wires to the appropriate length if needed.
- Install the new gauge—Connect the wires and cables to the appropriate ports on the new RPM gauge, following the manufacturer’s instructions. Secure the new gauge onto the dashboard using screws.
- Test the new gauge—Reconnect the battery and start the engine to test the new RPM gauge. Ensure that it displays the correct engine speed and that all other components of the gauge, like the backlight, work correctly.
- Reassemble the dashboard—If everything is working correctly, reassemble the dashboard by replacing any panels or screws that were removed during the process.
