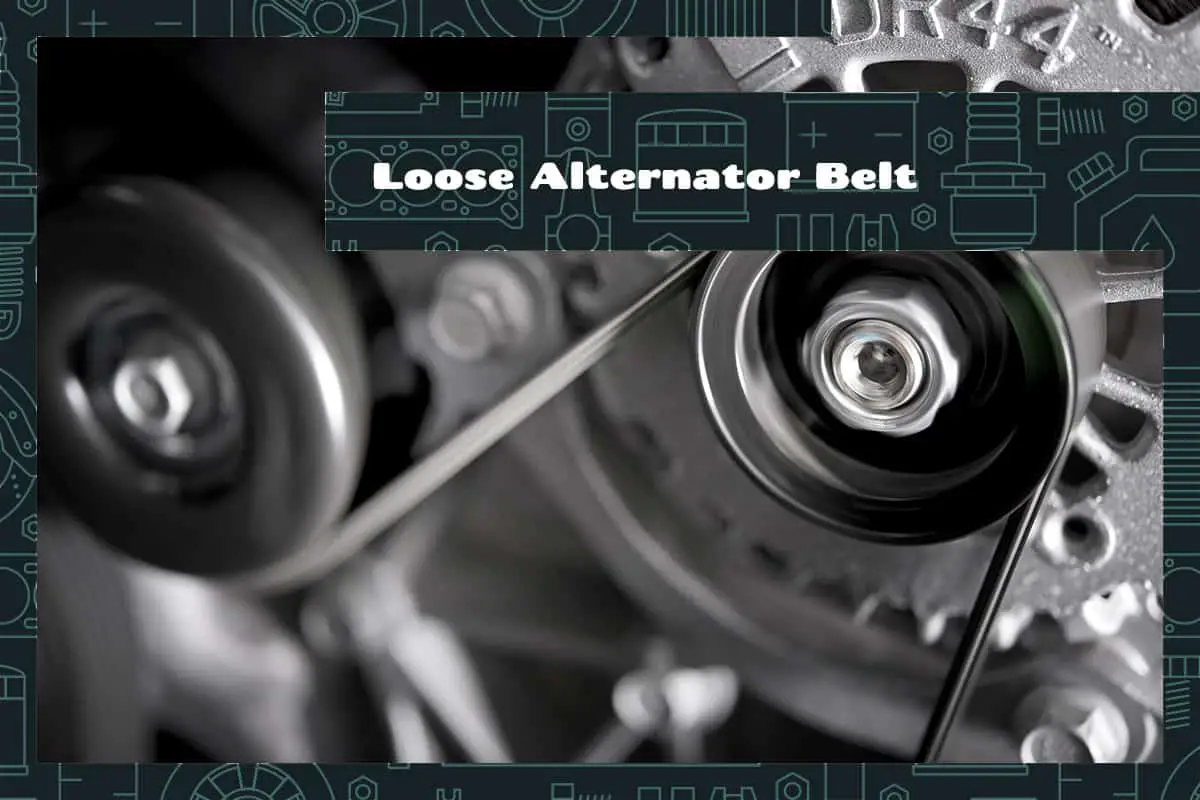
The alternator belt, also known as the serpentine belt, is a vital component in your vehicle’s engine. It powers various engine accessories, including the alternator, which is responsible for charging the battery and powering the electrical system while the engine is running. A loose alternator belt can lead to a multitude of issues that may affect your vehicle’s performance, and as such, knowing how to identify and fix this issue is crucial for any car owner.
Is your car’s alternator belt loose? Look out for these signs:
- Unusual noises: A squealing or chirping noise from your engine, particularly when you start the car.
- Battery issues: If the battery warning light is on or your battery drains quickly, it could be due to a loose alternator belt.
- Poor accessory performance: Dimmed lights, slow window operation, or weak air conditioning may also indicate a loose belt.
This brief guide will provide a detailed overview of the loose alternator belt issue. We’ll discuss the signs of a loose belt, what causes it, and the step-by-step guide on how to tighten or replace it.
Recognizing a Loose Alternator Belt
The alternator belt drives various engine accessories, including the alternator. When it becomes loose, it cannot effectively transfer power from the engine to these components. Here are some common symptoms:
- Unusual noises: A loose alternator belt can cause squealing or chirping noises, particularly when you start the car. These sounds result from the belt slipping on the pulleys due to insufficient tension.
- Battery issues: The alternator charges your battery. If the belt is loose, the alternator cannot function properly, leading to a low battery charge. A warning light on your dashboard or a battery that drains quickly are telltale signs.
- Poor accessory performance: Other engine-driven components, such as the power steering pump, air conditioner compressor, and even the water pump, may be affected by a loose belt. You may notice reduced power steering, weak air conditioning, or overheating due to a malfunctioning water pump.
Causes of a Loose Alternator Belt
Understanding the root causes of a loose alternator belt can provide you with the knowledge necessary to prevent the issue from reoccurring.
1. Normal Wear and Tear
The alternator belt is subjected to continuous stress as it transfers power from the engine to various accessories. Over time, this constant tension and friction can lead to wear and tear, causing the belt to stretch and loosen.
2. Incorrect Installation
Installing an alternator belt requires precision. The belt should have just the right amount of tension—not too tight and not too loose. If the belt is not installed properly, it can become loose over time or even slip off the pulleys altogether.
3. Unfitting Belt Size
Every car model requires a specific size and type of alternator belt. If a belt is too long or short for your vehicle, it can’t maintain the appropriate tension, leading to it becoming loose or failing prematurely.
4. Mechanical Issues
Faults in the pulley system can also lead to a loose alternator belt. For example, a bent, worn, or misaligned pulley can cause the belt to loosen, slip, or even snap. Similarly, a failing tensioner—which is responsible for maintaining the correct belt tension—can also cause the belt to loosen.
5. Environmental Factors
Extreme temperatures and harsh driving conditions can take a toll on the alternator belt, causing it to loosen over time. High heat can cause the belt to expand and lose tension, while extremely cold temperatures can make the belt brittle and prone to breaking. Similarly, exposure to oil or coolant leaks can degrade the belt material, leading to a loss of tension.
Checking for a Loose Alternator Belt
Before checking your car’s alternator belt for looseness, make sure you’re dealing with a cool engine, that the ignition system is disabled (or remove the key from the ignition), and that you’re using the right equipment (PPE, mostly).
- Locate the Alternator Belt: The alternator belt is typically found at the front of the engine. It’s a long, rubber belt that winds around various pulleys.
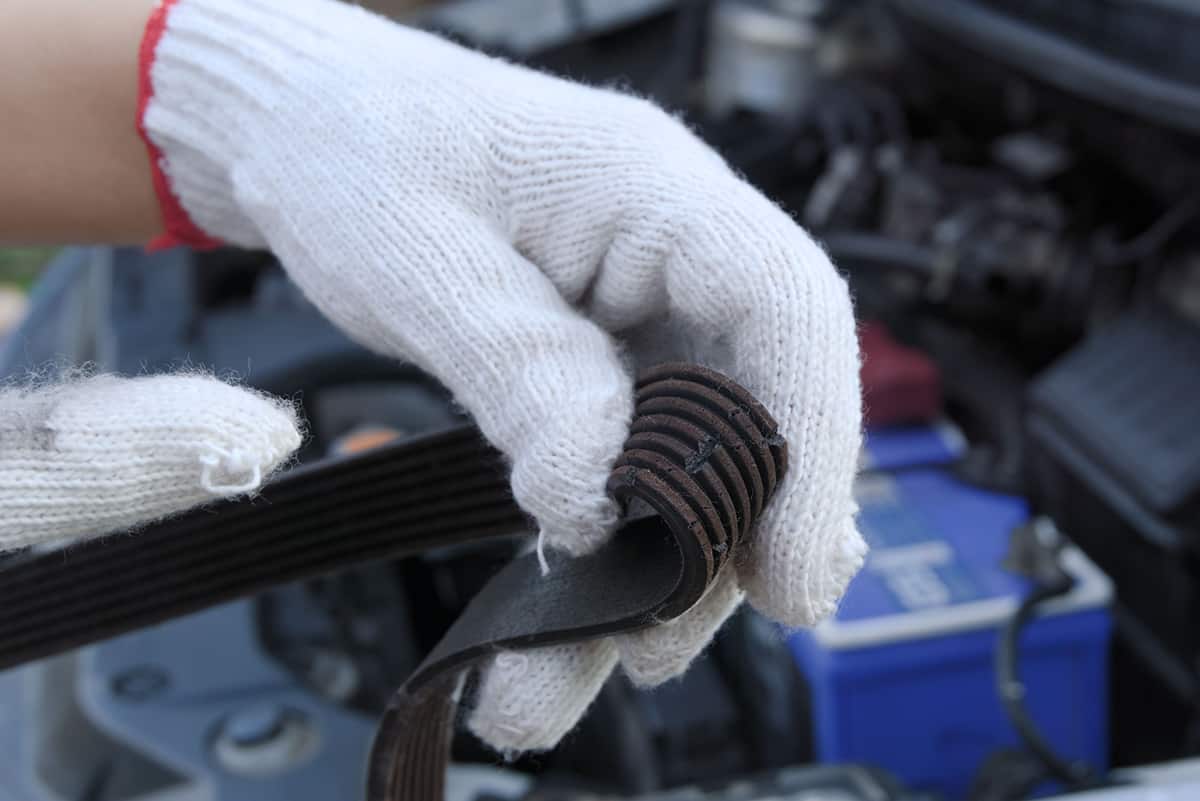
- Inspect the Belt: Look for signs of wear, such as cracks, fraying, or glazing. These indicate that the belt may be nearing the end of its life and may loosen over time.
- Check Belt Tension: Press down on the belt midway between two pulleys. If the belt deflects more than 1/2 inch, it may be too loose. Likewise, if there’s no give at all, it might be too tight.
- Listen for Noises: Start the engine and listen for a high-pitched squeal or chirping sound. These sounds often indicate a loose or worn belt.
Tightening a Loose Alternator Belt
If you’ve determined that your alternator belt is loose, the next step is to tighten it. This process can be straightforward, especially if your vehicle has an automatic belt tensioner.
Before you start, gather the necessary tools. Typically, you’ll need a wrench or ratchet and socket that fit the tensioner pulley’s bolt.
Here’s how to do it.
- Locate the Tensioner: Find the tensioner pulley. This is usually attached to a spring-loaded arm.
- Loosen the Tensioner: Using your wrench or ratchet and socket, turn the tensioner bolt to relieve tension on the belt.
- Adjust the Belt: With the tensioner loose, you can now adjust the belt. If your vehicle doesn’t have an automatic tensioner, you may need to manually move the alternator to adjust the belt tension.
- Check the Tension: After adjusting, check the belt tension again using the deflection method described earlier. Make further adjustments as necessary.
Precautions When Tightening an Alternator Belt
- Do not Over-Tighten: Over-tightening can cause premature wear on the belt and the bearings in the driven components.
- Align Correctly: Ensure the belt is properly seated in all pulley grooves. Misalignment can cause the belt to wear prematurely or fail.
- Check Your Work: After tightening the belt, start the engine and check that the belt runs smoothly over all the pulleys. Listen for any abnormal noises.
Replacing a Loose or Damaged Alternator Belt
If your alternator belt is loose, worn, or damaged beyond repair, it’s best to replace it.
Before you start the process of replacing your alternator belt, gather the following tools and materials:
- A new alternator belt (make sure it’s the correct size)
- A wrench or ratchet and socket set.
- Gloves and safety glasses for personal protection.
- A diagram of the belt routing (if this isn’t available, make a sketch before removing the old belt).
Step-by-Step Guide to Replace Your Alternator Belt
- Disconnect the Battery: Safety first! Always disconnect the negative terminal of the car battery before starting any major work.
- Locate the Alternator Belt: This belt is usually located at the front of the engine and loops around various pulleys.
- Relieve Belt Tension: Use your wrench or ratchet and socket to turn the tensioner bolt and relieve tension on the belt.
- Remove the Old Belt: Once you’ve relieved the tension, you can easily slip the belt off the pulleys. If it doesn’t come off easily, check to make sure you’ve fully relaxed the tensioner.
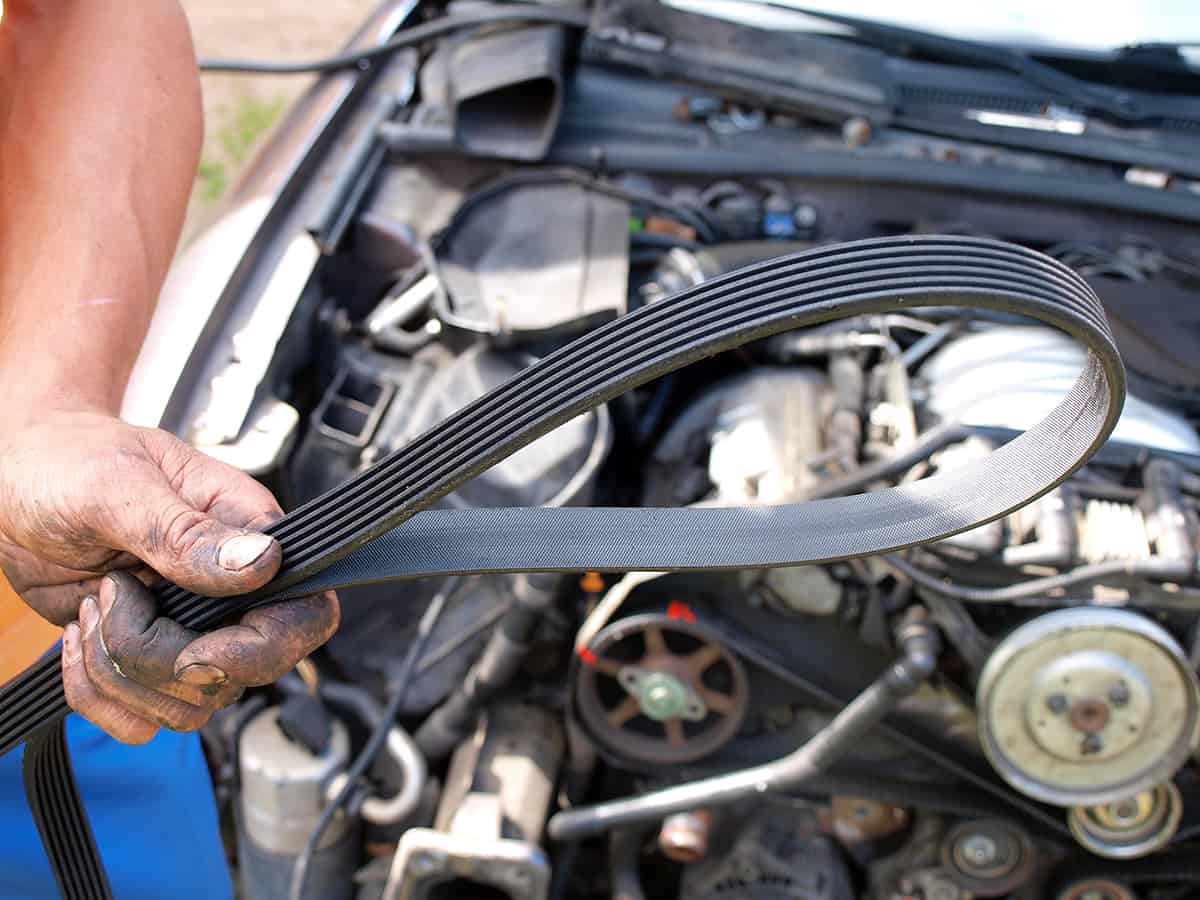
- Compare Old and New Belts: Before installing the new belt, compare it with the old one to make sure they are the same size.
- Install the New Belt: Refer to your belt routing diagram or sketch. Start with the pulley farthest from the tensioner and work your way back.
- Adjust the Tensioner: Once the new belt is installed, adjust the tensioner until the belt has the correct tension.
- Check Your Work: Ensure the belt sits properly on all the pulleys and that it has the right tension. Reconnect the battery, start the engine, and verify that everything runs smoothly.