If you’ve ever driven a car, you know the importance of keeping an eye on your gas gauge to avoid running out of fuel unexpectedly. However, if you notice your gas gauge needle spinning erratically, it can be a cause for concern. Luckily, you can try to reset the gas gauge needle before taking your car to a professional mechanic.
Here’s a quick guideline on how to reset the gas gauge needle in your car:
- Turn the ignition to the ON position
- Press the Trip/Odo button to display Odo mode
- Turn off the ignition
- Press and hold the Trip/Odo button
- Turn the ignition to the ON position
- Release the Trip/Odo button after 2 seconds
- Press and hold the Trip/Odo button for 2 more seconds before releasing it (repeat 2 more times)
- Turn off the ignition
In this guide, I’ll explain the signs of a bad gas gauge needle, how to reset it, and other ways to correct a misbehaving gas gauge needle.
What Is a Gas Gauge Needle?
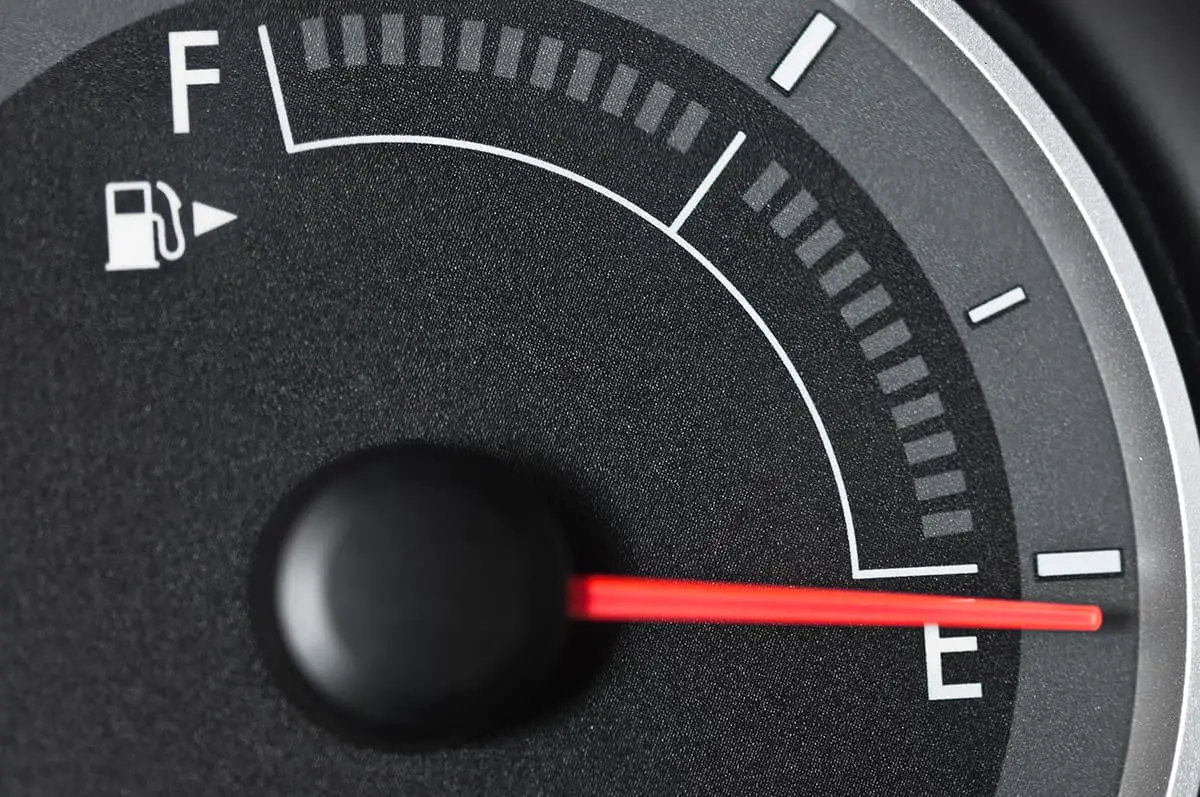
A gas gauge needle is a component of a vehicle’s dashboard that indicates the level of fuel in the gas tank. The needle typically points to a series of marks or numbers that represent the amount of fuel in the tank, such as “E” for empty and “F” for full.
As the vehicle is driven, the needle will move up and down to reflect changes in the amount of fuel in the tank. This allows the driver to monitor the fuel level and know when it’s time to refuel.
Signs of a Bad Gas Gauge Needle
A bad gas gauge needle can cause inaccurate readings of the fuel level in the gas tank, which can be frustrating and potentially dangerous if the driver runs out of gas unexpectedly. Here are some signs that may indicate a bad gas gauge needle:
1. Inconsistent readings
This may refer to the needle bouncing up and down, giving inaccurate readings or fluctuating randomly. It can be frustrating for drivers as it may make it difficult to determine how much fuel is left in the tank, leading to the risk of running out of gas. Inconsistent readings can also be a sign of a larger issue with the vehicle’s fuel system.
2. Stuck needle
A stuck needle on a gas gauge refers to a situation where the needle remains in one position and does not move even when the fuel level in the tank changes. This can make it impossible to see how much gas is left in the tank since the needle will not move.
3. Incorrect readings
Imagine filling the gas tank only to find that the gas gauge needle is still stuck on E or close to it. This isn’t the worst place to find yourself in, but imagine it being the only way around—the needle is pointing at F, even though there’s hardly any gas left in the tank. This can be dangerous to the driver and other motorists, especially in high-speed situations.
How to Reset the Gas Gauge Needle
Resetting the gas gauge needle can a quick fix to restore it to working order. Follow these steps if your car’s gas gauge needle appears to be out of sync with reality.
- Turn the ignition to the ON position—We need to supply power to the odometer in order to switch it from trip to its main odo mode.
- Press the Trip/Odo button to display Odo mode—Skip the odometer is already on odo mode.
- Turn off the ignition—Leave the key in the ignition since we’ll still need to play around with the trip/odo button.
- Press and hold the Trip/Odo button—Your car should still be off during this point.
- Turn the ignition to the ON position—Remember to keep pressing and holding the Trip/Odo button.
- Release the Trip/Odo button after 2 seconds—After that, press and hold the Trip/Odo button for 2 seconds before releasing it. Repeat this step 2 or 3 times.
- Turn off the ignition—Release the Trip/Odo button and turn off the car engine. Wait for around 5 minutes before turning the car back on and checking the gas gauge needle’s position.
Ideally, your car’s gas tank will be full when resetting the gas gauge needle. If the needle returns to F or close to it, then you’ll know the reset process has worked.
How Often to Reset the Gas Gauge Needle?
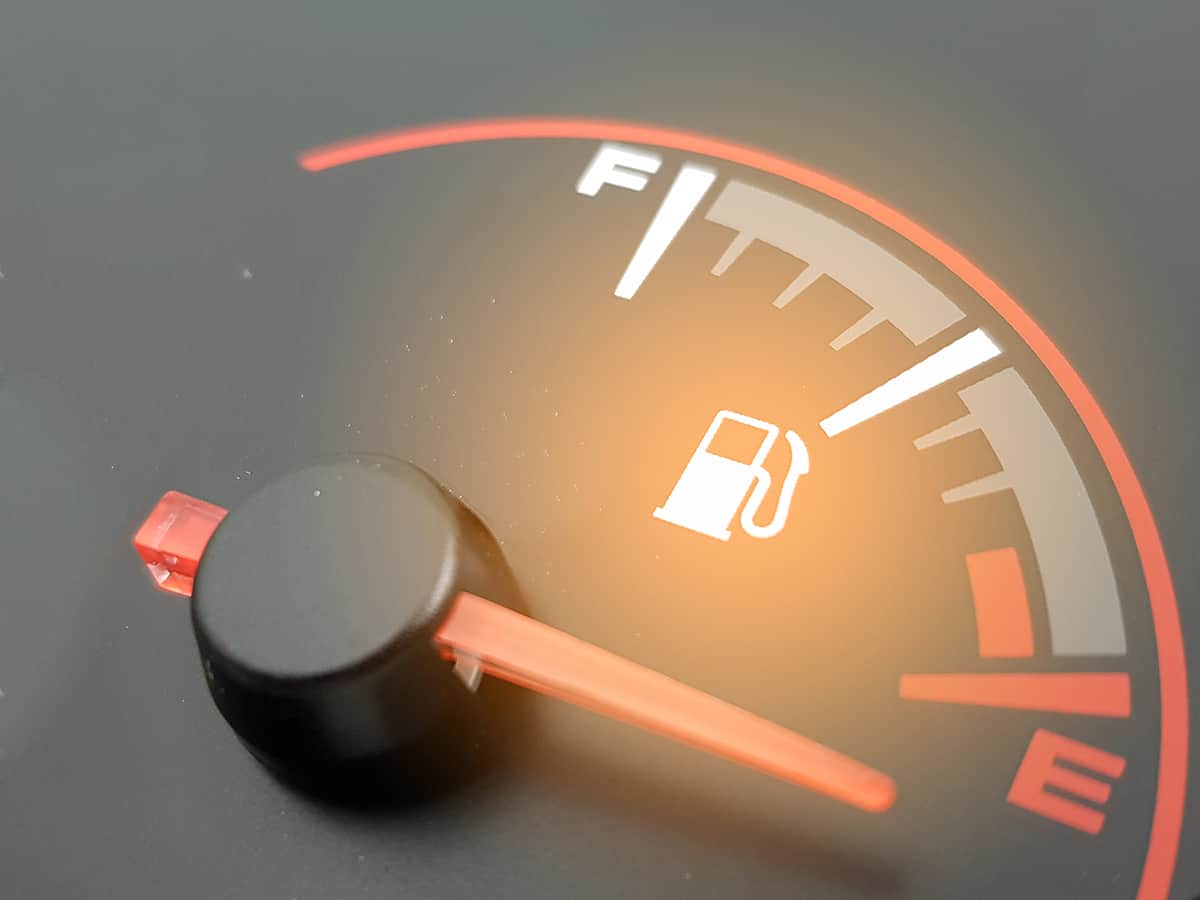
The frequency of resetting the gas gauge needle varies based on the specific problem with the gauge. If the needle starts moving unpredictably, it’s best to reset the gauge as soon as possible to avoid any safety hazards. Similarly, if the needle becomes fixed on the “Empty” or “Full” position, it’s recommended to reset the gauge.
When the needle is fixed on the “Empty” position, it’s important to reset the gauge regardless of the current level of gasoline. This is a safety measure to prevent running out of gas unexpectedly. On the other hand, if the needle is stuck on the “Full” position, it’s less common but still important to reset the gauge. In this case, it’s recommended to fill up the tank regularly to keep track of the fuel level once the gauge is fixed.
The fuel-sending unit is usually the source of the problem when the gas gauge gives an inaccurate reading. The unit is responsible for determining the fuel level and communicating that information to the gauge. If the gauge is showing incorrect readings, it’s likely a problem with the sending unit, and the gauge should be reset as necessary.
Reset Didn’t Work—Other Gas Gauge Needle Fixes
Resetting the gas gauge needle following the procedure above is not a 100% fix. There may be cases where there’s a problem with the hardware associated with the needle. So, if resetting it didn’t work, try the following solution.
1. Replace blown fuses
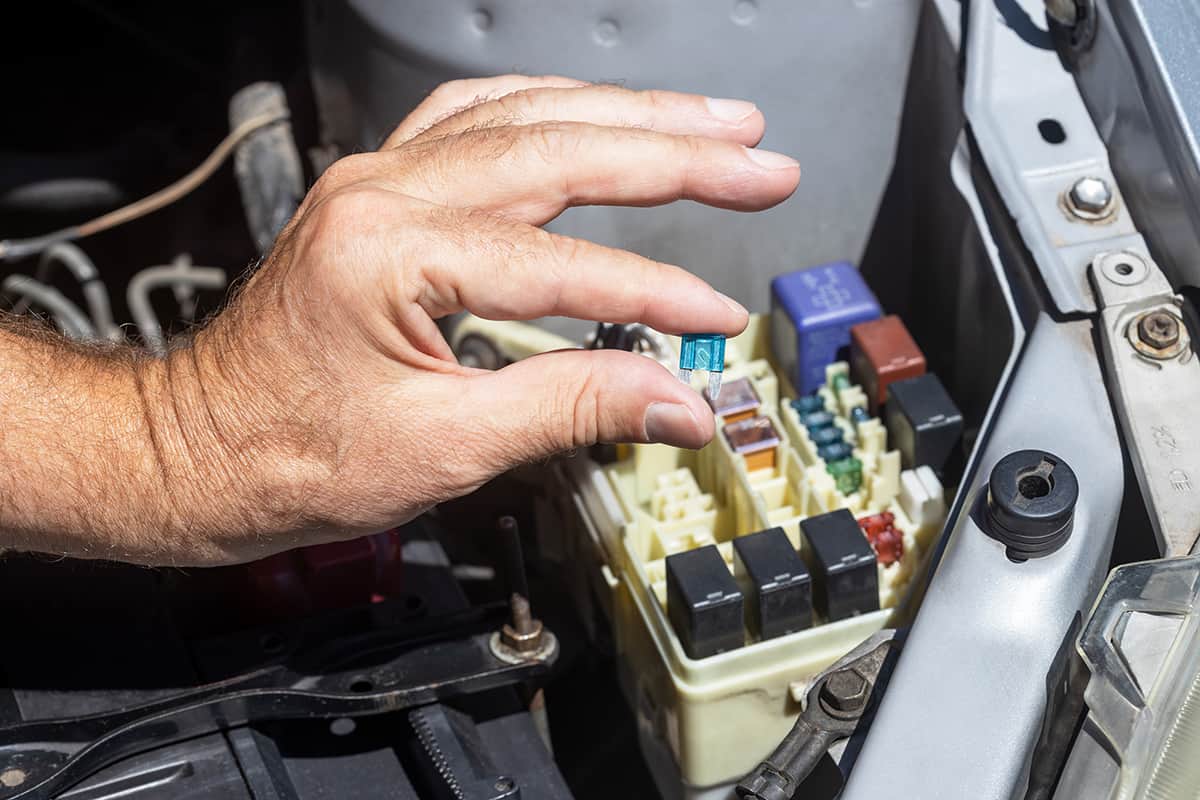
A blown fuse can cause issues with the gas gauge needle, as it interrupts the electrical connection between the gauge and the sending unit. When the fuse blows, the gauge may stop working altogether or provide inaccurate readings.
To replace a blown fuse, start by turning the car on and off to check for any needle movement. If the needle does not move at all, it’s likely a blown fuse. Locate the fuse box, which is usually located in the engine compartment or driver’s side dash, and remove the damaged fuse with pliers. Replace it with another fuse of the same amperage. However, if the gauge still does not work after replacing the fuse, there may be an underlying electrical issue that needs further diagnosis and repair.
2. Clean the sending unit’s cables
The sending unit is a sensor positioned on the exterior of the fuel tank that communicates with the fuel gauge to provide readings. To address any corrosion caused by salt, rain, or snow at the ground connector, remove the wire by turning the nut holding it in place with pliers and then eliminate any buildup by brushing it away with a wire brush or sandpaper.
Keep brushing until the connectors are free of debris and shiny. Finally, reconnect the wire by firmly looping the circular terminal over the connector and tightening the nut on top of it.
3. Replace the sending unit
If the sending unit is off, then you’ll need to replace it entirely. To replace the sending unit, you will need to drain the fuel tank and remove it from the vehicle. Then, locate the sending unit attached to the fuel pump assembly and disconnect the electrical connector and fuel lines. Next, remove any mounting bolts or straps that secure the sending unit in place and carefully lift it out of the tank.
Install the new sending unit by following the reverse procedure, ensuring that all connections and mounting hardware are securely in place. Refill the fuel tank and test the gas gauge to ensure it functions properly.
