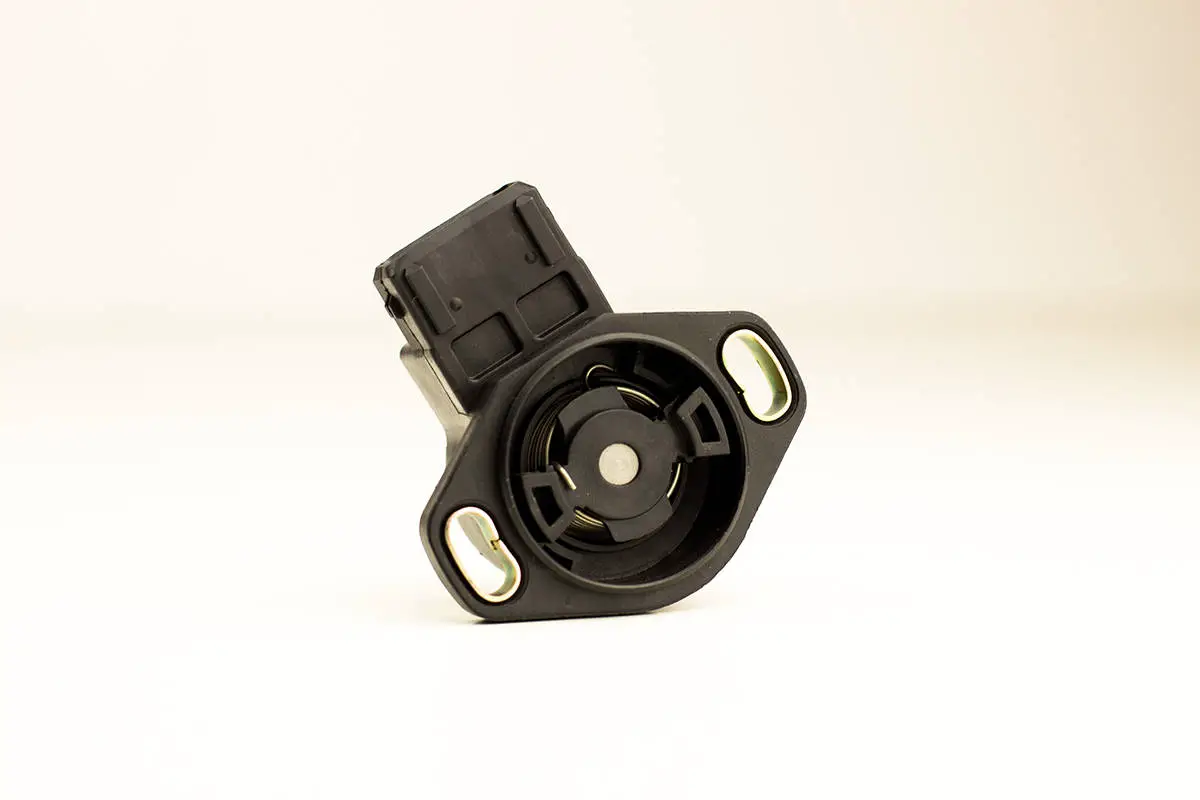
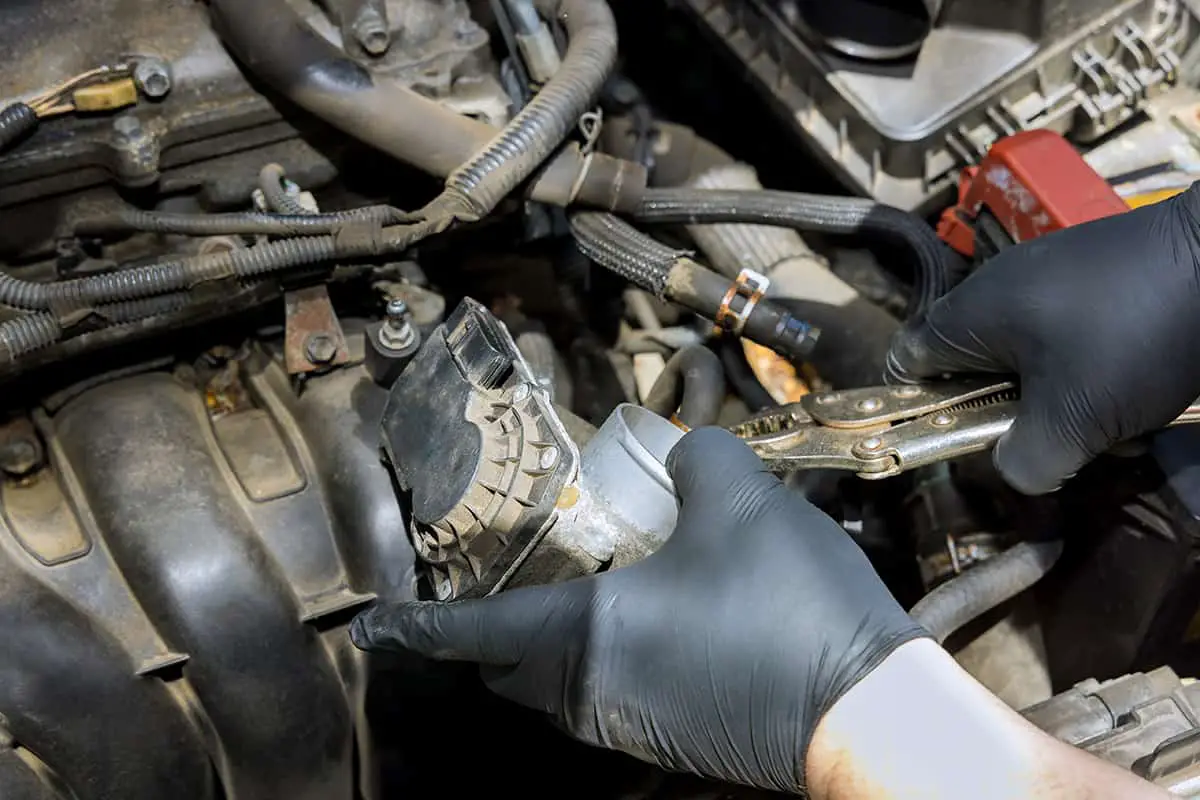
The Throttle Position Sensor (TPS) informs the engine control unit about the position of the throttle, which then adjusts the amount of fuel entering the engine. A well-calibrated TPS ensures that your car runs smoothly, responds well to acceleration, and maintains good fuel efficiency. But there may come a time when you need to program and calibrate your TPS sensor due to some unforeseen cause.
Here’s a general guideline on how to program and calibrate a faulty TPS sensor:
- Disconnect the car battery to prevent any electrical mishaps. Examine the TPS for any visible damages.
- Using a multimeter, test the current state of the TPS sensor to determine if it’s working within the expected voltage range.
- If faulty, unscrew or unclip the TPS from its position.
- Position the new TPS sensor where the old one was.
- Reconnect the car battery.
- Start the car and let it run for a few minutes.
This guide will explain the basics of a TPS sensor and what can cause it to become faulty, as well as walk you through each fundamental step to program and calibrate your TPS sensor.
What Is a TPS Sensor?

The TPS Sensor, formally known as the Throttle Position Sensor, serves as a pivotal component in a vehicle’s engine management system. Its primary role is to relay information regarding throttle valve position to the engine control unit (ECU). In essence, it translates the driver’s foot movement on the gas pedal into data that the ECU uses to optimize fuel injection and air intake.
The sensor continually monitors the throttle valve’s angle of opening. A slight press on the pedal indicates a small throttle opening to the ECU, whereas a deeper press signifies a wider opening, necessitating adjustments in fuel and air mixture.
When to Program & Calibrate TPS Sensor
While the TPS sensor is designed to last up to a decade without issue, there may come a time when it needs early replacement.
Symptoms of a TPS Needing Attention
If your vehicle begins to show erratic behavior, such as sudden surges in speed, stalling, or inconsistent acceleration, it could be the TPS waving a red flag. Additionally, if your fuel efficiency seems off, the sensor might be sending incorrect data to the ECU. You can read more about the symptoms of a faulty TPS sensor here.
After Component Replacement or Service
Whenever there’s a major service or a replacement of parts related to the fuel system or throttle body, it’s a good practice to calibrate the TPS. This ensures that it syncs well with the new components and provides accurate readings.
Routine Maintenance Checks
. As a part of standard vehicle upkeep, the TPS should be inspected and calibrated periodically. This proactive approach can prevent potential driving hiccups.
Step-by-Step Guide to Program & Calibrate TPS Sensor

Now, let’s jump straight into the heart of the matter—how to program and calibrate your TPS sensor. The following guide is based on the video tutorial by Boosted John.
Please keep in mind that this is a rather intrusive “operation,” so to speak, so if you don’t possess adequate mechanic skills, we highly recommend leaving it to the pros.
Tools You’ll Need
For this process, you’ll require:
- A multimeter: This tool measures electrical currents and is essential to check the TPS’s operation.
- Basic toolkit: Standard wrenches and screwdrivers.
- Service manual: Specific to your vehicle model, to locate and understand the TPS settings.
Safety Measures
Before diving in, ensure your vehicle is on a flat surface. Always disconnect the car battery before working to avoid any electrical mishaps.
Step 1. Locating the TPS
Typically, the TPS is on the throttle body, which is connected to the large air intake hose. However, the exact location might vary, so referring to your service manual can be handy.
Step 2. Preliminary Checks
With your multimeter, test the current state of the TPS. Attach the multimeter probes to the TPS connector’s correct pins (usually the outer ones). You should observe a voltage change as you slowly open and close the throttle. If the readings are erratic, it’s a clear sign that recalibration or replacement is needed.
Step 3. Removing the Old TPS
If your TPS readings are consistently off, replacement may be in order. To do so:
- Carefully unplug the TPS electrical connector.
- Using the appropriate screwdriver or wrench, unscrew or unclip the TPS from its position.
- Remember the orientation as you’ll need to place the new one similarly.
Step 4. Installing a New TPS
If you’re replacing the TPS:
- Position the new sensor similarly to the old one.
- Fasten it using screws or clips.
- Reconnect the electrical connector.
Step 5. Calibration Process
- Reconnect your car battery and turn the ignition to the ‘On’ position without starting the engine.
- With your multimeter connected, ensure the throttle is fully closed. If the voltage isn’t within the specified range in your manual, you’ll need to adjust.
- Loosen the TPS mounting screws slightly, allowing for adjustment.
- Rotate the TPS until you reach the desired voltage.
- Tighten the screws and recheck to ensure the settings hold.
- With the multimeter still connected, open and close the throttle several times. The voltage should smoothly increase and decrease, without any sudden drops or spikes. This motion ensures the TPS is tracking the throttle’s movement accurately.
Step 6. Reassembly
Once satisfied with the calibration, replace any components you may have removed to access the TPS. This could include air intake hoses or additional engine components.
Step 7. Test Drive
Before declaring the job complete, take your vehicle for a test drive. Pay close attention to acceleration and any potential stalling. The drive should be smoother if the TPS recalibration is successful.
Caring for Your TPS Sensor
Since the TPS sensor plays such a critical role in your car’s overall health, keeping tabs on it and making sure it’s in tip-top shape should be a priority.
1. Regular Inspection
Periodic checks are advisable to keep it in top form. At least once a year, or during your routine service checks, have a mechanic inspect the TPS for wear or damage. A visual inspection can reveal issues like loose connections, corrosion, or obvious signs of wear.
2. Cleaning the Sensor
Dirt and debris can sometimes play spoilsport with the TPS’s performance. Instead of a costly replacement, a simple cleaning might do the trick. Using sensor-safe cleaners, gently clean the exterior. Avoid aggressive scrubbing, which can cause damage.
3. Investing in Quality Replacements
Not all TPS sensors are created equal. If you find yourself in need of a replacement, it’s worth investing in a quality component. Opt for trusted brands or ones recommended by your vehicle manufacturer.
4. Periodic Electrical System Checks
The TPS is, at its core, an electrical component. As such, its performance is intertwined with the overall health of your vehicle’s electrical system. Routine checks of the car battery, alternator, and other electrical components ensure the TPS receives consistent power, allowing it to function optimally.
FAQs
1. How often should I check my TPS sensor?
Inspect your TPS sensor at least once a year. If you schedule regular car maintenance, consider adding the TPS check to your routine service appointments.
2. What are common signs of a failing TPS?
A malfunctioning TPS can display several symptoms:
- Inconsistent Acceleration: Your car might feel jumpy or struggle to maintain a consistent speed.
- Stalling or Rough Idle: The car may stall at stop lights or exhibit a shaky, uneven idle.
- Decreased Fuel Efficiency: If you’re visiting the gas station more often, a faulty TPS might be affecting your fuel economy.
- Engine Light: Sometimes, the “Check Engine” light can activate due to TPS issues.
- Sudden Power Loss: Experiencing sudden drops in power while driving can be alarming, and a failing TPS could be the culprit.


