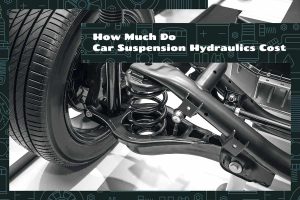
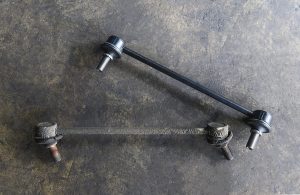
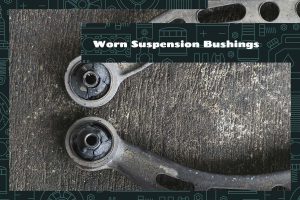
Everyone knows that regular maintenance is key to keeping things running smoothly, and the same applies to your vehicle. Among the many components of a car, the control arms play a critical role in the overall driving experience.
They’re essentially the linchpins of your vehicle’s suspension system, maintaining stability, tire alignment, and smooth handling. However, control arms can wear down over time, significantly affecting your vehicle’s performance.
Typical signs of bad control arms will generally include:
- Unusual noises, such as clunks or squeaks, particularly when going over bumps
- Uneven tire wear
- Wobbling or vibrating when driving
- Difficulty in steering, or the vehicle pulling to one side
This article will provide an in-depth exploration of bad control arms, including how they affect your vehicle, how to diagnose and replace them, and how to maintain them to ensure safe and comfortable driving.
What are Control Arms?
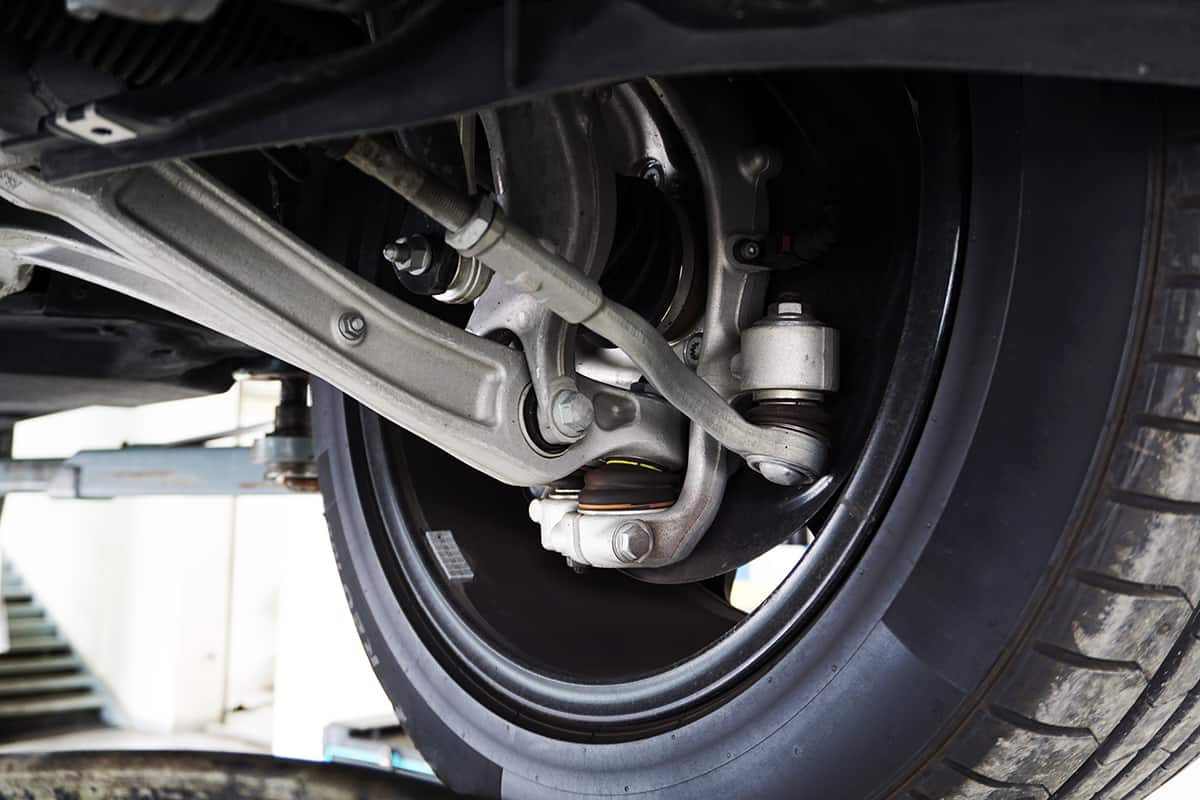
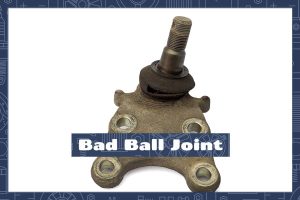
Control arms are typically constructed of high-strength steel or aluminum. These arms are shaped somewhat like a letter ‘A’ or ‘V’, hence the nickname “A-arm.” One end of the control arm is attached to the vehicle’s frame or body, and the other end is attached to the steering knuckle. The points of attachment are usually rubber or polyurethane bushings, but some vehicles use ball joints instead.
The control arm and its bushings or joints pivot, allowing the wheel to move up and down with the contours of the road, turn left and right, and maintain a steady, straight line without any wobble or misalignment. In essence, control arms control the motion of the wheels so they’re in line with the body of the vehicle.
Role of Control Arms in a Vehicle’s Suspension System
In a suspension system, control arms work in tandem with other components, such as struts, shocks, and springs, to absorb road forces and ensure a smooth ride. They function as the primary movement and pivot point of your suspension system, enabling your tires to move up and down and your vehicle to turn smoothly. This movement and the resulting friction, over time, cause wear and tear on the control arms, making regular inspection and maintenance necessary.
Control arms also help maintain correct wheel camber (the inward or outward tilt of the wheel at the top as viewed from the front), which is critical for tire life and handling characteristics.
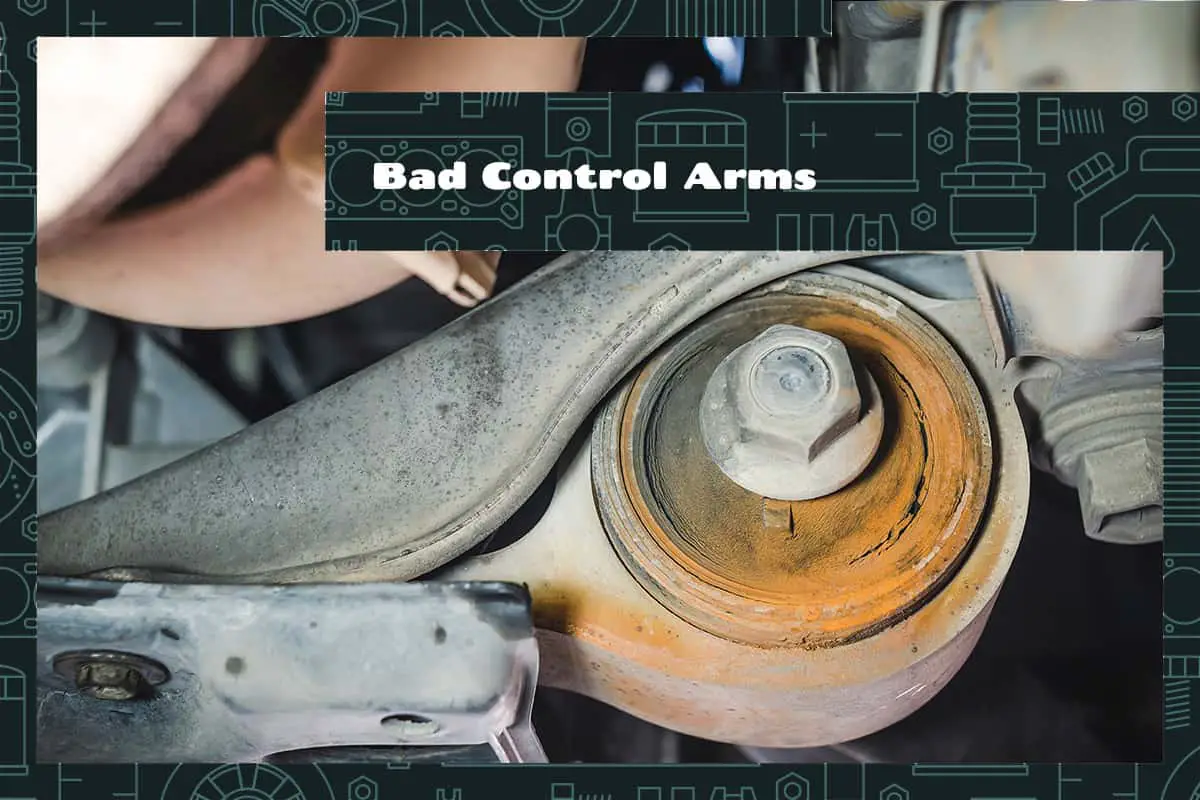
Bad Control Arms
Just like any other vehicle component, control arms can wear out and need replacement over time. It’s essential to understand the signs of bad control arms to prevent more severe issues and ensure a smooth and safe driving experience.
Common Signs of Bad Control Arms
Several signs can indicate a problem with your vehicle’s control arms:
- Unusual noises: Worn-out control arms often cause clunking or squeaking sounds, especially when driving over bumps or potholes. This is due to worn bushings or ball joints that have lost their lubrication, causing metal-to-metal contact.
- Uneven tire wear: If the control arms fail to keep the wheels in the correct alignment, it could result in uneven tire wear. This wear might be more pronounced on the inner or outer edges of the tire.
- Vibrating steering wheel: A control arm with deteriorating bushings or a worn ball joint can cause the steering wheel to vibrate, particularly noticeable at higher speeds or during acceleration.
- Vehicle pulling to one side: If your vehicle consistently pulls to one side while driving, it can be an indication of bad control arms affecting your wheel alignment.
Potential Causes of Control Arm Failure
The most common causes of control arm failure include:
- Wear and tear: Over time, the bushings or ball joints on the control arms can wear out due to regular driving, road conditions, and general aging
- Poor road conditions: Driving on roads with potholes or large debris can cause physical damage to the control arm, leading to premature failure.
- Accidents: A significant impact, such as from a collision or running over a large object, can cause immediate damage to the control arm.
Risks of Ignoring Bad Control Arms
Ignoring bad control arms can lead to more significant issues:
- Poor handling: Bad control arms can affect steering, making the vehicle challenging to control.
- Increased tire wear: Misaligned wheels due to bad control arms can result in quicker and uneven tire wear, increasing your tire replacement costs.
- Potential for catastrophic failure: In severe cases, a worn or damaged control arm could separate from its mounting points, leading to a loss of vehicle control.
How to Replace Bad Control Arms
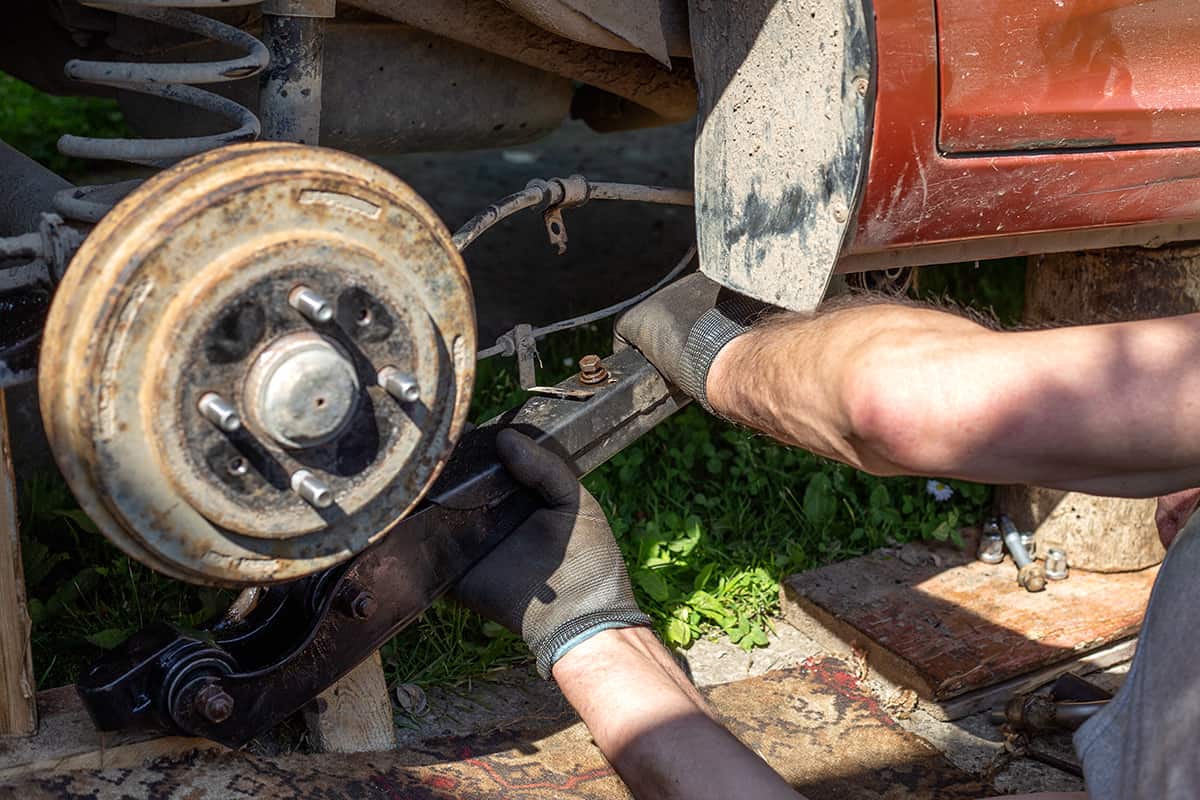
The process of replacing bad control arms might seem daunting at first, but with a basic understanding of automotive systems and the right tools, it can be done. Always remember that safety comes first, and if the task appears too complex, it’s best to seek professional assistance.
Step-by-step Guide to DIY Control Arm Replacement
If you’re mechanically inclined and feel comfortable undertaking the task, here are the steps to replace your control arms:
- Lift the Vehicle: Using a hydraulic jack, lift the vehicle and secure it with jack stands.
- Remove the Wheel: Once the vehicle is secure, remove the wheel corresponding to the control arm you intend to replace.
- Locate the Control Arm: Look for the control arm. It’s usually a triangular component connected to the wheel assembly and the vehicle’s frame.
- Remove the Control Arm: First, disconnect the control arm from the steering knuckle or spindle. This may involve removing the ball joint. Then, remove the bolts attaching the control arm to the vehicle frame. Carefully remove the control arm.
- Install the New Control Arm: Position the new control arm in the same location as the old one. Secure it to the frame first, then connect it to the steering knuckle or spindle. Make sure to follow the torque specifications in your vehicle’s service manual when tightening the bolts.
- Reinstall the Wheel: Once the new control arm is in place, reinstall the wheel.
- Lower the Vehicle: Remove the jack stands and carefully lower the vehicle.
- Alignment Check: After replacing any suspension component, it’s essential to have a professional wheel alignment to ensure optimal vehicle handling and tire wear.
Safety Precautions During Control Arm Replacement
During the replacement process, remember the following safety precautions:
- Secure the Vehicle: When lifting your vehicle, ensure it’s stable before starting any work. Use jack stands and never rely on a hydraulic jack alone.
- Use the Right Tools: Using improper tools can lead to damage or injury. Ensure you have the correct tools before starting.
- Follow Manufacturer Specifications: Always refer to the manufacturer’s guidelines for torque settings when tightening bolts and nuts.
Maintenance Tips for Control Arms
Proper maintenance of control arms is crucial for prolonging their lifespan and ensuring optimal performance of your vehicle’s suspension system. Following are some tips to keep your control arms in good shape.
1. Regular Inspection
This involves checking the control arms for physical damages such as cracks or bends, and inspecting the bushings and ball joints for wear or deterioration. You should also look out for signs of excessive rust, especially if you live in an area where roads are salted during winter.
2. Lubrication
Some bushings, particularly those made from polyurethane, require periodic lubrication to prevent squeaking and premature wear. However, many modern vehicles use rubber bushings or sealed ball joints that don’t require additional lubrication. Always check your vehicle’s service manual for specific recommendations.
3. Prompt Replacement of Worn-Out Components
If, during an inspection, you discover that the control arm bushings or ball joints are worn or damaged, prompt replacement is crucial. Worn-out components can put extra stress on the control arm and other suspension components, potentially leading to more serious problems.
